 Save
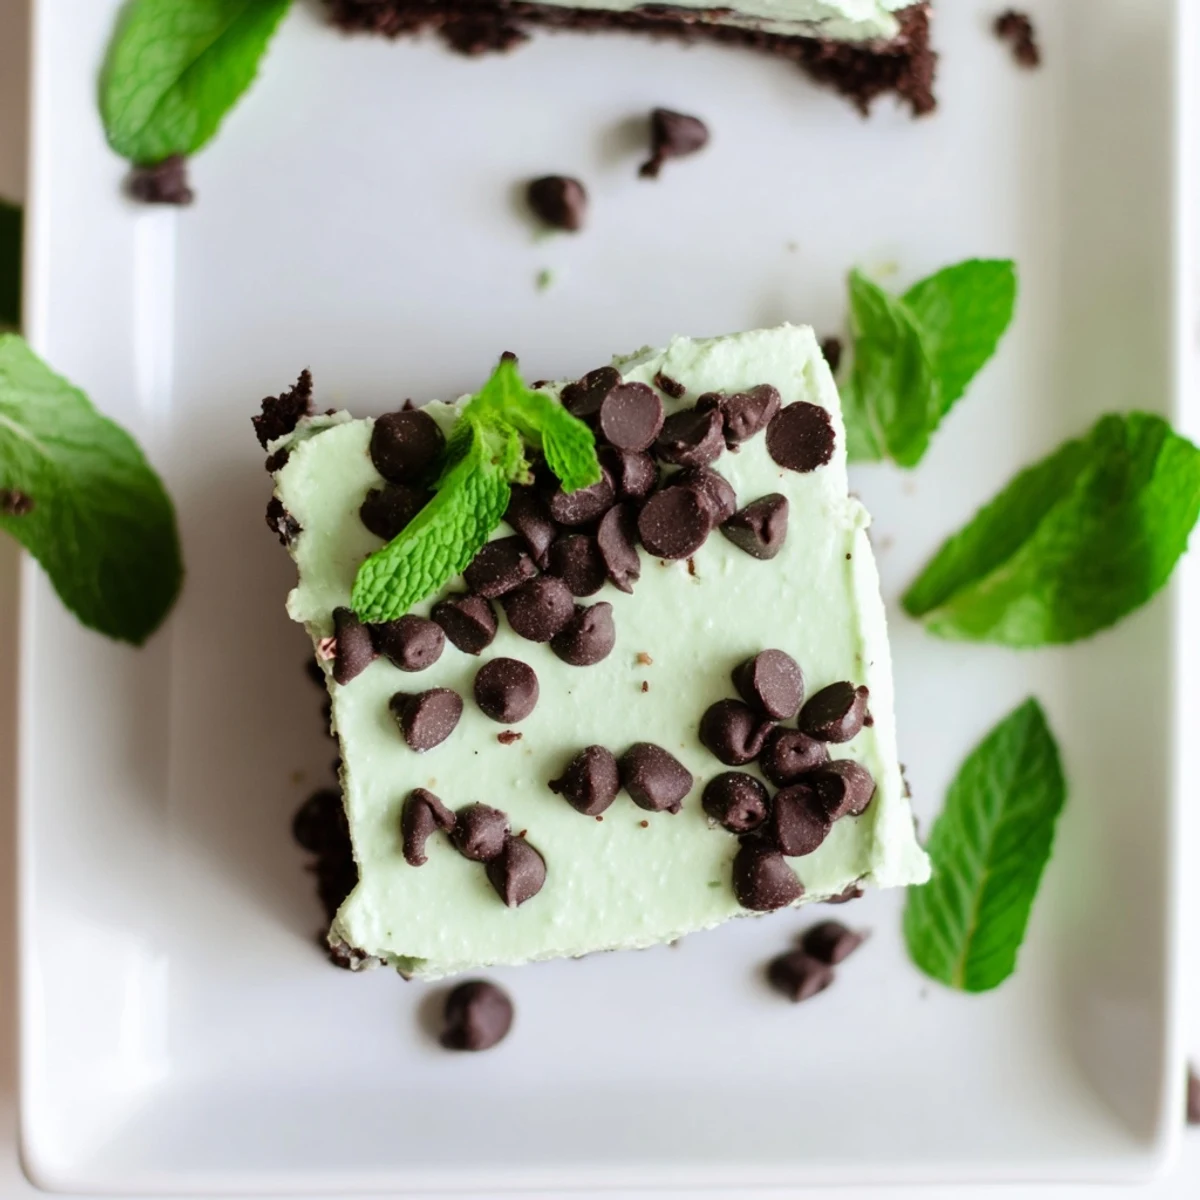
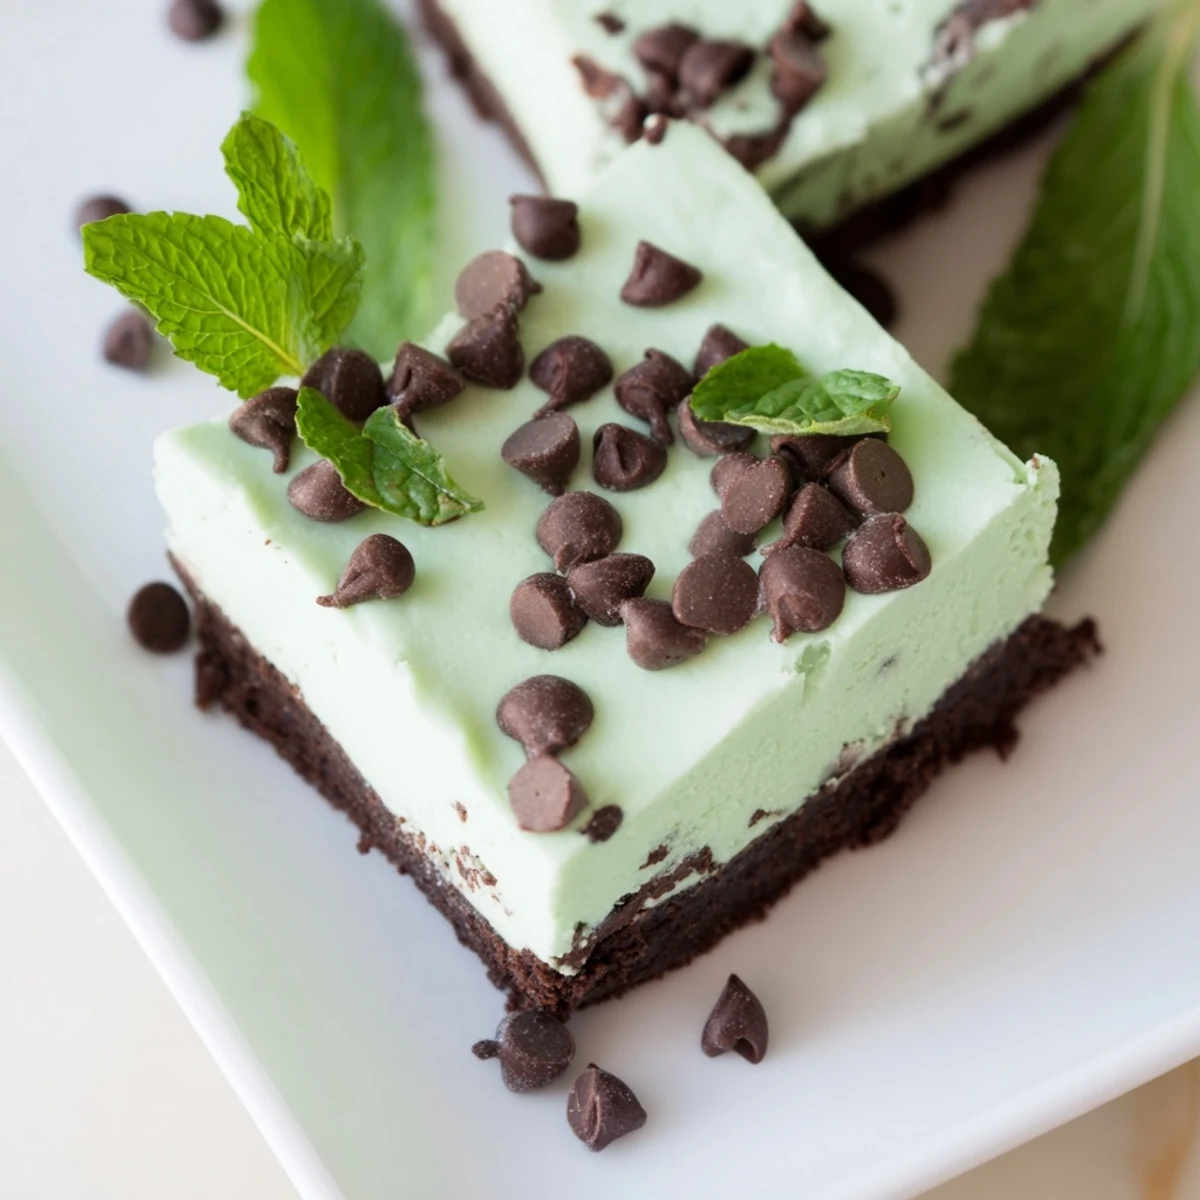
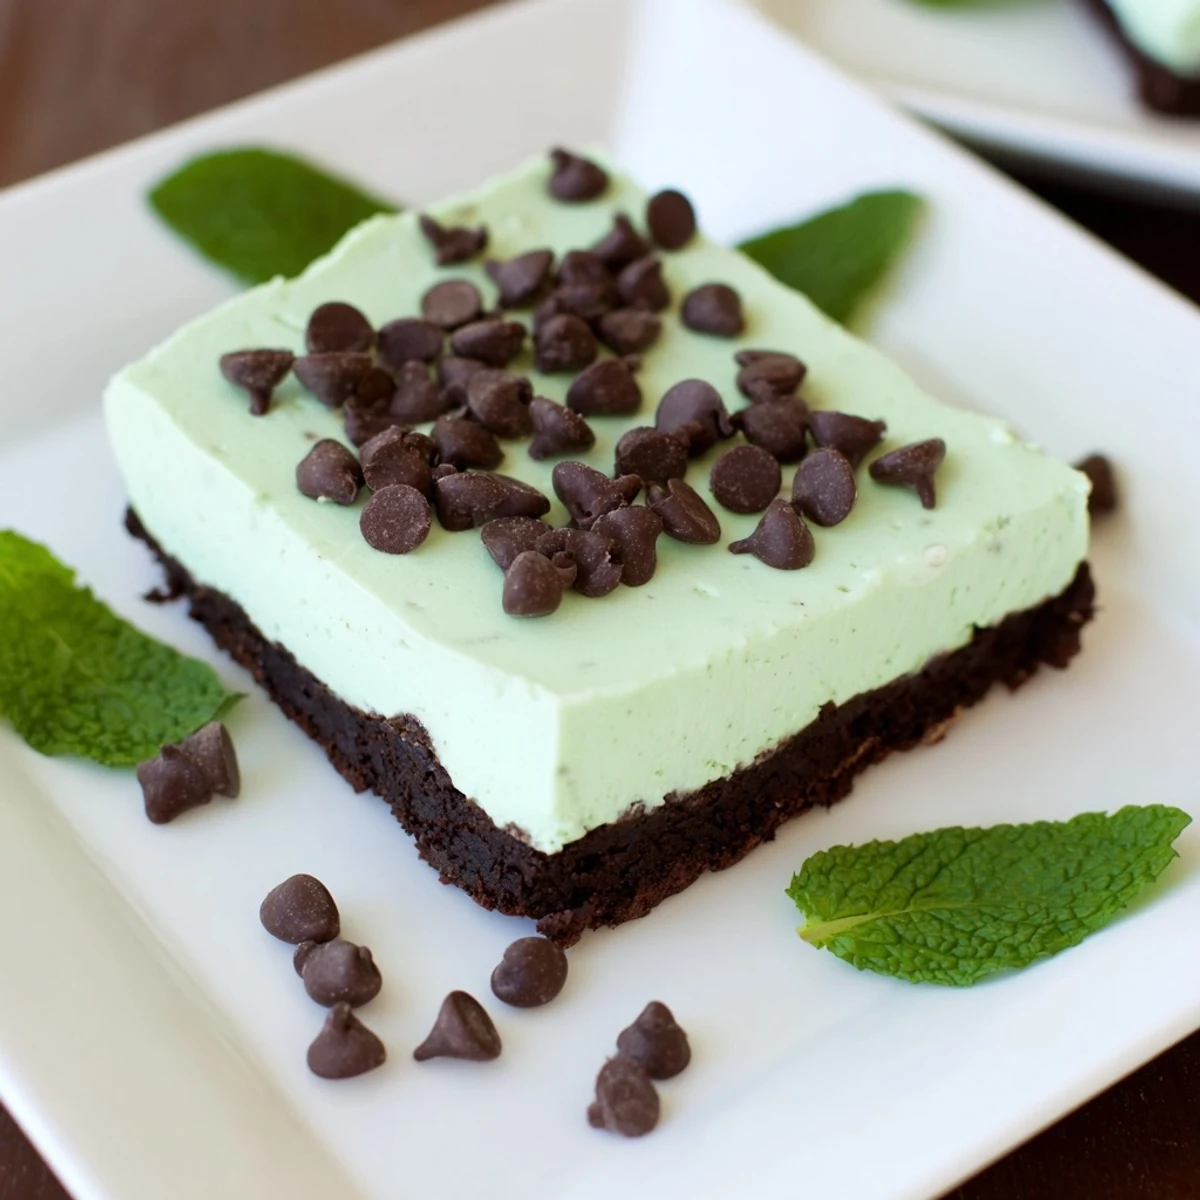
Save These chilled bars combine a smooth minty cheesecake filling with a rich chocolate cookie crust. Mini chocolate chips add texture and bursts of chocolate throughout, while fresh mint leaves offer a refreshing garnish. Prepared by baking a crunchy crust base, pouring in a creamy peppermint-infused filling, then chilling until set, this dessert delivers a perfect balance of cool mint and rich chocolate flavors in every bite.
My sister called me at 11 PM one Tuesday, hyperventilating about needing something impressive for her office potluck the next morning. These mint chocolate chip cheesecake bars saved her reputation, and they have been my emergency dessert weapon ever since.
The first time I made these for a dinner party, my friend Sarah actually took a bite, closed her eyes, and whispered oh my god under her breath. She asked for the recipe before we even finished dessert.
Ingredients
- Chocolate sandwich cookies (200g): Crushing these by hand is therapeutic, and the cream filling melts into the butter creating an impossibly rich crust that holds everything together beautifully
- Unsalted butter (60g melted): Melt it completely and pour it over the crushed cookies so every crumb gets coated in buttery goodness
- Cream cheese (450g softened): Room temperature is nonnegotiable here—cold cream cheese creates lumps that no amount of mixing can fix
- Granulated sugar (100g): This amount provides just enough sweetness without overpowering the delicate mint flavor
- Sour cream (80ml): The secret ingredient that adds tang and keeps the cheesecake impossibly creamy even after chilling
- Large eggs (2): Also at room temperature—they blend into the batter seamlessly instead of leaving tiny eggy bits
- Pure peppermint extract (1/2 tsp): Extract is potent stuff, so measure carefully because too much turns dessert into toothpaste
- Pure vanilla extract (1/2 tsp): Adds warm depth that keeps the mint from feeling too icy or one dimensional
- Mini chocolate chips (120g): Mini chips distribute evenly throughout the batter so every bite contains chocolate pockets
Instructions
- Prepare your canvas:
- Preheat oven to 160°C (325°F) and line a 23 cm square pan with parchment, letting the paper overhang the sides like little handles
- Build the chocolate foundation:
- Crush those cookies into oblivion, mix with melted butter until it resembles wet sand, then press firmly into your pan and bake for 8 minutes
- Whip up the minty filling:
- Beat cream cheese and sugar until ridiculously smooth, then add sour cream, both extracts, eggs, and food coloring until everything is one uniform green dream
- Scatter the chocolate:
- Fold in those mini chocolate chips gently so you do not knock all the air out of your perfectly fluffy batter
- Layer and bake:
- Pour the filling over your cooled crust, smooth the top, and bake for 30 to 32 minutes until the center giggles like jello but is not liquid
- Practice patience:
- Cool completely at room temperature, then refrigerate for at least 2 hours because rushing this step results in sad, runny bars
- Finish like a pro:
- Use the parchment to lift the whole thing out, cut into 16 squares, and decorate with extra chips and mint if you want to impress people
 Save
Save These have become my go to for birthdays, holidays, and random Tuesdays when nothing sounds better than cool mint and rich chocolate melting together in perfect harmony.
Getting The Perfect Texture
The difference between good and great cheesecake bars comes down to temperature control. Room temperature ingredients blend together seamlessly while cold ones fight you every step of the way, leaving tiny lumps that never disappear no matter how long you mix.
Mastering The Crust
Press the cookie mixture into your pan using the bottom of a measuring cup or glass. This trick creates an even, compact crust that holds together when you cut the bars instead of crumbling into a sad, chocolatey mess on your plate.
Make Ahead Magic
These bars actually improve after a day in the refrigerator as the flavors meld together and the texture becomes even creamier. They have saved me countless times when I need to bring dessert but have zero time the day of an event.
- Wrap the entire uncut slab in plastic and freeze for up to a month
- Let frozen bars thaw in the refrigerator overnight before serving
- Cut them while slightly cold for the cleanest, most professional looking squares
 Save
Save There is something deeply satisfying about cutting into that cool, green speckled cheesecake and watching the knife glide through perfectly. These bars make any ordinary Tuesday feel worth celebrating.