
 Save
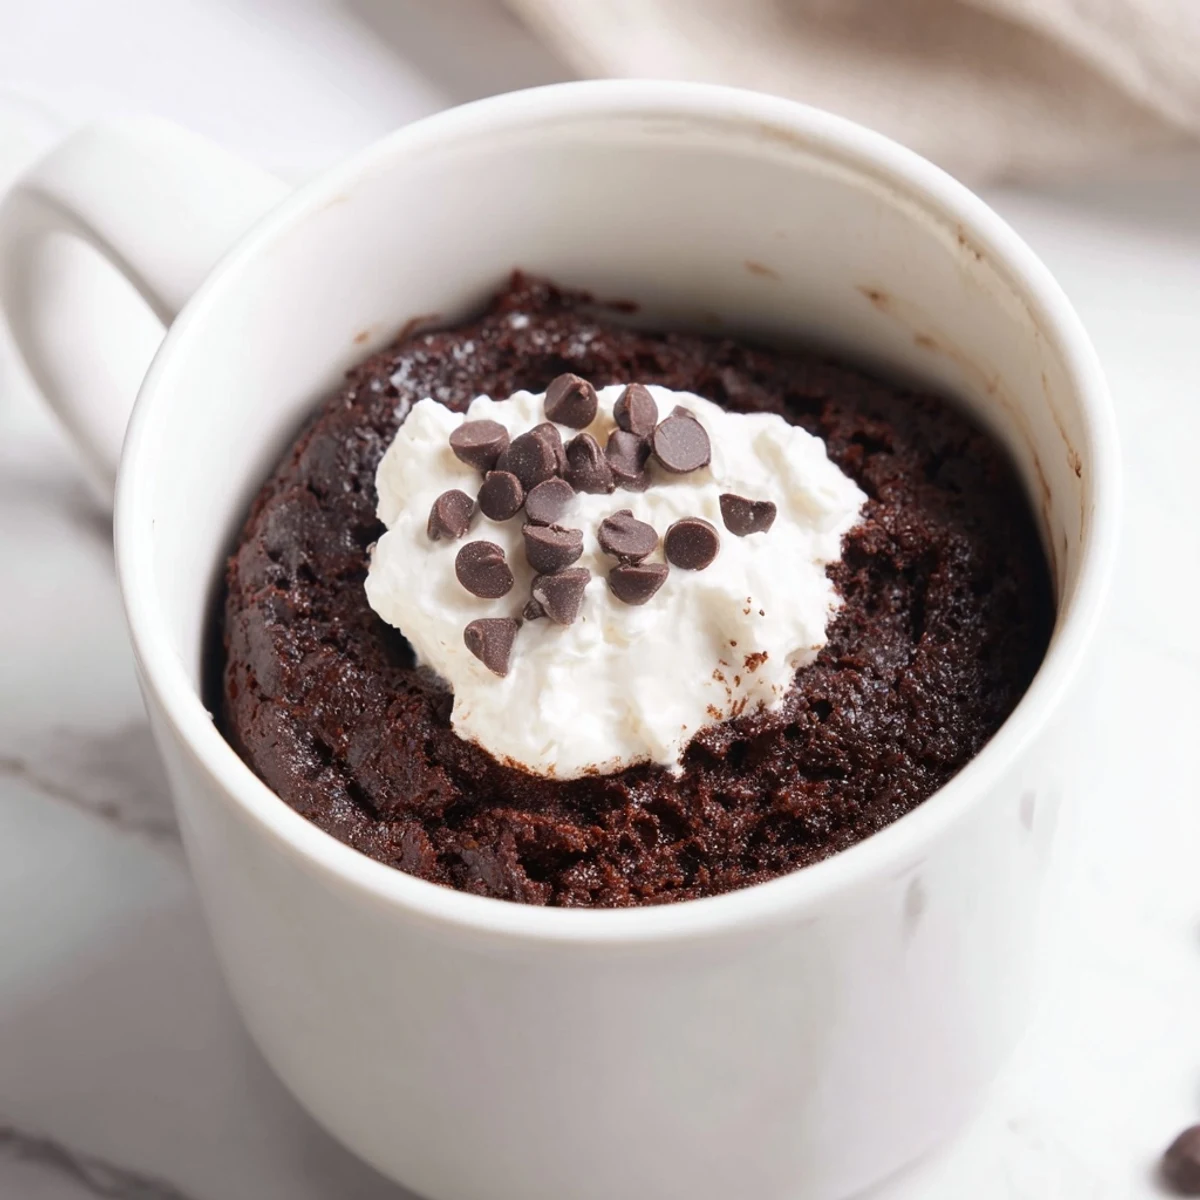
Save This gluten free chocolate mug cake delivers rich, fudgy satisfaction in a single serving ready in about 7 minutes. A handful of pantry staples—gluten-free flour, cocoa powder, sugar, milk, and oil—come together in a microwave-safe mug for instant dessert gratification.
Customize it with chocolate chips, a pinch of espresso powder, or a scoop of ice cream on top. It's naturally vegetarian and easily adapts to dairy-free diets by swapping in plant-based milk.
The clock on my microwave read 11:47 PM, and the craving for something chocolate hit with zero warning, which is exactly how this mug cake earned its permanent spot in my late night rotation. Three minutes later, fork in hand, I was eating the richest, fudgiest little cake out of a chipped ceramic mug I had owned since college. Nobody needs to know how easy it was.
I once made this for my neighbor during a power outage using just the microwave in her laundry room, and she looked at me like I had performed a magic trick. We stood in the dim glow of her phone flashlight eating cake and laughing about how ridiculous the situation was. That is the real power of a recipe that asks almost nothing of you.
Ingredients
- Gluten free all purpose flour blend (3 tbsp): The backbone of the cake, and the only thing standing between you and a sad soup, so measure with care and spoon it in rather than packing it down.
- Unsweetened cocoa powder (2 tbsp): Use a good quality one if you have it, because there are so few ingredients that each one carries real weight in the final flavor.
- Granulated sugar (3 tbsp): This is not the place to cut back aggressively, as sugar helps the texture stay soft and tender rather than turning chalky.
- Baking powder (1/4 tsp): A tiny amount that does a surprising amount of lifting, so make sure yours has not been sitting open in the cabinet for two years.
- Salt (pinch): Just enough to make the chocolate taste more like itself and less flat.
- Milk, dairy or non dairy (3 tbsp): Any milk works here, and I have used everything from oat to whole milk depending on what was in the fridge with no complaints.
- Vegetable oil or melted coconut oil (2 tbsp): Oil keeps the cake tender and moist even after microwaving, which is why it wins over butter in this particular recipe.
- Pure vanilla extract (1/4 tsp): A small splash that rounds everything out and makes the chocolate taste warmer and more complex.
- Chocolate chips (2 tbsp, optional): These create little pools of melted chocolate inside the cake and are technically optional but emotionally required.
Instructions
- Build your dry foundation:
- In a microwave safe mug of at least 12 ounces, whisk together the gluten free flour, cocoa powder, sugar, baking powder, and salt until you see an even brown mixture with no pale streaks hiding in the corners.
- Add the wet ingredients:
- Pour in the milk, oil, and vanilla, then mix with a fork using a vigorous circular motion, scraping down the sides and bottom of the mug until the batter is completely smooth and free of dry pockets.
- Fold in the chocolate chips:
- Drop in the chips and give the batter two or three gentle stirs so they are scattered throughout rather than all sinking to the bottom during cooking.
- Zap it with intention:
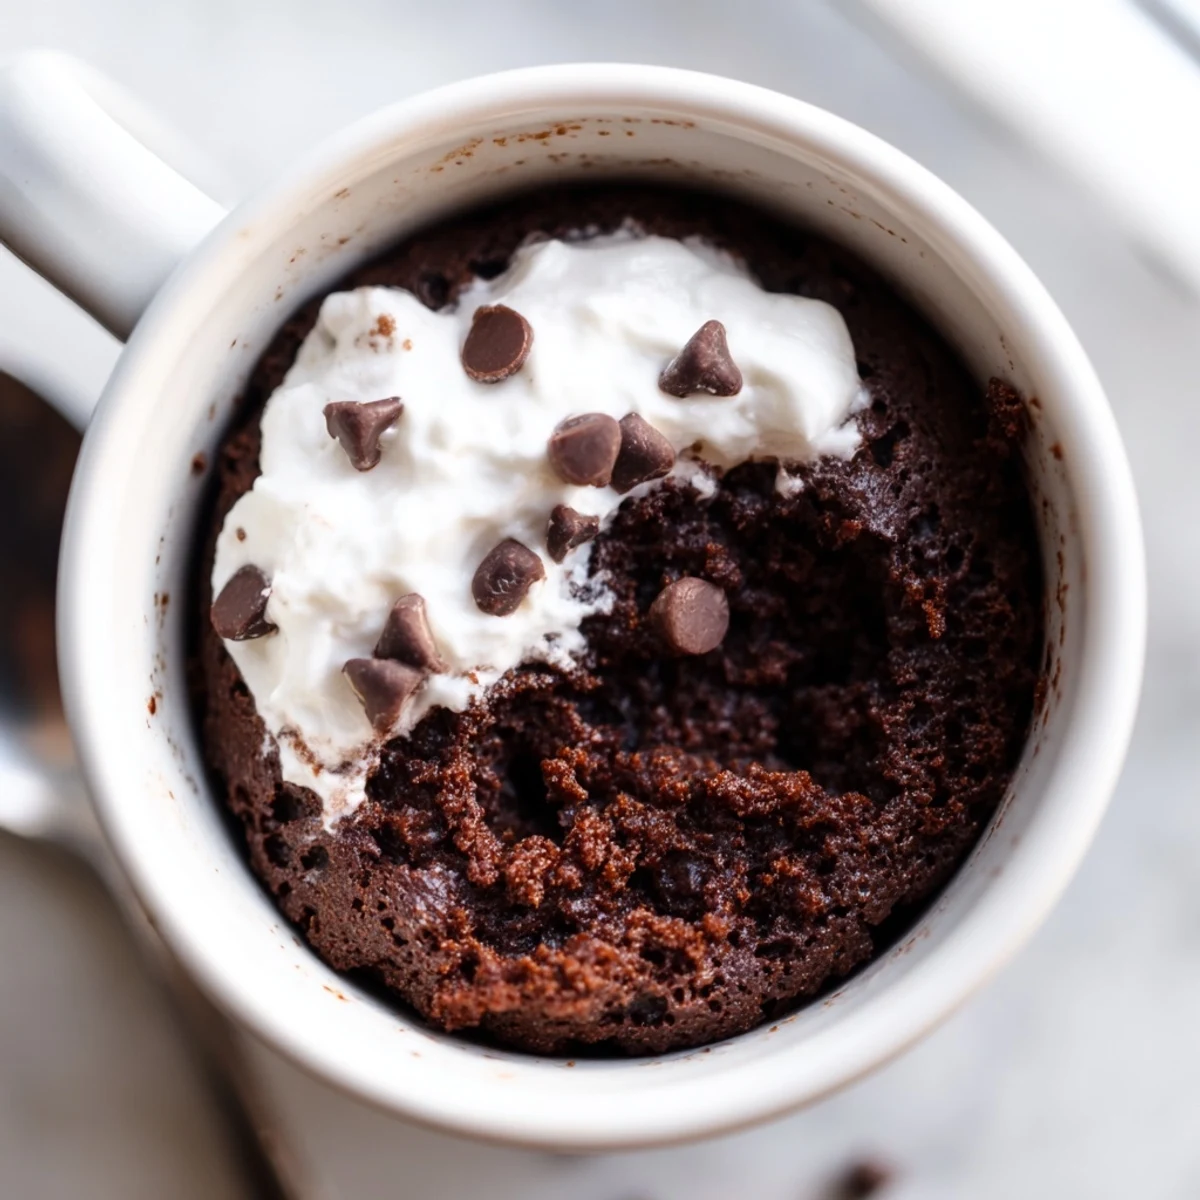
- Microwave on high for one full minute, then peek at the center: it should look set around the edges but still slightly soft and jiggly in the middle, which means perfectly fudgy.
- Finish in short bursts if needed:
- If the center still looks raw and wet, microwave in ten second bursts, checking after each one because going even twenty seconds too long turns fudgy into tough and dry.
- Let it rest briefly:
- Give the cake one to two minutes to settle and cool slightly before digging in, as it will continue to set during this time and the texture improves dramatically with just a little patience.
 Save
Save There is something oddly comforting about a dessert that only requires one mug, one fork, and zero planning. It meets you exactly where you are, even if where you are is standing in the kitchen in slippers at midnight.
Making It Your Own
A teaspoon of espresso powder added to the dry ingredients will deepen the chocolate flavor without making it taste like coffee. I discovered this on a rainy Tuesday when I was out of vanilla extract and started rifling through the pantry for alternatives. Now I add it almost every time.
Serving Suggestions Worth Trying
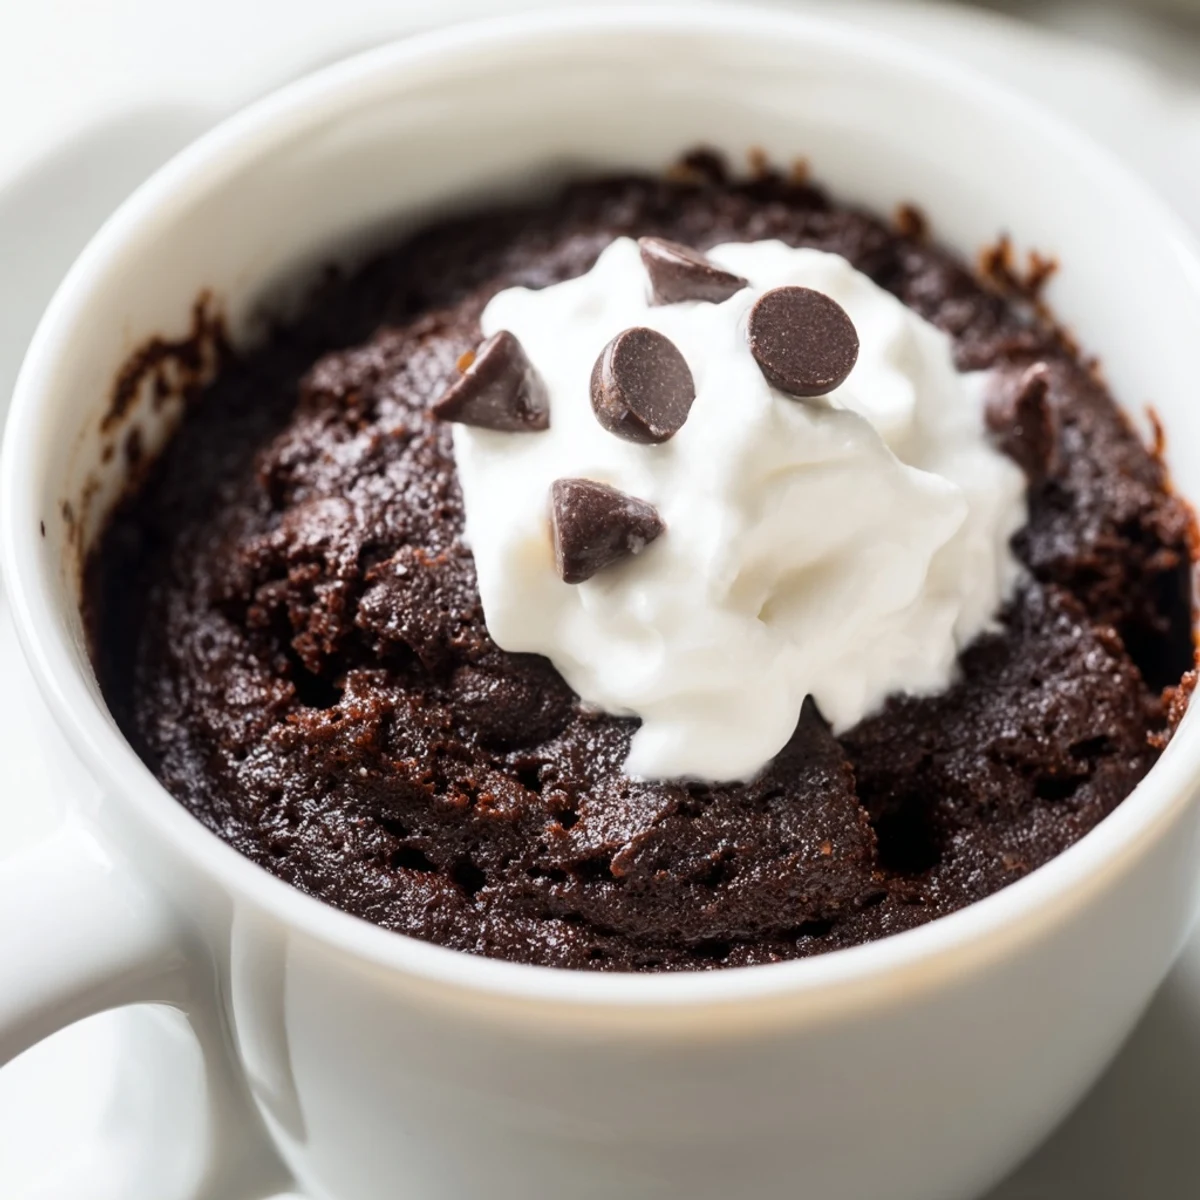
A scoop of vanilla ice cream melting on top of the warm cake creates an instant sundae situation that feels far more indulgent than the effort you put in. Whipped cream and a few fresh raspberries also work beautifully if you want to pretend you are the kind of person who planned ahead.
Storing and Reheating
Mug cakes are best eaten immediately and do not store well, which is honestly a feature rather than a bug since the recipe makes exactly one serving. If you somehow have leftovers, cover the mug with a small plate and reheat gently in ten second bursts.
- Do not refrigerate the cake, as it will dry out and become unpleasantly firm.
- If you want to prep ahead, mix just the dry ingredients in the mug and cover it for up to a week until you are ready to add the wet ones.
- Always double check that your flour and other ingredients are certified gluten free if cross contamination is a concern for you.
 Save
Save Keep this recipe saved somewhere you can find it at midnight, because that is almost certainly when you will need it most. A warm, fudgy chocolate cake in a mug is never more than seven minutes away.
Recipe FAQs
- → Can I make this mug cake dairy-free?
-
Yes, simply substitute the milk with almond, oat, or soy milk and use dairy-free chocolate chips. Coconut oil works well in place of vegetable oil too.
- → Why is my mug cake dry or rubbery?
-
Overcooking is the most common culprit. Microwave in 10-second increments after the initial minute and stop while the center is still slightly moist—it will continue to set as it cools.
- → What gluten-free flour blend works best?
-
A store-bought gluten-free all-purpose flour blend that contains xanthan gum yields the best texture. If your blend lacks it, add a small pinch of xanthan gum to help with structure.
- → Can I bake this in the oven instead of microwaving?
-
You can transfer the batter to a ramekin and bake at 350°F for about 12–15 minutes. The texture will be slightly different—more like a traditional cake—but still delicious.
- → How should I store leftovers?
-
Mug cakes are best enjoyed immediately. If you have leftovers, cover the mug with plastic wrap and store at room temperature for up to a day. Reheat briefly in the microwave for 10 seconds to soften.
- → Can I double the ingredients for a larger portion?
-
Yes, but use a larger mug or a small bowl to prevent overflow. You will also need to increase the cooking time, adding 20–30 seconds and checking doneness in 10-second intervals.