 Save
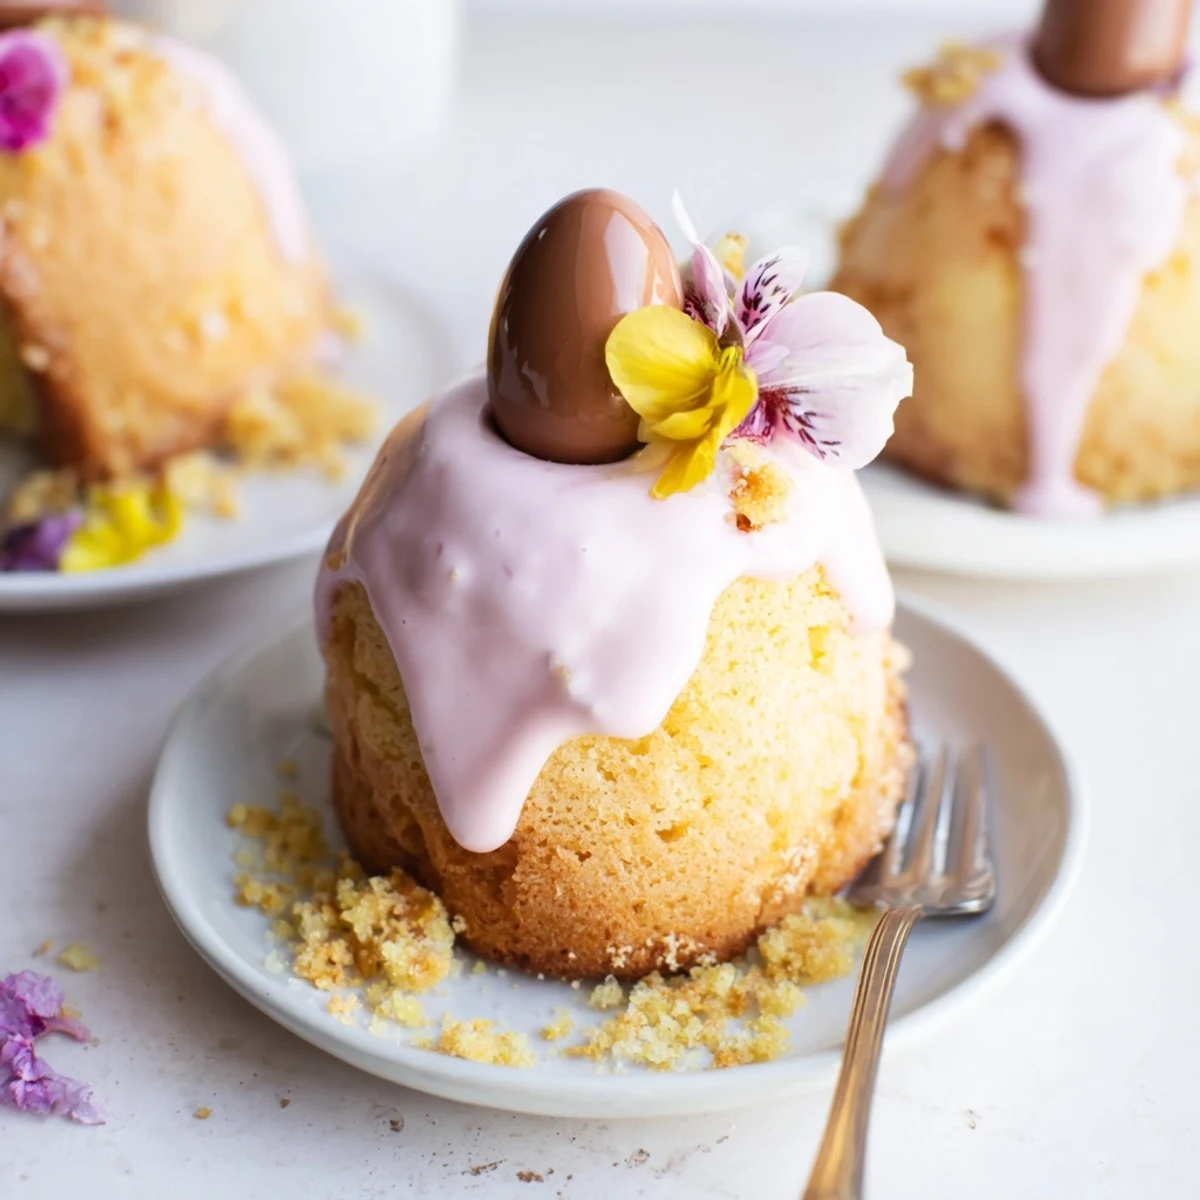
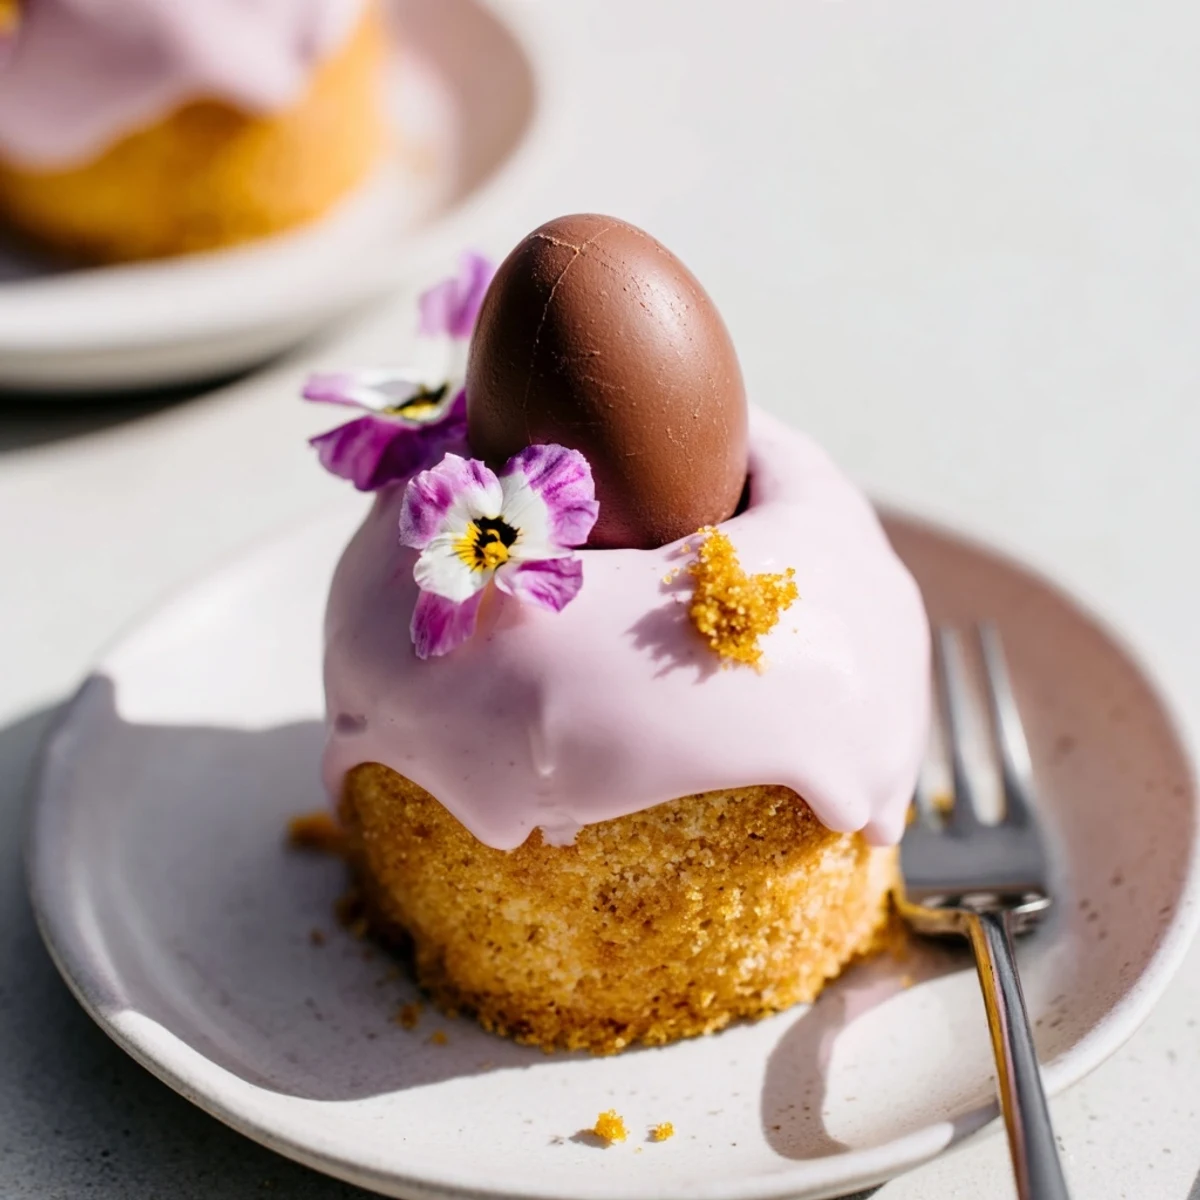
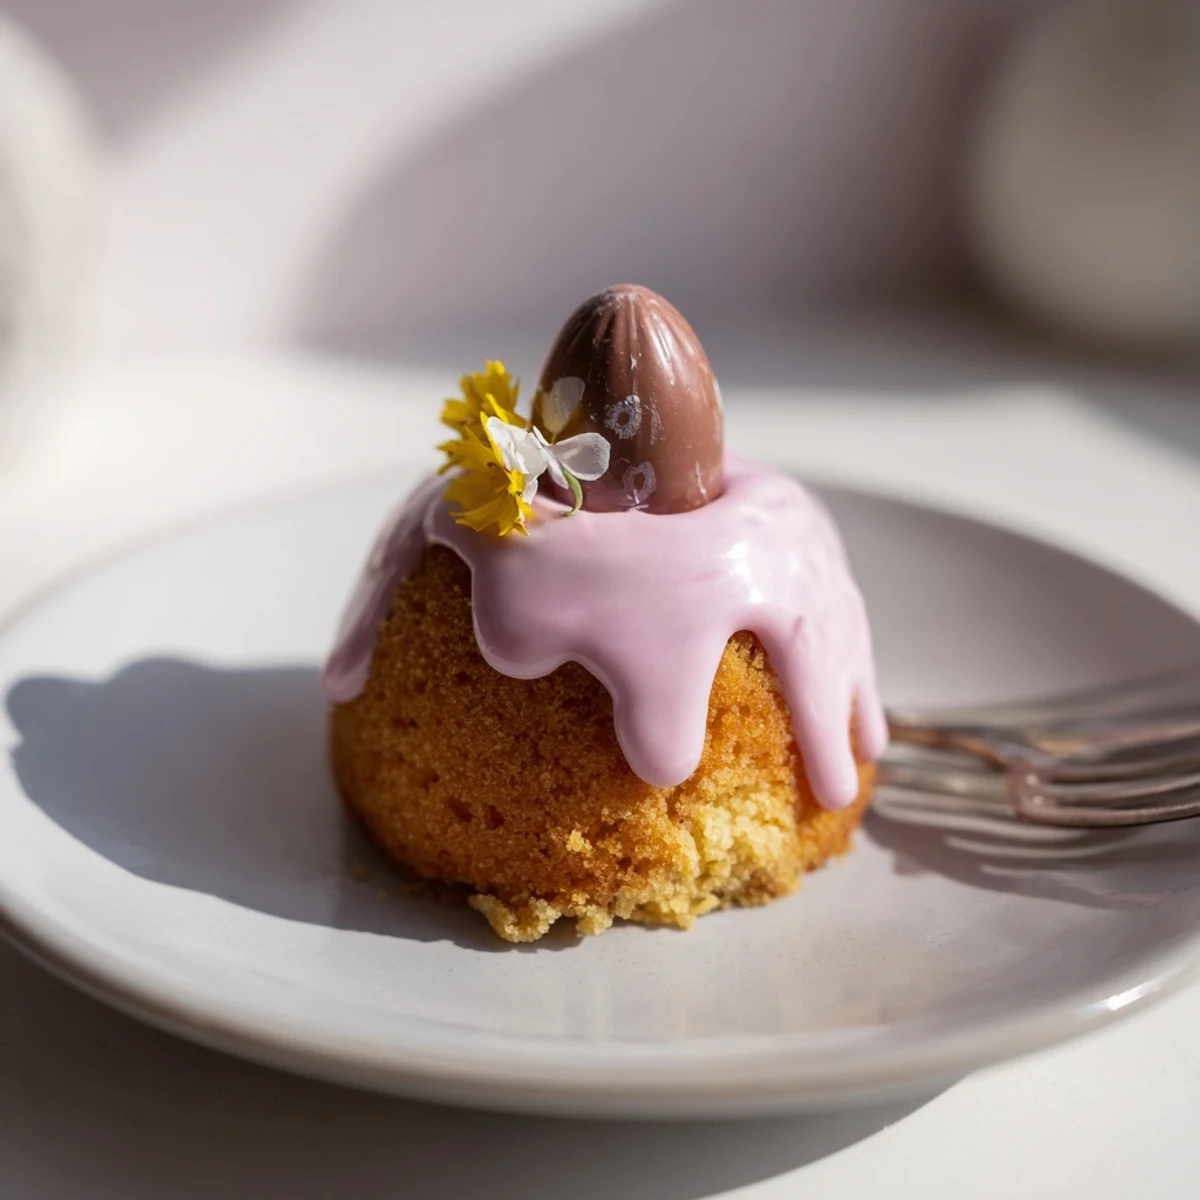
Save These delightful miniature sponge cakes bring festive charm to any Easter gathering. The light, fluffy vanilla batter bakes into tender treats that pair beautifully with smooth pastel icing in soft spring hues. Each cake becomes a canvas for creativity—drizzle with colored glaze, then adorn with mini chocolate eggs, delicate edible flowers, or cheerful sprinkles.
The straightforward method yields twelve individual portions, making them ideal for sharing. At just 45 minutes from start to finish, including prep and baking, these charming sweets offer impressive results with minimal effort. Customization is simple: add citrus zest to the batter for brightness, swap in gluten-free flour if needed, or let little helpers decorate their own creations.
Last spring my kitchen became an explosion of pastel food coloring and flour dust when I decided these tiny cakes would make the perfect centerpiece for our family brunch. I remember standing at the counter with my youngest, both of us with food coloring stained fingertips, deciding which shade of pink looked most like spring blossoms.
My aunt actually started this tradition years ago when she brought a batch of these to our Easter gathering decorated with the most delicate edible flowers she had grown herself. Now whenever I see pastel frosting I think of her kitchen table covered in tiny cakes and laughter.
Ingredients
- All-purpose flour: The foundation of our tender sponge cake, sift it well for the lightest texture
- Baking powder: This little dusting of magic gives our cakes their perfect rise
- Salt: Just a pinch balances the sweetness and brings all flavors forward
- Unsalted butter: Room temperature butter creates the perfect fluffy base for our batter
- Granulated sugar: Sweetens and lightens, creaming it into butter creates those beautiful air pockets
- Large eggs: Bring structure and richness, always use them at room temperature for better incorporation
- Vanilla extract: Pure vanilla adds that warm comforting flavor we all love
- Milk: Adds moisture and helps create that tender crumb we are after
- Powdered sugar: Sifting this is crucial for smooth lump free icing that glides perfectly
- Pastel food coloring: Gel colors work best for achieving those soft Easter shades without thinning the frosting
- Mini chocolate eggs: These little treasures crown our cakes and make them instantly festive
Instructions
- Getting Ready:
- Preheat your oven to 350°F (175°C) and prepare a 12 cup muffin tin by greasing it well or lining with pretty paper cases
- Whisking Dry Ingredients:
- In a medium bowl whisk together flour baking powder and salt until everything is evenly combined
- Creaming Butter and Sugar:
- Beat softened butter and sugar in a large bowl until the mixture turns pale and fluffy, this takes about 3 minutes of patience
- Adding Eggs:
- Add eggs one at a time beating well after each addition then mix in the vanilla extract until fully incorporated
- Combining Everything:
- Gently fold in half the flour mixture add the milk then remaining flour mixing only until combined, some lumps are okay
- Filling the Tins:
- Divide the batter evenly among muffin cups filling each about two thirds full, an ice cream scoop works perfectly here
- Baking to Golden:
- Bake for 18 to 20 minutes until a toothpick comes out clean then cool in the pan 5 minutes before transferring
- Making the Icing:
- Mix sifted powdered sugar with milk until smooth and thick but still pourable then divide into bowls and tint with pastel colors
- The Fun Part:
- Spoon or drizzle colored icing over each completely cooled cake and decorate with mini eggs flowers or sprinkles while still slightly wet
- Setting Time:
- Let the icing set for about 20 minutes before serving or packing up for your celebration
 Save
Save There is something so special about setting down a platter of these hand decorated little cakes and watching faces light up as everyone chooses their favorite color combination.
Making Them Ahead
The undecorated cakes freeze beautifully for up to a month. Just thaw them overnight and frost the day of your gathering for fresh tasting treats.
Flavor Variations
Fold lemon or orange zest into the batter for a bright citrus twist. Alternatively replace half the vanilla extract with almond extract for a nutty depth that pairs beautifully with the sweet frosting.
Decorating Ideas
Beyond the classic mini eggs try shredded coconut edible pearls or even tiny flower shaped sprinkles for different looks. The key is working quickly while the icing is still slightly tacky so everything sticks in place.
- Set up your decorating station before you start mixing the icing
- Use a small spoon or piping bag for more controlled drizzles
- Keep some undecorated cakes plain for anyone who prefers simpler sweets
 Save
Save These little cakes have become the sweet start to our Easter morning every year now. Watching everyone choose their favorite color and decoration makes all the flour on my counter completely worth it.
Recipe FAQs
- → How long do these stay fresh?
-
Store in an airtight container at room temperature for up to 3 days. The icing may soften slightly over time but remains delicious. For longer storage, freeze unfrosted cakes for up to 3 months and frost when ready to serve.
- → Can I make the batter ahead?
-
Yes, prepare the batter and refrigerate for up to 24 hours before baking. Let it come to room temperature for 15 minutes, then stir gently before dividing into muffin cups. This can actually enhance flavor development.
- → What other decorations work well?
-
Beyond mini eggs and sprinkles, try shredded coconut, crushed Cadbury eggs, marshmallow chicks, or toasted nuts. Fresh edible flowers like pansies or violets add elegant spring flair. Chocolate shavings or colored sanding sugar create sophisticated finishes.
- → How do I achieve the perfect icing consistency?
-
The ideal glaze should flow slowly from a spoon but hold its shape on the cake. Start with 2 tablespoons of milk, adding more teaspoon by teaspoon until reaching desired thickness. Too thin and it will run off; too thick and it won't coat smoothly.
- → Can I bake these as standard cupcakes?
-
Absolutely. Use a standard muffin tin and increase baking time to 20-22 minutes. The yield will be approximately 10-12 regular-sized treats rather than the mini version. Adjust frosting quantities accordingly for larger surface areas.