 Save
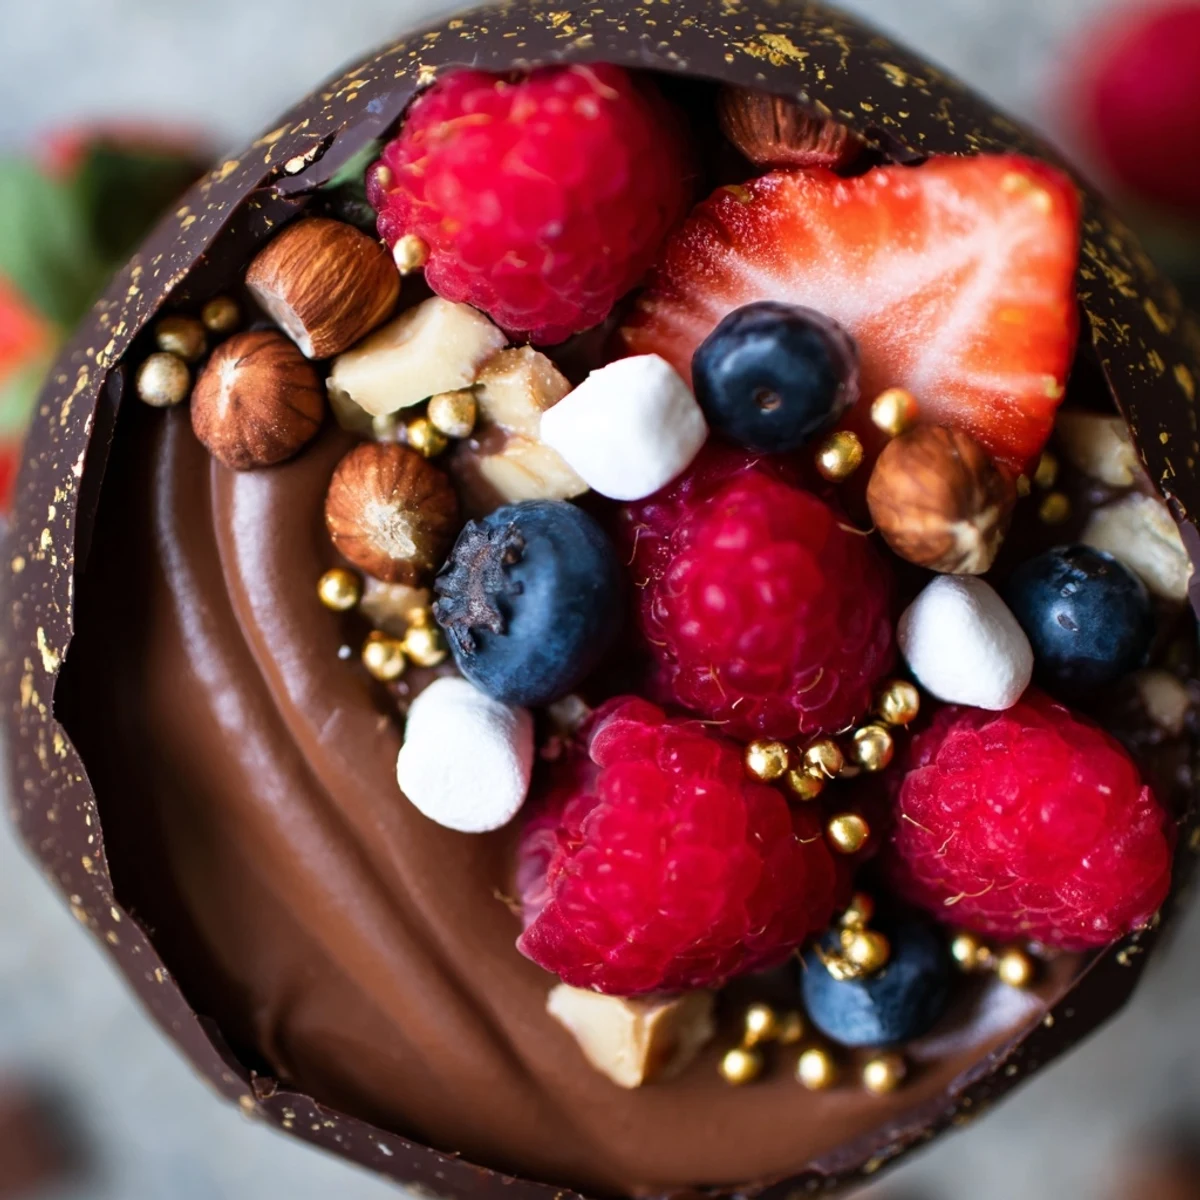
Save Create stunning chocolate grazing cups with edible bowls filled with silky mousse and topped with fresh berries, nuts, and edible gold. These individual desserts combine the elegance of a charcuterie presentation with the indulgence of rich chocolate treats. The process involves crafting delicate chocolate cups from melted dark chocolate, preparing a light yet decadent mousse by folding whipped cream into melted chocolate, then artfully arranging colorful toppings for maximum visual appeal.
The summer I turned twelve, my mother hosted her first dinner party and decided these elegant grazing cups would be her signature dessert. I remember watching her work with intense focus, tempering chocolate at the stove while I sneaked tastes of the mousse from the mixing bowl. That night, our guests actually gasped when she brought out the tray, and I realized food could be art you eat with your fingers.
Last Valentine's Day, I made these for my partner instead of going out to dinner. We sat at the kitchen island in our sweatpants, assembling toppings like kids at a candy station, and it was somehow more romantic than any restaurant meal could have been.
Ingredients
- Dark chocolate: The higher cocoa percentage (at least 60%) gives these cups their sophisticated edge and prevents them from being cloyingly sweet
- Heavy cream: Cold cream whips up better, so pop your bowl and whisk in the freezer for ten minutes before starting
- Fresh berries: The tartness cuts through all that rich chocolate, creating balance in every single bite
- Chopped nuts: Toast them lightly beforehand to unlock their oils and amplify their flavor
- Mini marshmallows: These add nostalgic sweetness and a fun squishy texture that makes people smile
- Edible gold leaf: Totally optional but that moment when someone spots gold on their dessert is worth every penny
Instructions
- Creating the chocolate cups:
- Melt your dark chocolate gently, stirring every thirty seconds until it's glossy and smooth. Paint the inside of your liners in thin, even coats, taking care to reach all the way up the sides so you get sturdy cups that won't collapse.
- Setting the shell:
- Chill the coated liners for at least twenty minutes, though thirty is even better for extra insurance. Peel the liners away slowly and carefully, treating these fragile vessels like the precious creations they are.
- Making the mousse:
- Whip your cold cream until soft peaks form, then fold in your cooled melted chocolate in three additions. The first addition lightens the chocolate so it incorporates without deflating all that air you just whipped into the cream.
- Assembling your masterpieces:
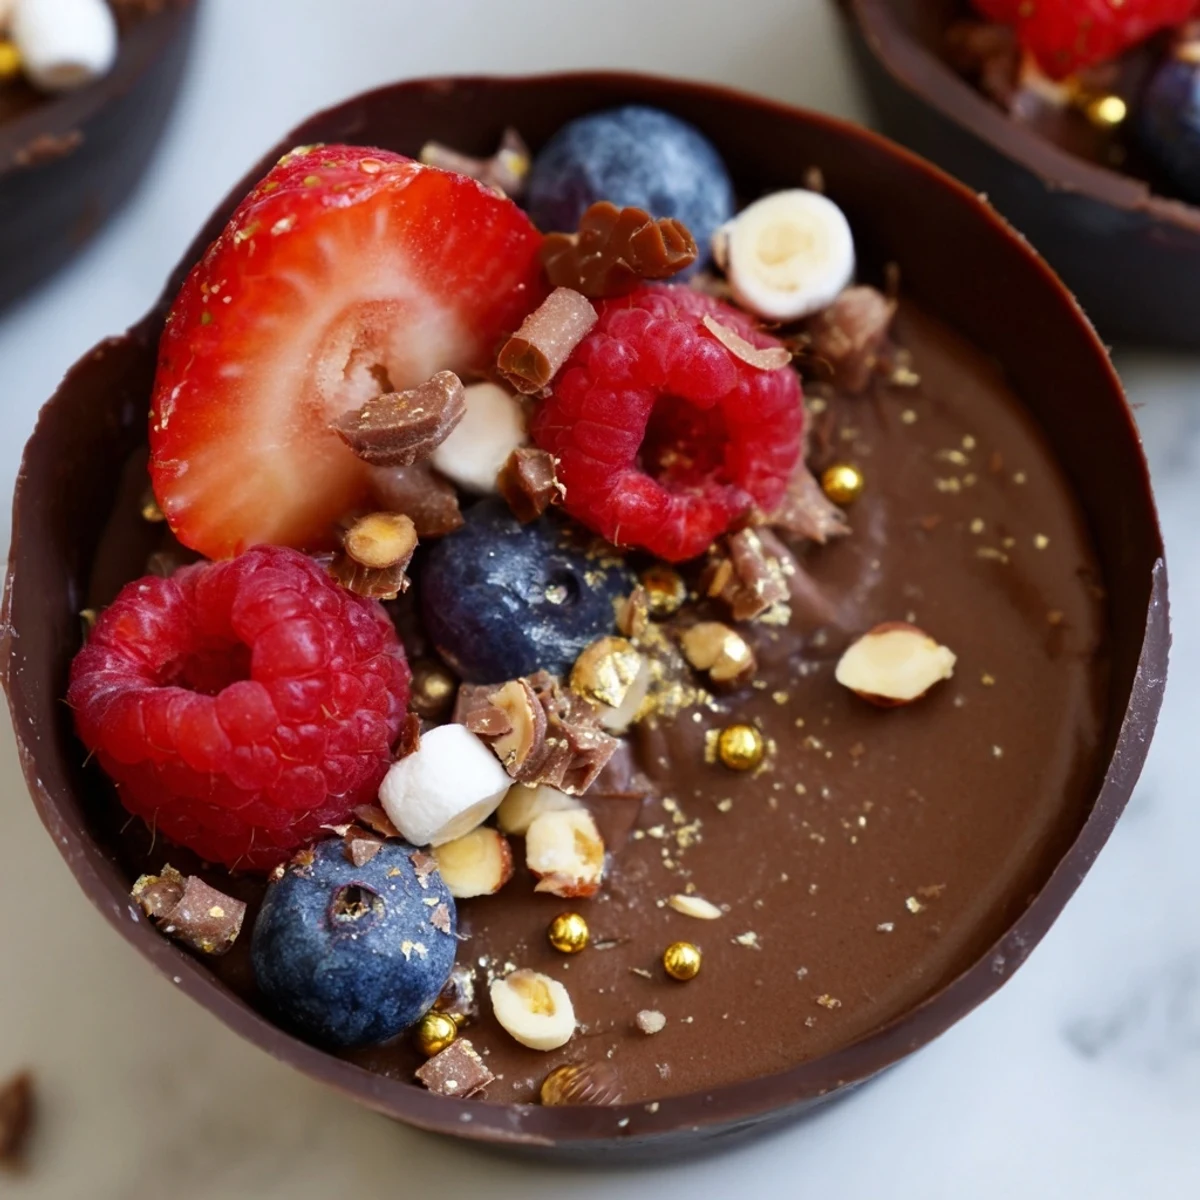
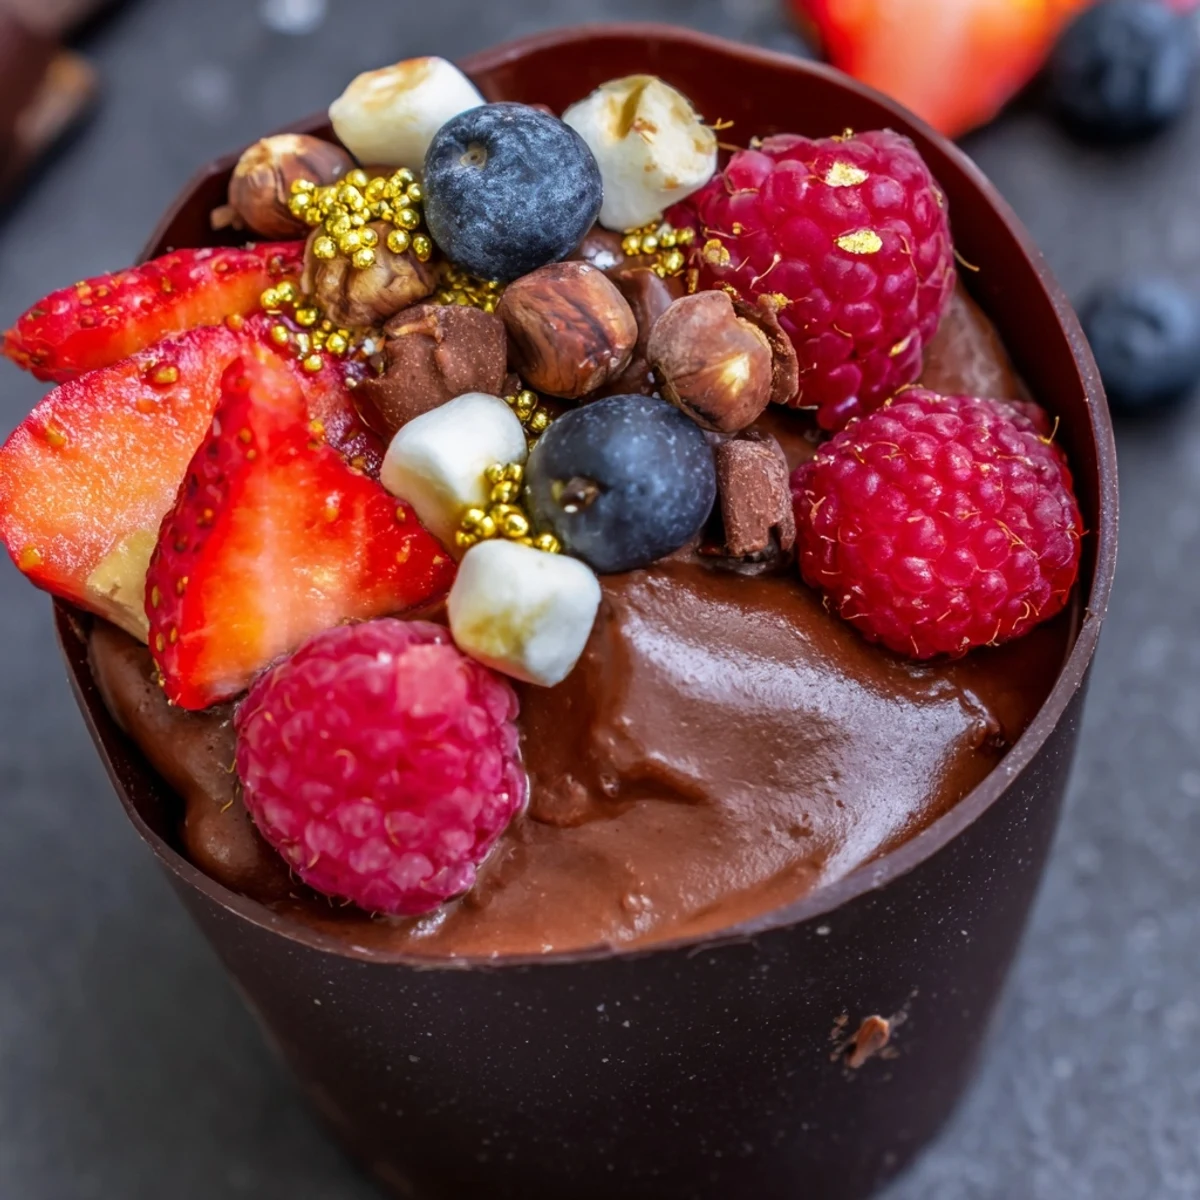
- Pipe or spoon the mousse into each chocolate cup, leaving room at the top for your gorgeous toppings. Arrange the berries, nuts, marshmallows, and chocolate curls however feels beautiful to you, because there's no wrong way to decorate.
- The final chill:
- Refrigerate everything for at least twenty more minutes so the flavors meld and the mousse firms up slightly. Serve these on your prettiest platter and watch everyone's faces light up.
 Save
Save My little niece called these fairy houses at her birthday party and refused to believe they were actually chocolate. Sometimes the most elegant recipes become the most joyful simply by existing.
Make-Ahead Magic
You can prepare the chocolate cups and mousse separately up to twenty-four hours in advance, storing the cups layered between parchment paper in an airtight container. Keep everything refrigerated, then assemble just before serving to maintain that perfect crisp-tender texture balance.
Flavor Adventures
White chocolate creates stunning cups filled with dark chocolate mousse for that classic cookies and cream flavor profile. For adult gatherings, I fold orange liqueur or espresso into the mousse base, transforming these from sweet treats into sophisticated desserts that pair beautifully with after-dinner coffee.
Presentation Secrets
Arrange your toppings in small bowls and let guests customize their own cups at parties. It becomes an interactive dessert station that doubles as an activity.
- Work quickly once the chocolate cups leave the refrigerator, as they start softening immediately
- Room temperature chocolate mousse pipes more smoothly than cold, so let it sit for five minutes before filling
- Have extra berries on hand because people always want more fruit to balance the richness
 Save
Save Some recipes are just about feeding people, but these cups are about making them feel celebrated in the most delicious way possible.
Recipe FAQs
- → How long do chocolate cups take to set?
-
The chocolate cups require about 20 minutes in the refrigerator to fully set and become firm enough to handle. For best results, ensure the chocolate is evenly coated and chilled thoroughly before removing the liners.
- → Can I make these ahead of time?
-
These chocolate cups are best made on the day of serving for optimal texture and freshness. However, you can prepare the chocolate cups and mousse separately up to 24 hours in advance, then assemble and garnish just before serving.
- → What type of chocolate works best?
-
Dark chocolate with at least 60% cocoa content provides the best flavor balance and structure for the cups. The higher cocoa percentage helps the chocolate set properly while delivering a sophisticated taste that pairs beautifully with fresh berries.
- → Can I substitute the heavy cream?
-
Coconut cream can replace heavy cream for a dairy-free version, though the texture will be slightly different. The mousse may be denser, so consider adding a bit more sweetener to balance the flavors.
- → How do I store leftovers?
-
Store assembled cups in an airtight container in the refrigerator for up to 2 days. Note that the chocolate may develop condensation and the fresh berries might soften, so they're truly best enjoyed fresh.
- → What other toppings can I use?
-
Get creative with toppings like crushed cookies, shaved coconut, caramel sauce, sea salt, candied citrus peel, or fresh mint leaves. Seasonal fruits, crushed pretzels for saltiness, or even edible flowers make beautiful additions.