
 Save
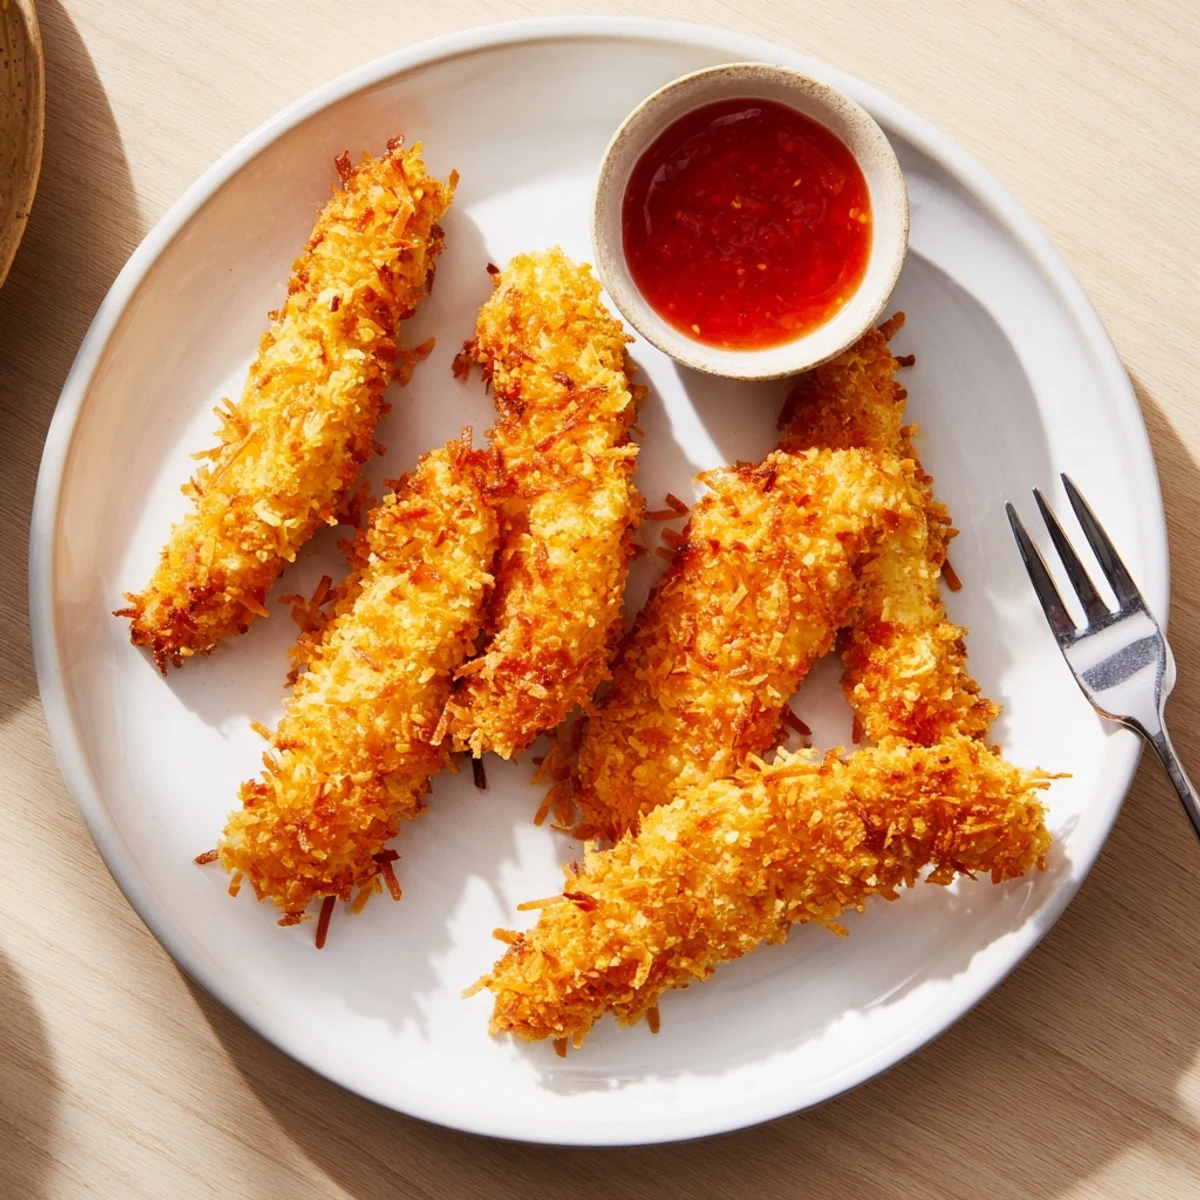
Save These crunchy coconut chicken strips combine juicy chicken with a crispy coconut-panko crust that delivers irresistible tropical flavor and satisfying crunch in every bite.
Ready in just 40 minutes, you can bake or fry them depending on your preference. The three-step breading process—seasoned flour, beaten egg, then coconut-panko mixture—ensures an even, golden coating that stays crispy.
Serve with sweet chili sauce or mango chutney for dipping. They make an excellent main dish paired with rice and salad, or cut them smaller for crowd-pleasing party finger food.
The sizzle of coconut hitting hot oil is one of those sounds that makes everyone wander into the kitchen asking what is for dinner.
I made these for a backyard gathering last summer and they vanished faster than anything else on the table.
Ingredients
- 600 g boneless skinless chicken breasts or tenders: Cut into even strips so they all cook at the same rate.
- 70 g all purpose flour: Forms the base layer that helps the egg and coconut stick properly.
- 1 tsp salt: Do not skimp here because the flour needs seasoning to carry flavor through the crust.
- 1/2 tsp black pepper: Adds subtle warmth behind the sweetness of the coconut.
- 1/2 tsp garlic powder: A quiet backbone that makes every bite more interesting.
- 2 large eggs beaten: The glue that holds the whole crust together.
- 90 g unsweetened shredded coconut: Sweetened works too but unsweetened gives a toastier more balanced flavor.
- 60 g panko breadcrumbs: The secret to keeping the coconut from burning before the chicken cooks through.
- Vegetable oil for frying: Only needed if you choose the pan fried route.
- Sweet chili sauce or mango chutney: A dipping sauce turns this from a weeknight dinner into something special.
Instructions
- Set up your station:
- If baking preheat the oven to 200 degrees Celsius or 400 degrees Fahrenheit and line a baking sheet with parchment paper greased lightly.
- Build the breading line:
- Grab three shallow bowls and fill the first with flour mixed with salt pepper and garlic powder the second with beaten eggs and the third with coconut and panko combined.
- Coat each strip:
- Dredge the chicken in flour and shake off the extra then dunk it in egg and press it firmly into the coconut panko mix so every side is covered.
- Cook to golden:
- To bake arrange strips on the sheet spray or brush with oil and bake 18 to 22 minutes flipping halfway until deeply golden and cooked through.
- Serve immediately:
- Let them rest for just a minute then serve hot with sweet chili sauce or mango chutney on the side.
 Save
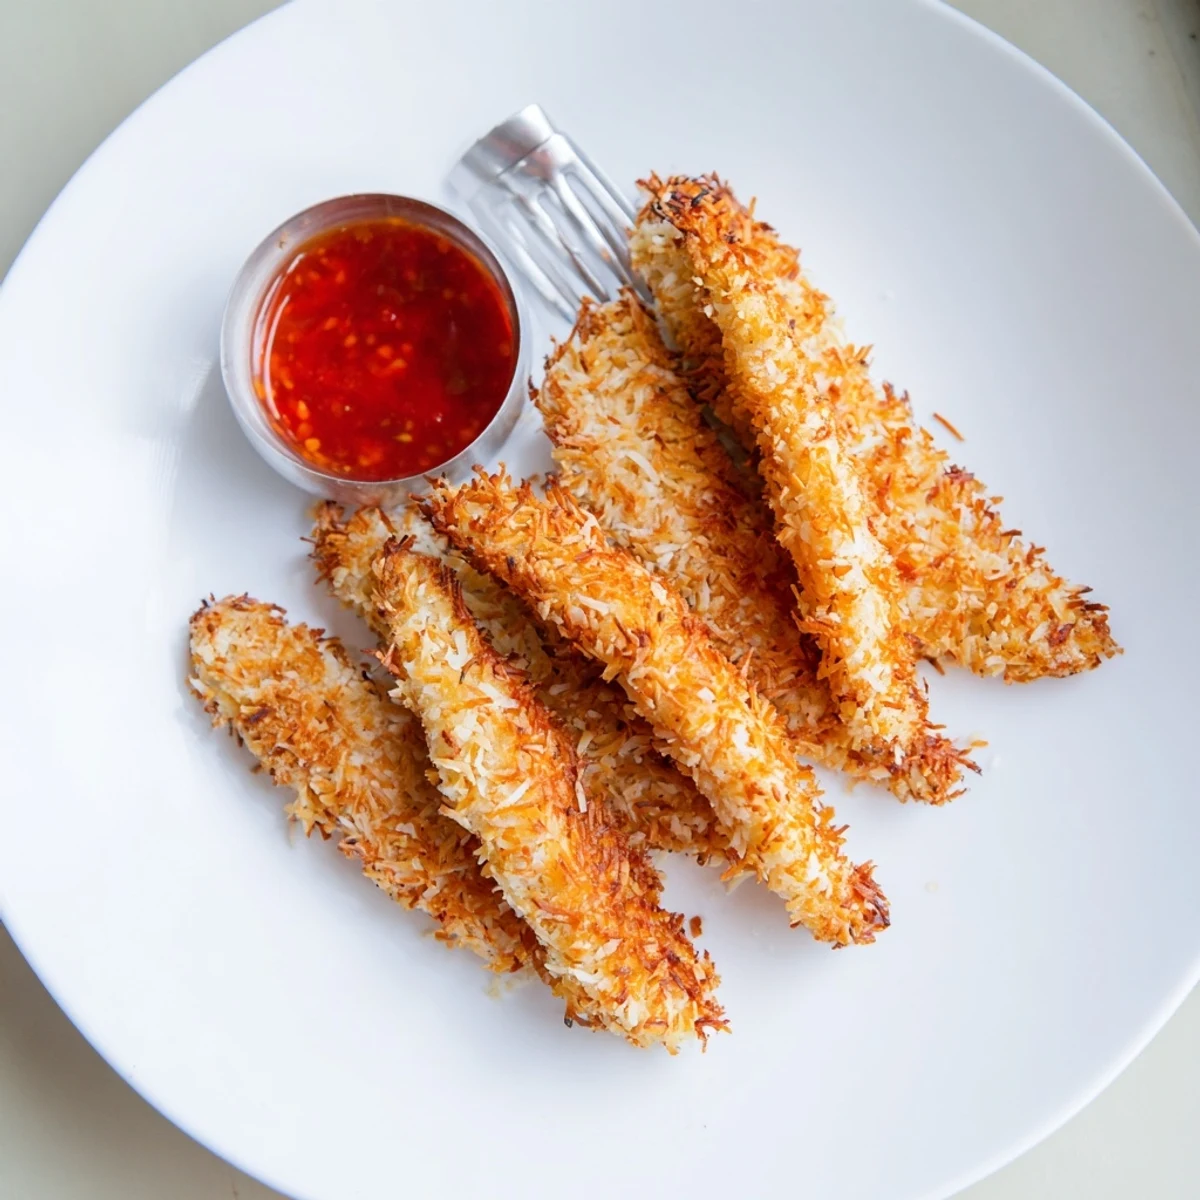
Save There is something about a plate of golden coconut chicken that turns a regular Tuesday into a small celebration.
Baking Versus Frying
Both methods work beautifully but they give slightly different results. Baking is hands off and lighter while frying delivers a deeper crunch and richer color.
Getting the Crust Right
The ratio of coconut to panko matters more than you might think. Too much coconut and it burns before the chicken is done but too much panko and you lose that tropical flavor entirely.
Serving and Storing
These are best eaten right away when the crust is at peak crunch. If you need to store them reheat in a hot oven or air fryer to bring back some of that texture.
- Leftovers keep well in the fridge for up to three days.
- Freeze cooked strips on a sheet pan then transfer to a bag for up to two months.
- Always reheat from frozen or thawed in an oven never the microwave.
 Save
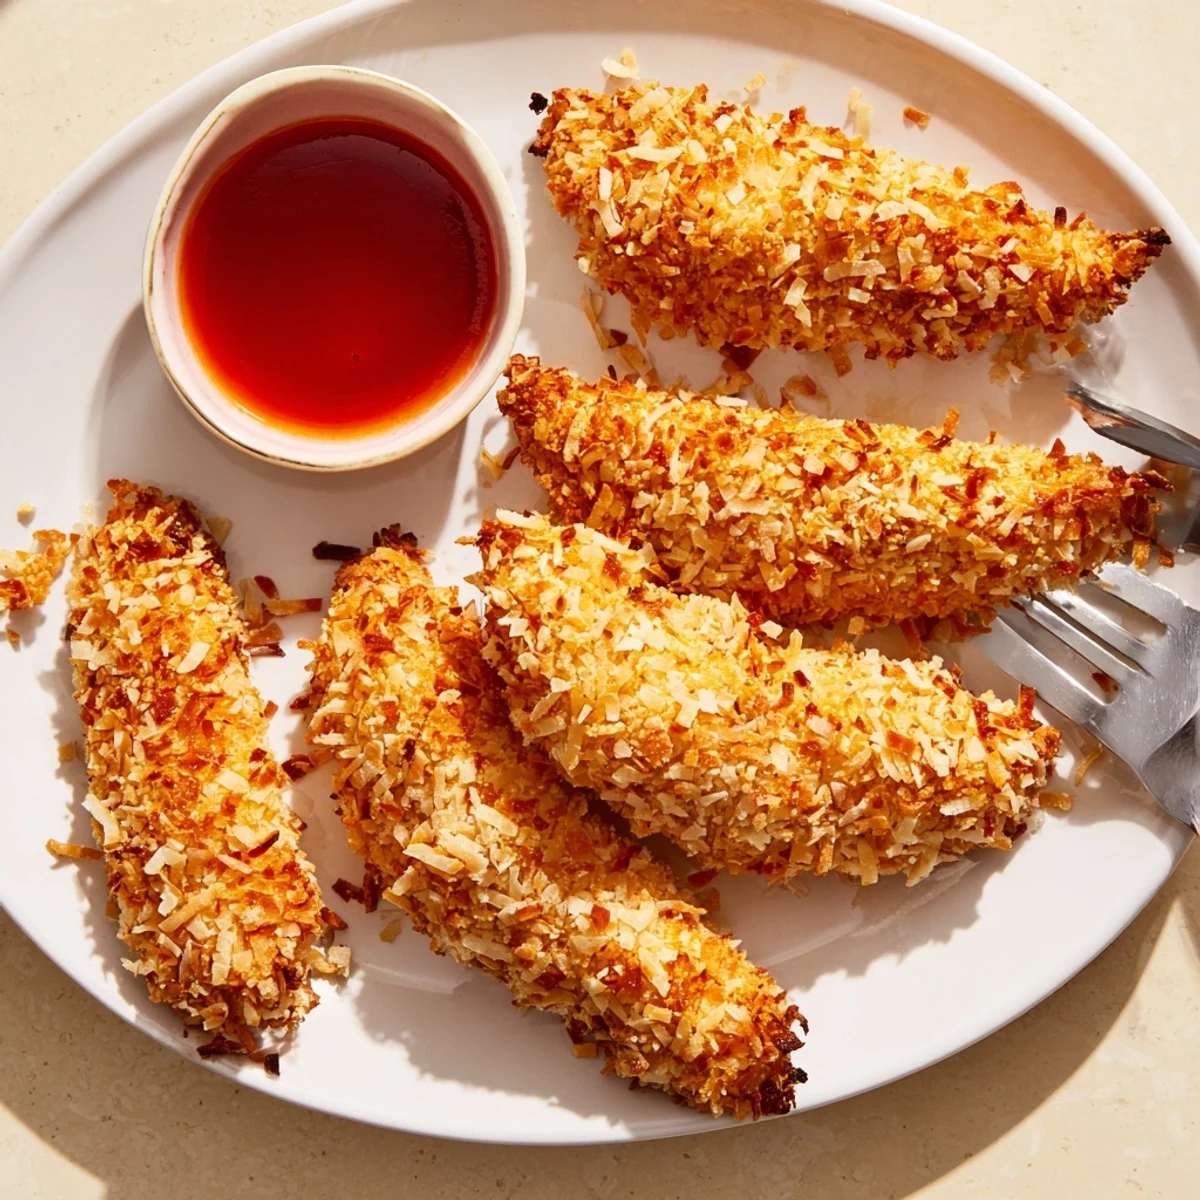
Save Once you hear that crunch and taste the faint sweetness of toasted coconut you will be making this again and again.
Recipe FAQs
- → Can I bake instead of fry the coconut chicken?
-
Yes, baking works great. Arrange the coated strips on a parchment-lined baking sheet, lightly spray or brush with oil, and bake at 200°C (400°F) for 18–22 minutes, turning halfway through, until golden and cooked through.
- → How do I keep the coconut crust from falling off?
-
Press the coconut-panko mixture gently but firmly onto each strip after dipping in egg. Make sure to shake off excess flour before the egg dip and excess egg before the coating step. Letting the coated strips rest for 5 minutes before cooking also helps the breading adhere better.
- → Can I use sweetened shredded coconut instead?
-
Unsweetened shredded coconut is recommended for a balanced savory flavor. Sweetened coconut will add extra sugar that can burn quickly during frying or baking, and it may make the dish overly sweet. If that's all you have, reduce any additional sugar and watch the cooking temperature carefully.
- → What dips pair well with coconut chicken?
-
Sweet chili sauce and mango chutney are classic pairings that complement the tropical coconut flavor. Other great options include honey mustard, teriyaki sauce, sriracha mayo, or a simple squeeze of fresh lime juice.
- → Can I make this gluten-free?
-
Absolutely. Swap the all-purpose flour for a gluten-free flour blend and use gluten-free panko breadcrumbs. Double-check that your shredded coconut and any sauces you serve with it are also certified gluten-free to avoid cross-contamination.
- → How should I store and reheat leftovers?
-
Store leftover coconut chicken in an airtight container in the refrigerator for up to 3 days. To reheat and maintain crispiness, place the strips on a baking sheet in a preheated oven at 190°C (375°F) for 8–10 minutes. Avoid microwaving as it will make the coating soggy.