
 Save
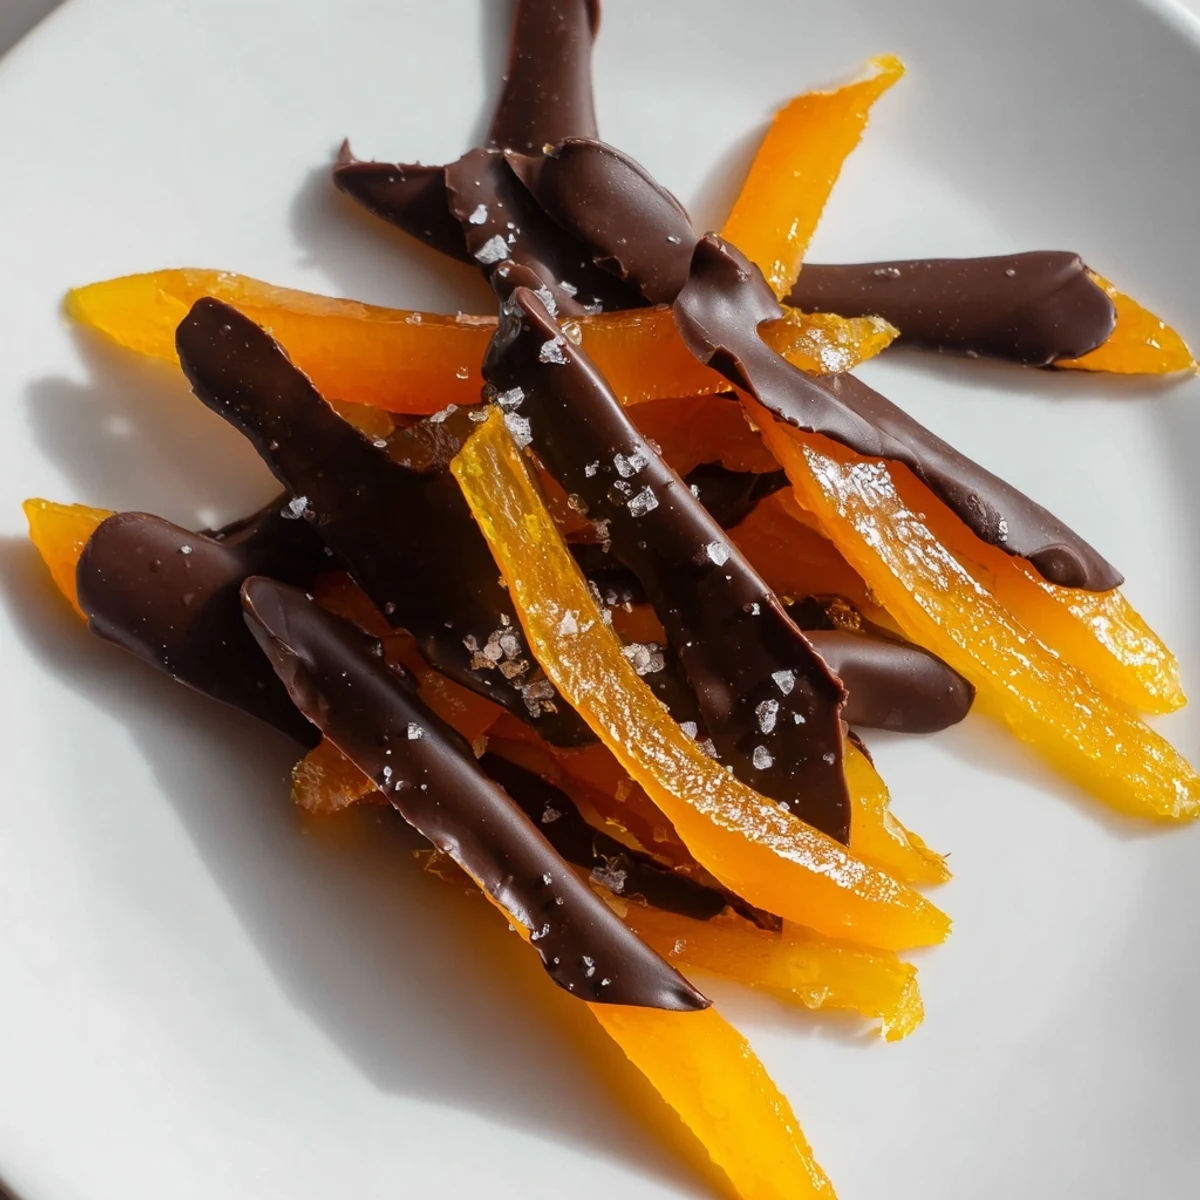
Save Chocolate covered orange peels are a classic European confection made by candying fresh orange peel strips in sugar syrup, then dipping them in melted dark chocolate.
The process involves blanching the peels multiple times to remove bitterness, simmering them in a simple sugar syrup until translucent, and allowing them to dry before dipping.
Using high-quality dark chocolate with at least 60% cocoa ensures a rich coating that pairs beautifully with the sweet, citrusy centers. A sprinkle of flaky sea salt adds an optional finishing touch.
The smell hit me before anything else: warm citrus and caramelized sugar swirling through my tiny apartment on a rainy Saturday. I had three oranges rolling around the counter and no real plan beyond a vague craving for something sweet and bright. Two hours later I was standing in my kitchen covered in sticky syrup, completely hooked on making chocolate covered orange peels from scratch. That afternoon changed how I think about homemade candy forever.
I brought a tin of these to my neighbor Helen last holiday season and she stood in her doorway eating three in a row before even saying thank you. We ended up leaning against her doorframe talking about her mothers candied fruit traditions for half an hour while snow came down on the street behind us. She now asks me every November if Im making the orange peels again, and I always do.
Ingredients
- 3 large oranges: Navel or Valencia work beautifully, choose ones with thick bright skins because more peel means more candy and the thicker the skin the easier they are to work with
- 1 cup (200 g) granulated sugar: Standard white sugar creates the clearest syrup and lets the orange flavor shine without competing notes
- 1 cup (240 ml) water: Combined with the sugar it forms the bathing liquid that transforms bitter peel into jewel like candy
- 200 g high quality dark chocolate (at least 60% cocoa): Do not skimp here, cheap chocolate will seize or taste waxy and it will ruin all your patient candying work
- 1 tsp flaky sea salt (optional): Maldon or any finishing salt adds a crackling contrast that makes each piece feel professional and complete
Instructions
- Prep the oranges:
- Wash each orange thoroughly under warm water, scrubbing gently to remove any wax coating. Score the peel from top to bottom in four vertical lines, then gently pry the peel away from the fruit in large pieces, keeping as much white pith attached as you can because it helps the strips hold their shape during cooking.
- Cut into strips:
- Lay each peel section flat on your cutting board and slice into uniform strips about half a centimeter wide. Consistency matters here because evenly sized strips cook at the same rate and look gorgeous when finished.
- Blanch the bitterness away:
- Place all the strips in a saucepan, cover with cold water, and bring to a rolling boil for two minutes before draining completely. Repeat this process two more times for a total of three blanches, and watch how the water becomes less cloudy and bitter with each round.
- Make the syrup:
- In the same saucepan, combine the sugar and water, stirring over medium heat until every crystal dissolves and the liquid runs clear. Bring it to a gentle simmer and try to resist the urge to stir it constantly once the sugar has dissolved.
- Candy the peels:
- Slide the blanched strips into the shimmering syrup and let them simmer gently for forty minutes, stirring occasionally so nothing sticks. You will know they are ready when the peels turn glassy and translucent and your whole kitchen smells like a candy factory.
- Dry the peels:
- Lift the peels out with tongs and arrange them on a wire rack set over parchment paper to catch drips. Let them rest for at least one hour until the surface feels tacky but not wet to the touch.
- Melt the chocolate:
- Set a heatproof bowl over a saucepan of barely simmering water, making sure the bottom never touches the water, and add the chocolate. Stir slowly and patiently until the chocolate is silky smooth and glossy, or use the microwave in twenty second bursts if you prefer, stirring between each one.
- Dip and finish:
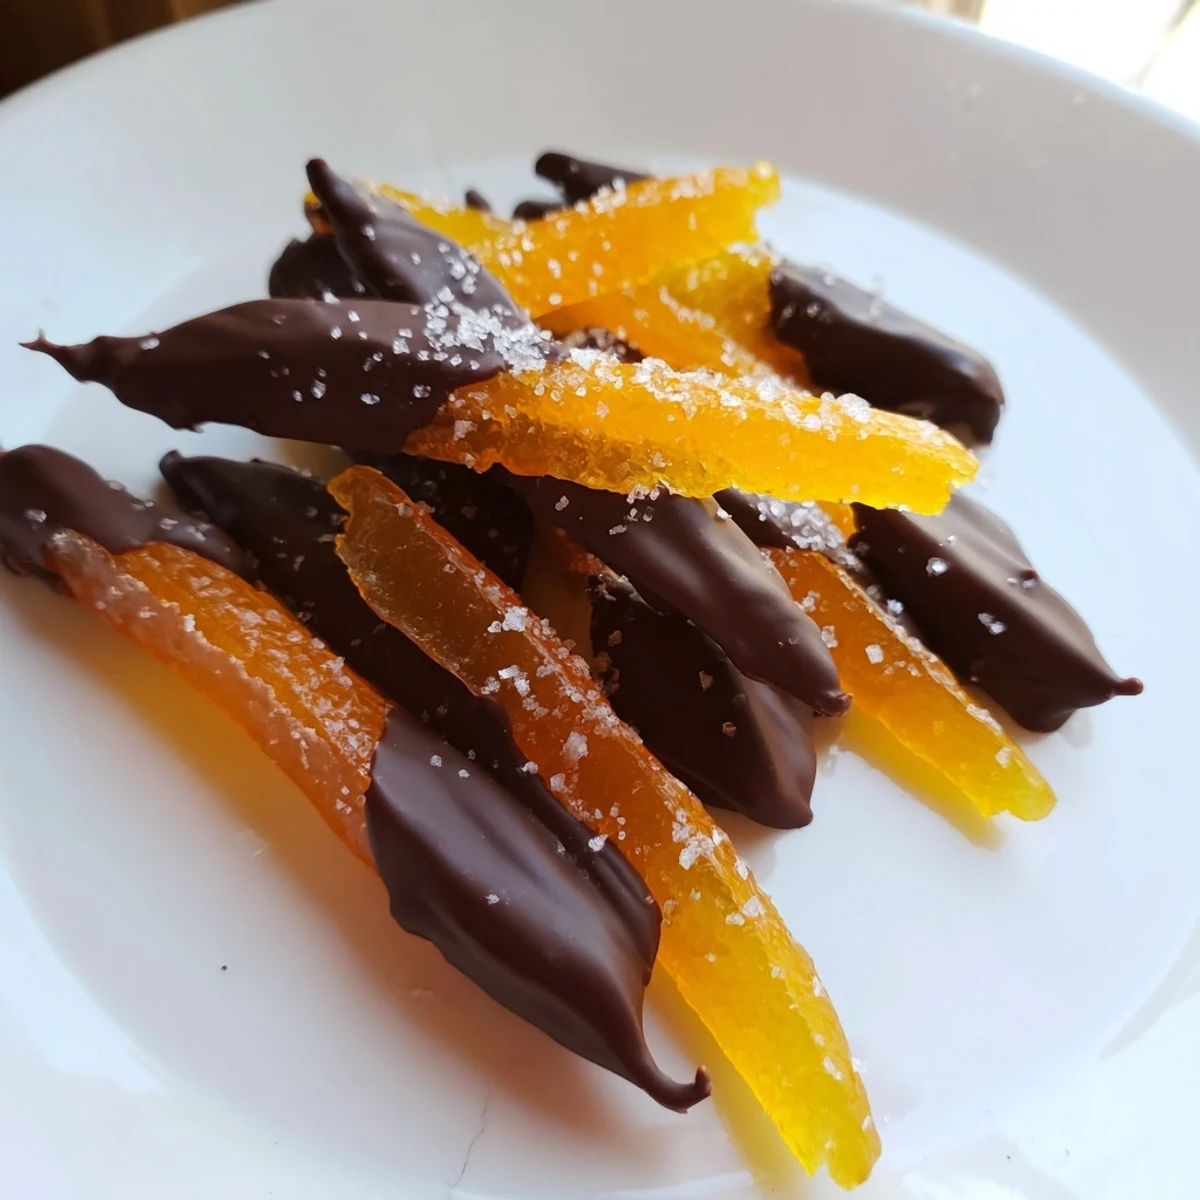
- Grasp each candied strip and dip it halfway into the melted chocolate, letting the excess drip back into the bowl with a gentle shake. Lay each piece carefully on fresh parchment paper and sprinkle with flaky salt while the chocolate is still wet, then allow everything to set at room temperature for about thirty minutes.
 Save
Save There is something meditative about standing at the counter dipping strips one by one while the chocolate cools and thickens in the bowl beside you. The repetition becomes its own kind of quiet joy, especially when you know someone is going to open a tin of these and smile.
Storing Your Orange Peels
Keep the finished peels in a single layer in an airtight container at room temperature and they will stay perfect for up to two weeks. Avoid stacking them directly on top of each other or the chocolate surfaces will stick together and leave unattractive marks. If your kitchen runs warm, a cool dry cupboard is better than the refrigerator because condensation can bloom the chocolate and ruin the finish.
Swapping the Citrus
Grapefruit peels bring a pleasantly bitter edge that pairs wonderfully with an even darker chocolate in the seventy percent range. Lemon peels are smaller and more delicate but candied beautifully, and they make a lovely gift when mixed into a tin with the orange version for a colorful citrus assortment.
Choosing and Tempering Chocolate
The chocolate you select carries this entire recipe on its shoulders, so buy the best bar you can find and taste it plain before committing. If you want that professional snap and mirror shine, tempering the chocolate is worth the extra effort even though it requires a thermometer and a bit of practice.
- Chop your chocolate finely and reserve about a quarter of it for seeding the melted portion later.
- Stir continuously as the chocolate cools to the right working temperature and you will feel it thicken slightly.
- Test a small dab on parchment paper before dipping the whole batch to confirm the finish will be glossy and firm.
 Save
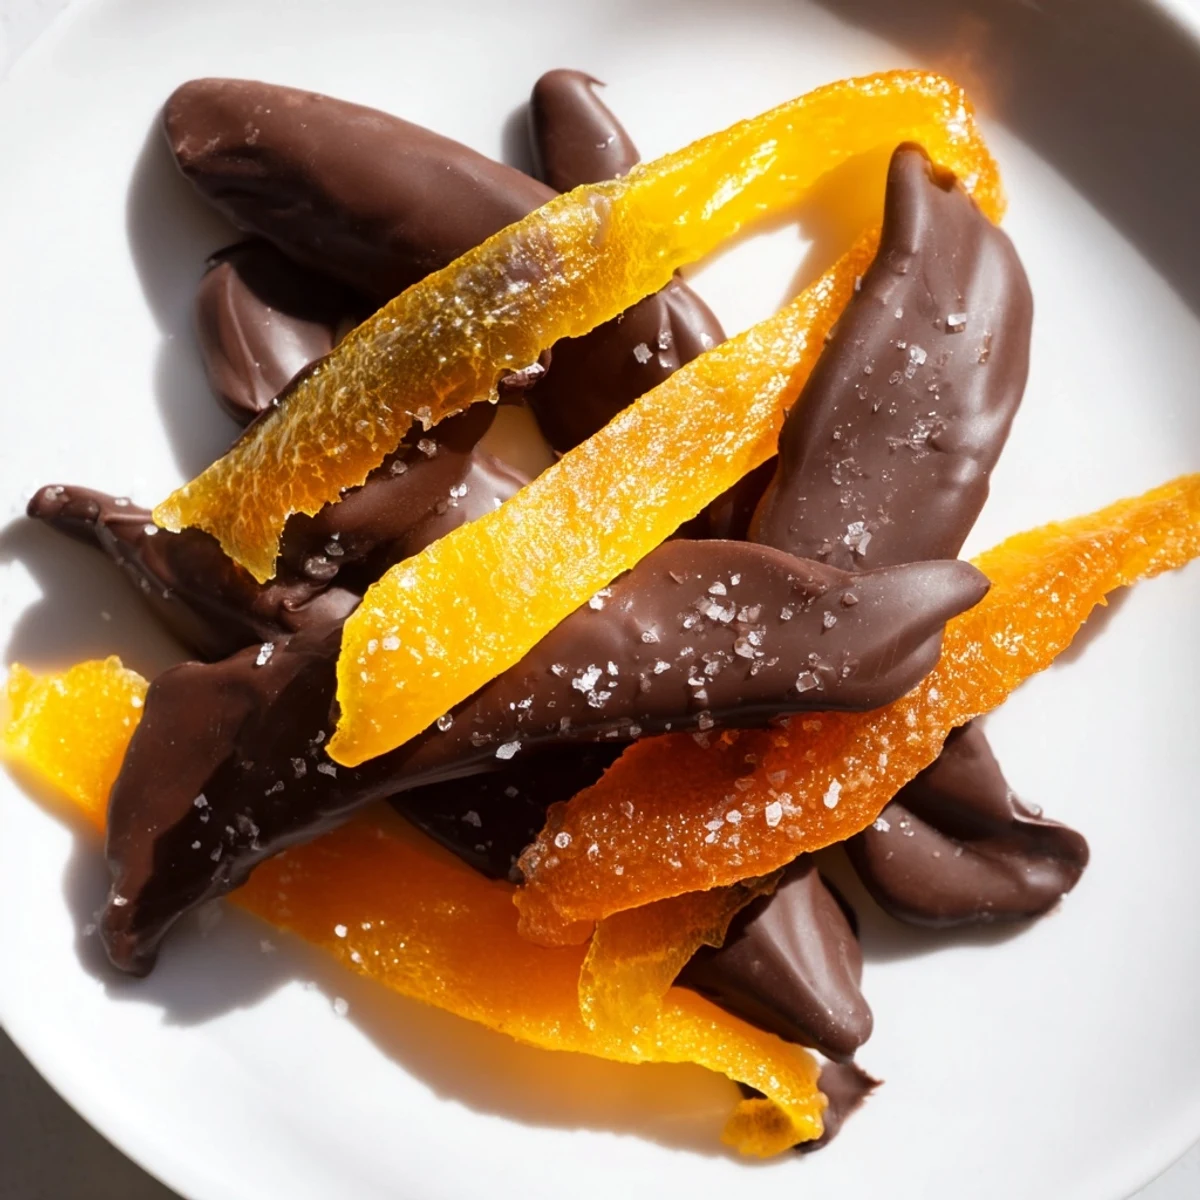
Save Make these once and you will find yourself buying extra oranges every time you see them just to keep a stash ready. They are proof that the best recipes are often the simplest ones done with care and shared generously.
Recipe FAQs
- → Can I use any type of orange for making candied orange peels?
-
Yes, you can use navel oranges, Valencia, or even blood oranges. Thick-skinned varieties work best because they yield larger, more substantial strips. Avoid thin-skinned mandarins as they become too delicate during the candying process.
- → Why do I need to blanch the orange peels multiple times?
-
Blanching the peels three times removes the bitter compounds from the white pith. Each boiling cycle draws out more bitterness, resulting in a sweeter, more pleasant candied peel. Skipping this step will leave an unpleasant bitter taste.
- → What is the best chocolate to use for dipping?
-
High-quality dark chocolate with at least 60% cocoa content works best. The bitterness of dark chocolate balances the sweetness of the candied peel. You can also use semi-sweet or milk chocolate if you prefer a sweeter result.
- → How should I store chocolate covered orange peels?
-
Store them in an airtight container at room temperature for up to two weeks. Avoid refrigerating them as moisture can cause the chocolate to bloom. If your kitchen is very warm, a cool, dry pantry is ideal.
- → Can I use other citrus fruits with this method?
-
Absolutely. Grapefruit, lemon, and lime peels all work well with the same candying and dipping process. Each citrus variety brings its own unique flavor profile. Grapefruit peels are particularly delicious with dark chocolate.
- → Do I need to temper the chocolate before dipping?
-
Tempering is not required but recommended for a glossy, professional finish and a firm snap. If you skip tempering, the chocolate will still taste delicious but may have a softer texture and less shine. A simple double boiler method works fine for home preparation.