 Save
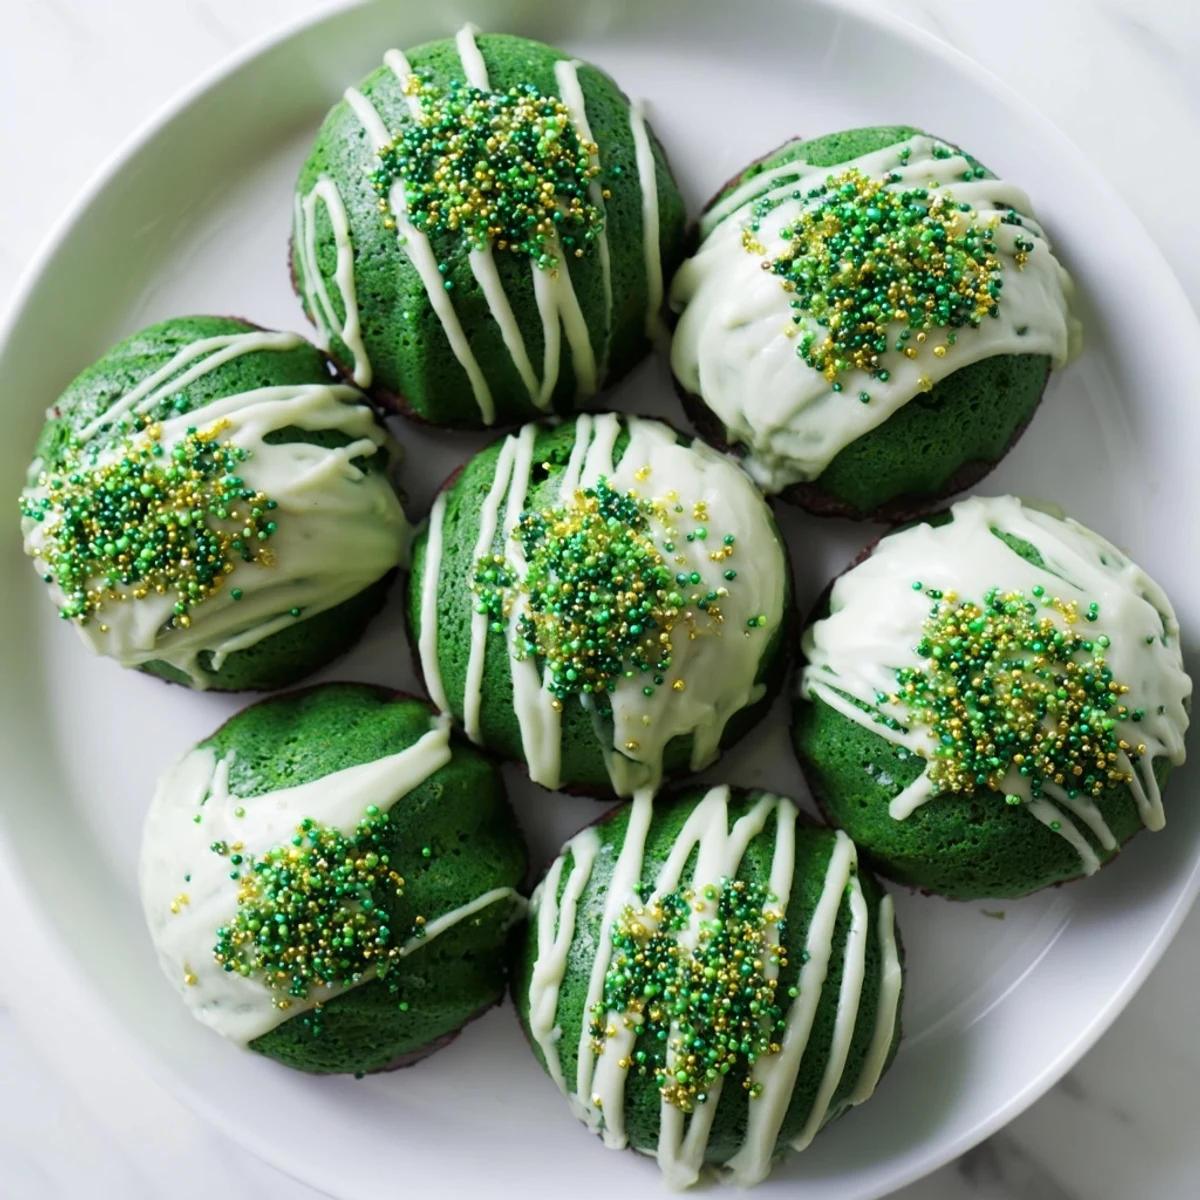
Save These charming mini bundt cakes combine the classic red velvet technique with festive St. Patricks Day flair. The batter incorporates unsweetened cocoa powder for depth, while buttermilk and vinegar create that signature velvet texture—soft, moist, and tender. Gel food coloring achieves that vibrant emerald hue without affecting taste.
Baking takes just 20 minutes in a mini bundt pan, producing 12 individual portions perfect for parties or gifting. The vanilla glaze adds sweetness and a beautiful finish, while green and gold sprinkles capture the festive spirit. For an adult variation, consider adding Irish cream liqueur to the glaze.
The kitchen counter looked like something out of a fairy tale the first time I attempted these little green cakes. I'd been experimenting with red velvet for years, but there was something about St. Patrick's Day that made me want to try something different. My roommate walked in, stopped dead in her tracks, and asked if I'd lost my mind or discovered a pot of gold. The moment they came out of the oven, that rich chocolate-vanilla scent filled our entire apartment, and I knew these weren't just holiday novelties.
Last March, I brought a batch to my office potluck and watched them disappear in record time. My usually stoic boss took one bite, eyes went wide, and immediately asked for the recipe. Someone actually accused me of buying them from a fancy bakery, which I took as the highest compliment possible. Now they're the first thing anyone asks about when St. Patrick's Day approaches.
Ingredients
- 1 ¼ cups all purpose flour: The foundation that gives these cakes their tender crumb structure
- 2 tbsp unsweetened cocoa powder: Just enough to deepen the flavor without overpowering that signature green
- ½ tsp baking soda: Works with the vinegar to create those irresistible air pockets
- ¼ tsp salt: Enhances the chocolate notes and balances sweetness
- ½ cup unsalted butter softened: Room temperature butter creates the perfect tender texture
- 1 cup granulated sugar: Sweetens while helping create that velvety mouthfeel
- 2 large eggs room temperature: Essential for structure and richness
- ½ cup buttermilk room temperature: The secret ingredient that makes every bite impossibly moist
- 2 tsp vanilla extract: rounds out the chocolate with warm comforting notes
- 1 tsp white vinegar: Reacts with baking soda and buttermilk for extra tenderness
- ½–1 tbsp green gel food coloring: Gel gives you that vibrant emerald without thinning the batter
- 1 cup powdered sugar sifted: Creates that perfect drip texture for the glaze
- 2–3 tbsp milk: Adjust this until your glaze flows like honey
- ½ tsp vanilla extract: For the glaze because vanilla makes everything better
- Green and gold sprinkles: Optional but absolutely recommended for the full festive effect
Instructions
- Preheat your oven and prepare the pan:
- Set your oven to 350°F and generously grease your mini bundt pan getting into all those little crevices
- Whisk the dry ingredients together:
- Combine flour cocoa powder baking soda and salt in a medium bowl
- Cream butter and sugar:
- Beat the softened butter and sugar for about 3 minutes until its noticeably lighter and fluffy
- Add the eggs:
- Mix in eggs one at a time letting each one fully incorporate before adding the next
- Mix your wet ingredients:
- Combine buttermilk vanilla vinegar and that gorgeous green food coloring in a small bowl
- Combine everything:
- Add half the dry ingredients then the buttermilk mixture then remaining dry ingredients mixing just until smooth
- Fill the pans:
- Spoon batter into each bundt well about two thirds full giving them room to rise
- Bake until perfect:
- Bake 18 to 22 minutes until a toothpick comes out clean from the thickest part
- Cool carefully:
- Let them rest 10 minutes in the pan then invert onto a wire rack to cool completely
- Make the glaze:
- Whisk powdered sugar milk and vanilla until smooth and pourable
- Finish with flair:
- Drizzle glaze over the cooled cakes and shower with sprinkles while its still wet
 Save
Save 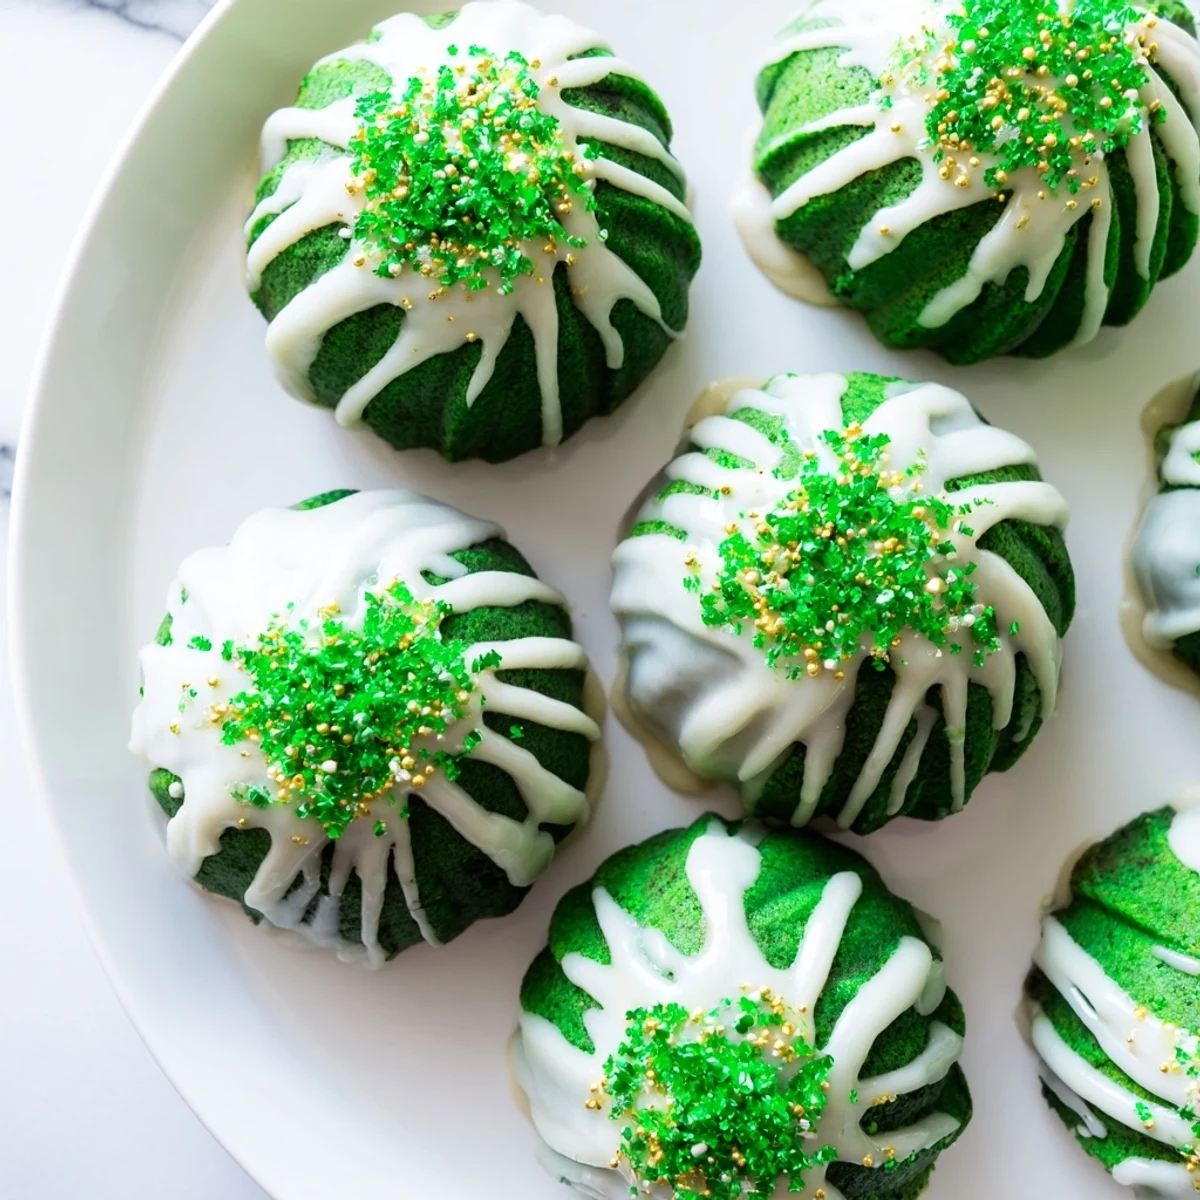 Save
Save My grandmother always said that food made for celebrations should taste even better than it looks. These little cakes became my annual contribution to our family St. Patrick's Day gathering after my youngest daughter declared them better than leprechaun gold. Watching the kids fight over who gets the last one is now my favorite part of the holiday.
Getting That Perfect Green Shade
I learned the hard way that natural food coloring often results in an unappealing muddy swamp color. Gel coloring is concentrated so start with half a tablespoon and add more until you reach your desired shade. Remember that the color will deepen slightly during baking so aim for a slightly brighter green than your final goal.
Making Them Ahead
These mini cakes actually improve slightly after resting for a day as the flavors meld together. Wrap them tightly once completely glazed and store at room temperature. The glaze will stay shiny and the texture remains perfect for up to two days though they rarely last that long in my house.
Glazing Like A Pro
The secret to that gorgeous drip glaze is consistency it should flow like warm honey not thin cream. Place your cooling rack over a baking sheet before glazing to catch the drips and keep your counter clean. Work quickly once the glaze reaches the right texture because it thickens as it sits.
- Add sprinkles immediately after glazing while its still tacky
- Warm the glaze for 10 seconds in the microwave if it thickens too much
- Hold each cake by its edges when dipping to avoid fingerprints
 Save
Save  Save
Save May your St. Patrick's Day be filled with laughter good friends and perhaps a few too many of these irresistible green cakes. There is something magical about serving food that makes people smile before they even take a bite.
Recipe FAQs
- → What makes these cakes green?
-
Green gel food coloring creates the vibrant emerald hue. Gel coloring provides deeper, more intense color than liquid varieties without adding excess moisture to the batter.
- → Can I make these ahead of time?
-
Yes, bake and cool completely, then store in an airtight container for up to 2 days. Add glaze and sprinkles the day of serving for best freshness and appearance.
- → Why is there cocoa powder in a green cake?
-
A small amount of unsweetened cocoa powder provides subtle chocolate depth while enhancing the classic velvet texture. It won't overpower the green color or make the cake taste like chocolate.
- → What can I use instead of buttermilk?
-
Combine ½ cup regular milk with 1 teaspoon lemon juice or white vinegar. Let the mixture sit for 5 minutes until it curdles slightly, creating a buttermilk substitute.
- → How do I know when the cakes are done?
-
Insert a toothpick into the center of a cake—if it comes out clean or with just a few moist crumbs, they're ready. The edges should pull slightly away from the pan.
- → Can I use a regular bundt pan instead?
-
Yes, but baking time will increase to 35-45 minutes for a standard 10-12 inch bundt pan. Start checking for doneness at 30 minutes.