 Save
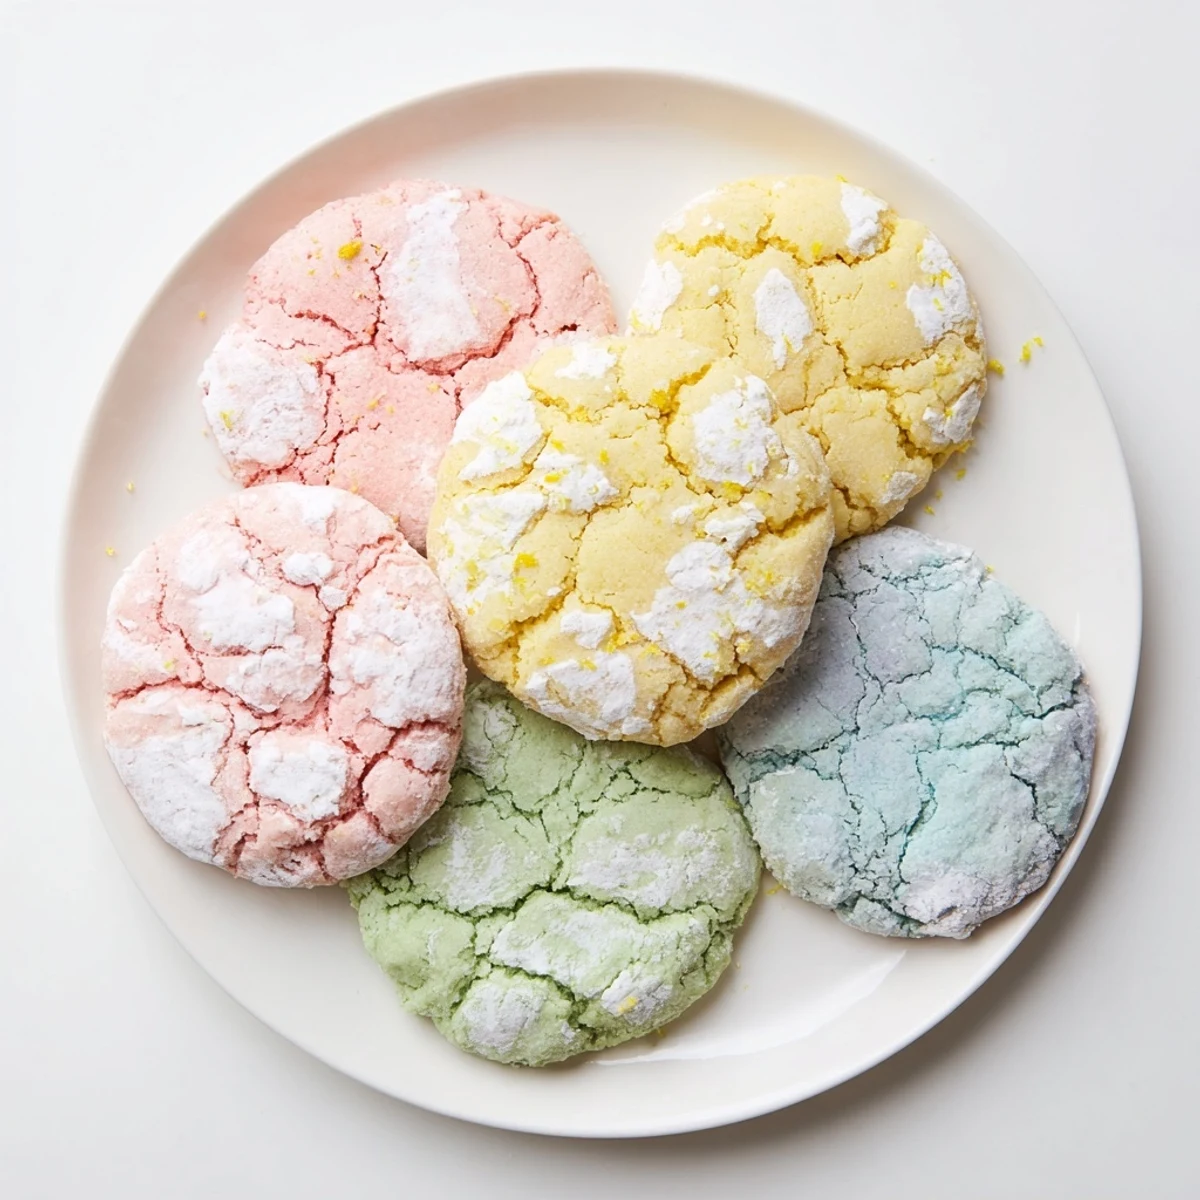
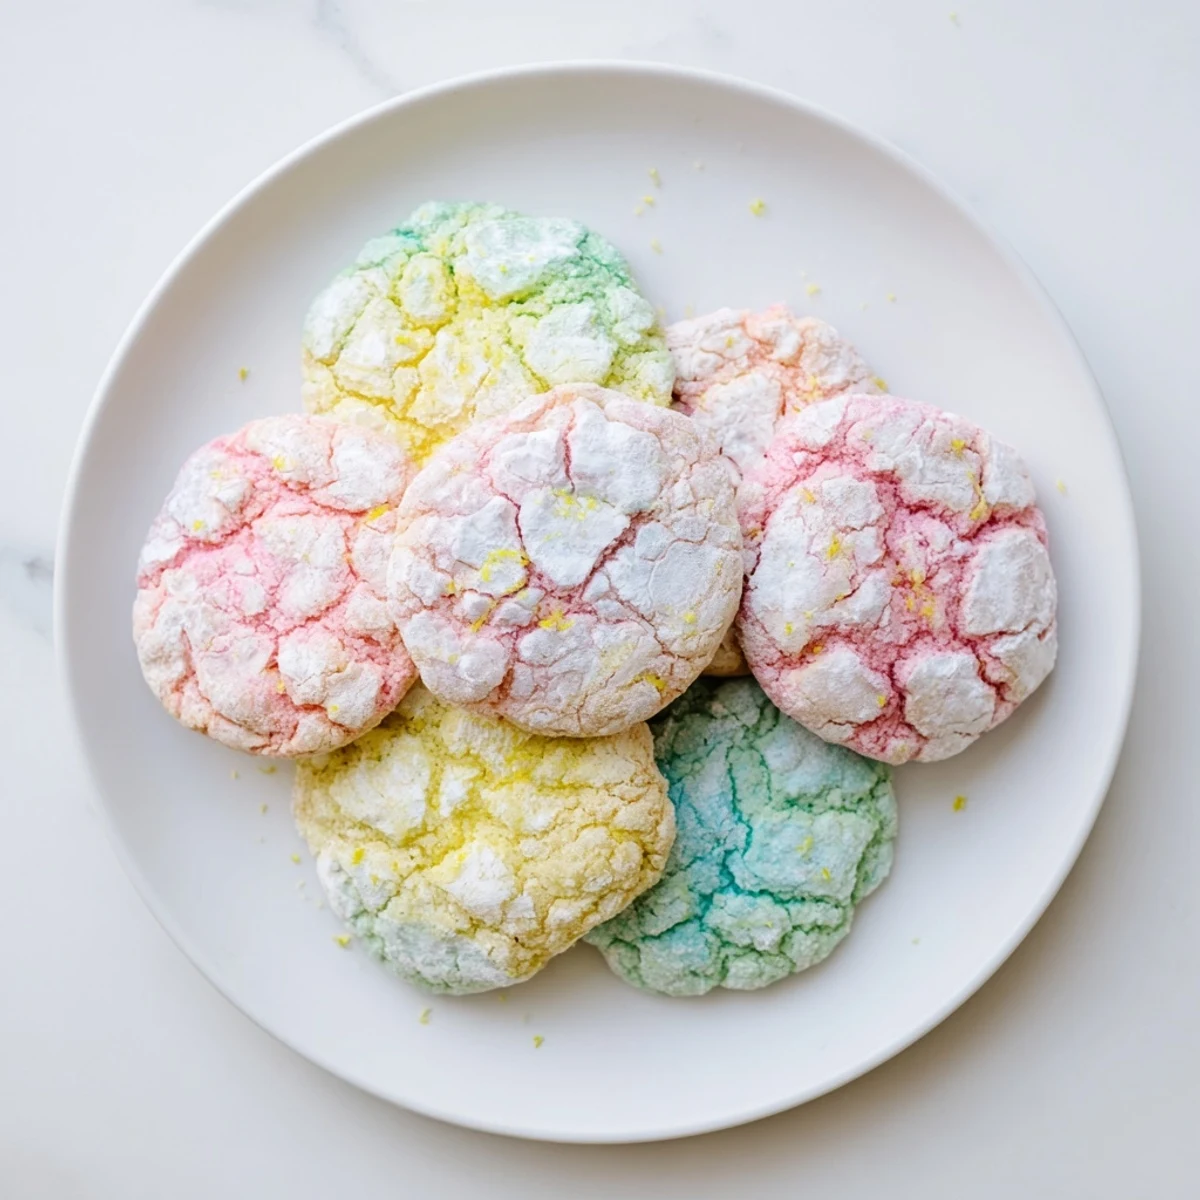
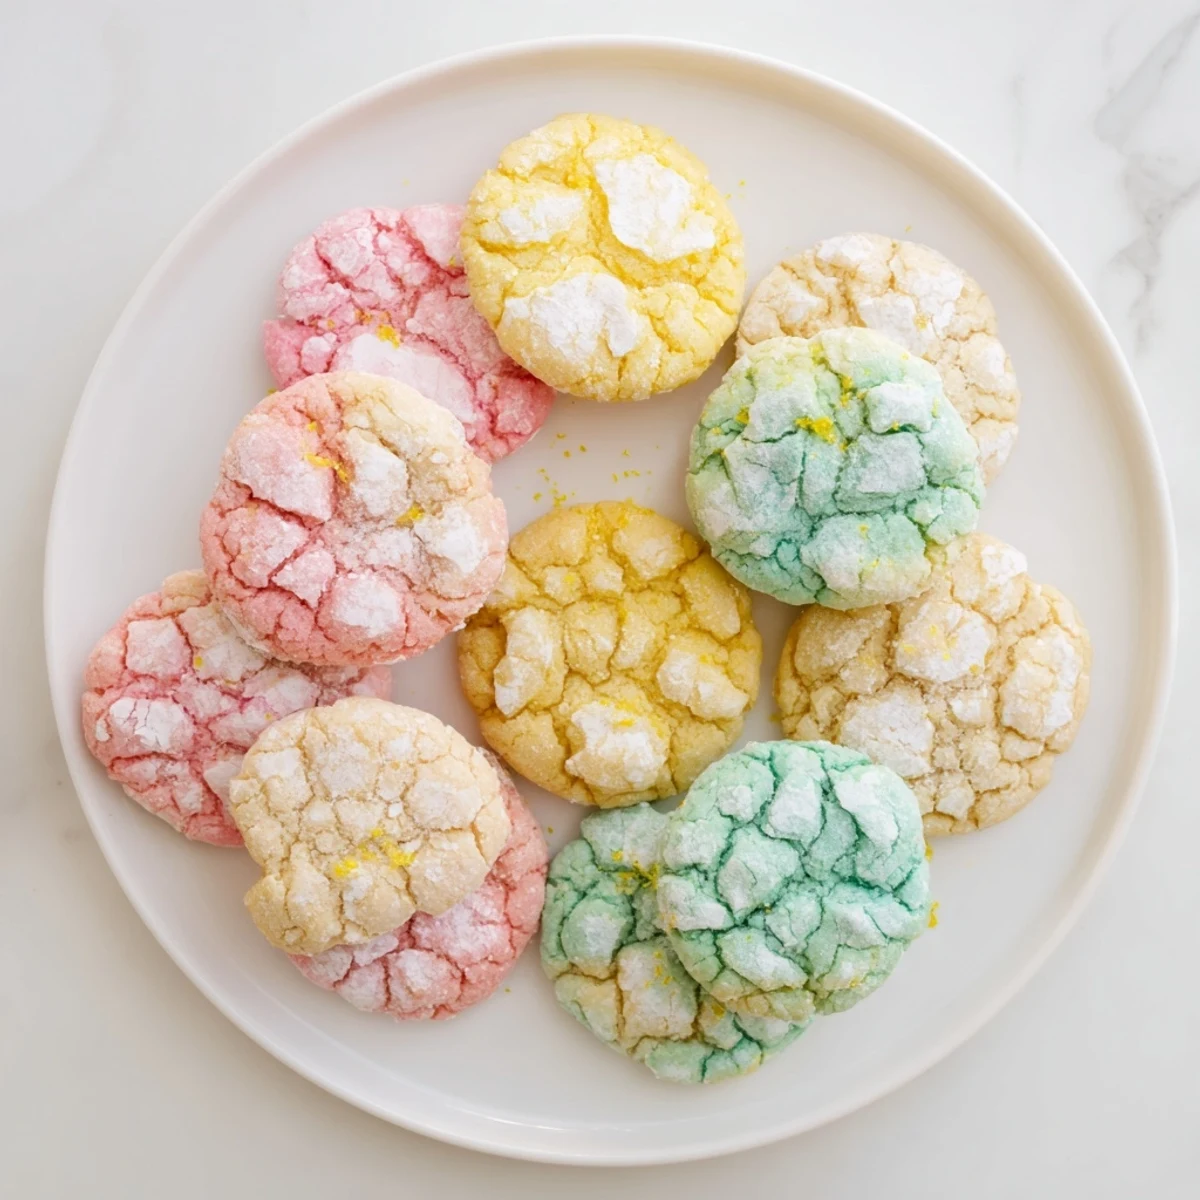
Save These delightful soft baked treats feature the classic crinkle texture everyone loves, transformed with vibrant pastel colors that capture the essence of spring. Each bite offers a tender, cake-like interior with a subtle citrus brightness from fresh lemon zest, while the signature crackled surface creates visual appeal that's perfect for Easter, Mother's Day, or any spring celebration.
The dough comes together quickly with standard pantry ingredients, then gets divided and tinted with gel food coloring in your choice of soft pink, yellow, green, or blue shades. A brief chill makes handling easier, then each portion gets rolled in granulated and powdered sugars for that characteristic snowy coating that cracks beautifully during baking.
The technique is straightforward enough for bakers of all skill levels, yet impressive enough for special occasions. The 32-minute total time includes chilling, making these ideal for last-minute spring hosting or weekend baking sessions with family.
The first time I made these, my kitchen looked like a pastel explosion had gone delightfully wrong. I'd decided last-minute on a Sunday afternoon that I needed something bright and cheerful, and there I was with four bowls of dough in soft pinks, yellows, and greens, wondering if I'd gone completely overboard. But pulling that first tray out of the oven and seeing those crinkled tops with their sugary white cracks, I knew the mess was absolutely worth it.
I brought a batch to my niece's Easter brunch last year, arranged on a simple white plate like little jewels. Her eyes went wide when she saw them, and I watched three adults immediately reach for different colors as if the pink might taste different from the blue. By the time coffee was poured, the plate was half empty and I'd fielded six requests for the recipe.
Ingredients
- All-purpose flour (2 cups): The foundation that gives these cookies their tender crumb without making them cakey or dense
- Baking powder and soda: This double-acting combination creates those signature cracks as the cookies rise and fall in the oven
- Unsalted butter (1/2 cup): Softened to room temperature so it creams beautifully with the sugar, creating pockets of air for softness
- Granulated sugar (1 cup): Sweetens and helps create that crisp outer edge while keeping centers soft and chewy
- Large eggs (2): Bring structure and richness, so let them come to room temperature for better emulsification with the butter
- Whole milk (1/4 cup): Adds just enough moisture to keep these cookies tender without making them spread too thin
- Lemon zest (1 whole lemon): Brightens everything with fresh citrus notes that cut through the sweetness
- Powdered sugar (1/2 cup): Creates that signature white crinkle effect as it melts into cracks during baking
- Gel food coloring: Gel colors give you vibrant pastels without adding extra liquid that could mess up your dough consistency
Instructions
- Get your oven ready:
- Preheat to 350°F and line two baking sheets with parchment paper, because these sugar-coated beauties need a nonstick surface to develop their crinkles without sticking.
- Whisk your dry ingredients:
- Combine the flour, baking powder, baking soda, and salt in a medium bowl, then set it aside while you work on the wet ingredients.
- Cream butter and sugar:
- Beat the softened butter and granulated sugar with an electric mixer for about 2 minutes until it's pale and fluffy, which incorporates air for that tender texture.
- Add the wet ingredients:
- Beat in eggs one at a time, then add vanilla, milk, and lemon zest, mixing until everything is smooth and well combined.
- Combine everything:
- Gradually add the dry ingredients to the wet mixture, mixing just until combined and being careful not to overwork the dough.
- Divide and color:
- Split the dough evenly between 3 or 4 bowls and tint each with a different pastel gel coloring until you reach your desired shades.
- Chill the dough:
- Refrigerate the colored doughs for 20 minutes, which makes them much easier to handle and roll without sticking to your hands.
- Coat in sugars:
- Scoop tablespoon-sized portions, roll into balls, then coat first in granulated sugar followed by a generous coating of powdered sugar.
- Bake to perfection:
- Place coated balls 2 inches apart on your prepared sheets and bake for 10 to 12 minutes until cracked on top and just set at the edges.
- Cool completely:
- Let them rest on the baking sheet for 5 minutes to set, then transfer to a wire rack where they'll finish developing their soft texture.
 Save
Save My neighbor's little girl helped me make a batch last weekend, and she was so fascinated by the way the colored dough looked like playdough that could be eaten. We made a game of guessing which color would get the most votes at the block party, and I think the yellow won by a narrow margin, though the pink had some very passionate advocates.
Playing with Flavors
While lemon zest gives these cookies their classic bright profile, I've discovered that swapping in lime zest adds a lovely tangy depth that pairs beautifully with the yellow and green doughs. Orange zest turns the pink dough into something reminiscent of creamscicles, and almond extract instead of vanilla makes them taste like a sophisticated treat you'd find at a European bakery. The flavor possibilities are endless once you master the base technique.
Getting the Perfect Crinkle
The science behind those gorgeous cracks is simple but requires attention to detail. The contrast between the chilled dough and hot oven creates rapid expansion, while the sugar coating creates a surface that crisps and cracks as it sets. I've found that room temperature dough simply doesn't crack as dramatically, so that 20 minute chill is actually doing more work than you might think. The thicker your powdered sugar coating, the more dramatic the cracks will appear.
Storage and Make-Ahead Tips
These cookies actually improve slightly after sitting for a day, as the flavors have time to meld and the texture becomes even more soft and fudgelike. Store them in an airtight container at room temperature, where they'll stay fresh for up to four days, though I've never personally tested that limit because they disappear too quickly. You can also freeze the unballed dough for up to three months, thawing it in the refrigerator overnight whenever a cookie emergency strikes.
- Layer cookies between parchment paper in your storage container to prevent them from sticking together or losing their powdered sugar coating
- If your powdered sugar coating has absorbed into the cookie after a day, a quick fresh roll in more powdered sugar makes them look freshly baked
- These freeze beautifully baked or unbaked, so consider doubling the recipe during spring holidays and tucking half away for when you need a quick treat
 Save
Save There's something about pulling a tray of these from the oven that feels like unwrapping a little present, all those pastel peaks and white cracks promising something sweet and cheerful. They're the kind of cookie that makes people smile before they even take a bite.
Recipe FAQs
- → Why do crinkle cookies crack on top?
-
The crackled appearance happens because the dough balls are coated in granulated and powdered sugar before baking. As the cookies spread in the oven, the sugary surface dries and splits while the interior continues to expand, creating those beautiful fissures. The contrast between the white sugar cracks and colored dough beneath creates the signature crinkle effect.
- → Can I make the dough ahead of time?
-
Absolutely! The colored dough can be prepared and refrigerated for up to 24 hours before baking. You can also scoop and roll the dough balls, coat them in sugars, then freeze them raw. Bake frozen portions directly, adding 1-2 minutes to the baking time. This makes them perfect for holiday preparation.
- → What's the best food coloring to use?
-
Gel food coloring works best for achieving vibrant pastel shades without adding excess liquid to the dough, which could affect the texture. Start with a small amount on a toothpick—you can always add more. Liquid food coloring can be used, but you may need to reduce the milk slightly to compensate.
- → How do I know when they're done baking?
-
The cookies are ready when the edges look set and slightly matte, while the centers still appear slightly soft. The characteristic cracks should be visible across the surface. They will continue to firm up as they cool on the baking sheet, so don't overbake or you'll lose that tender, cake-like texture.
- → Can I use different citrus flavors?
-
Certainly! While lemon zest provides a bright, fresh flavor that complements the pastel colors beautifully, you can substitute with lime for a tart twist or orange for a sweeter, more tropical note. You can even mix and match—try lime with green dough, lemon with yellow, and orange with pink for a colorful citrus assortment.
- → Why is my dough too sticky to handle?
-
If your dough feels too soft or sticky, chill it for longer than the recommended 20 minutes. The chilling step is crucial for easy rolling and proper shape retention. You can also lightly dust your hands with flour or powdered sugar when rolling the dough balls to prevent sticking.