 Save
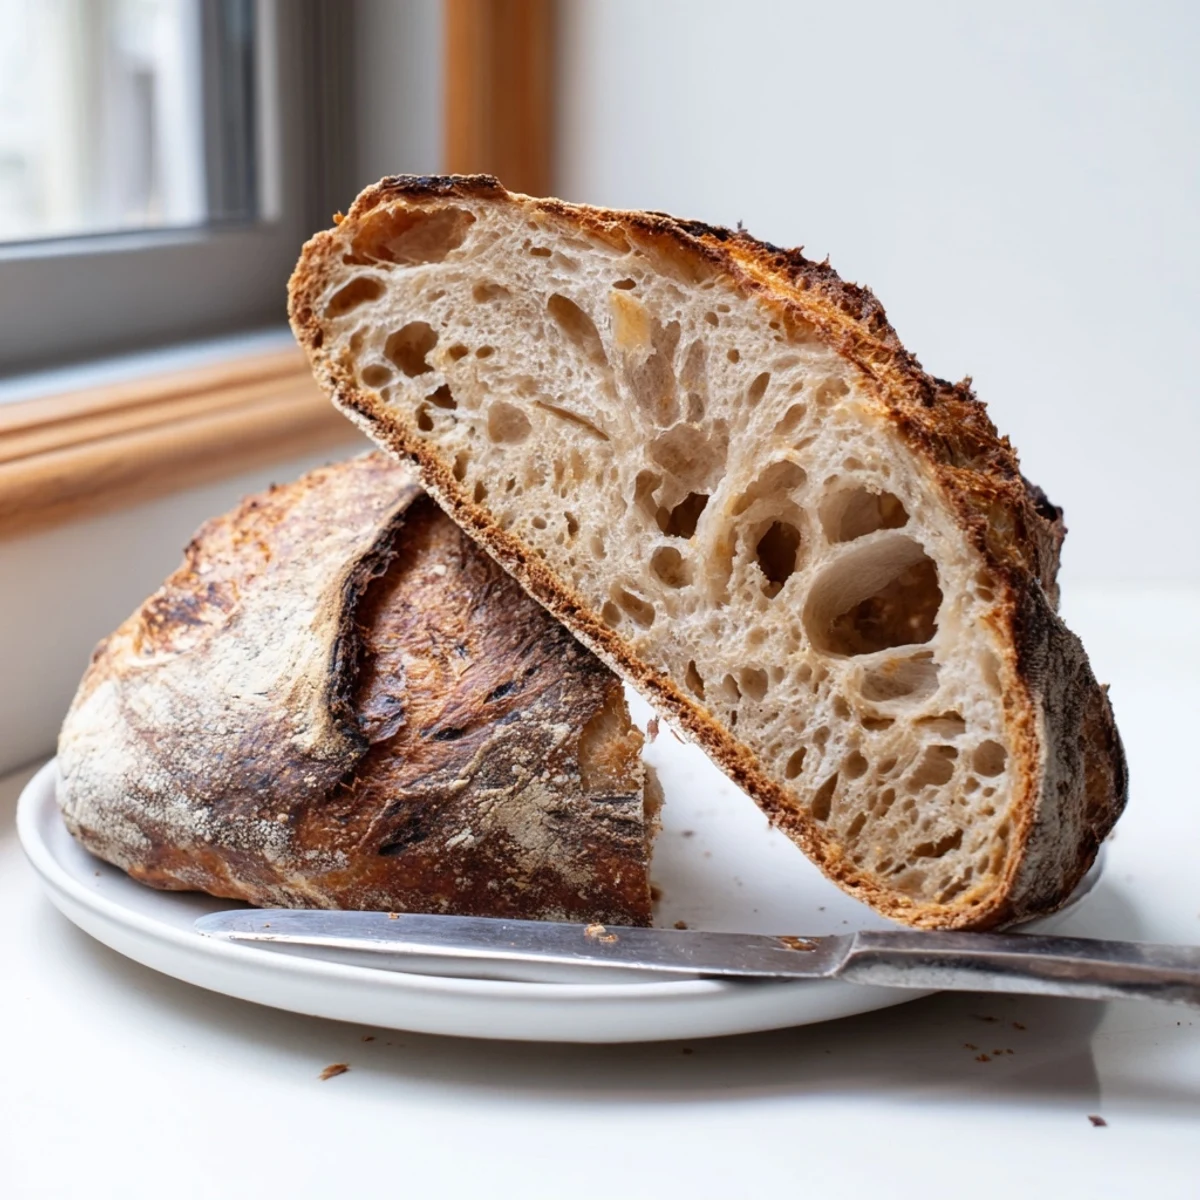
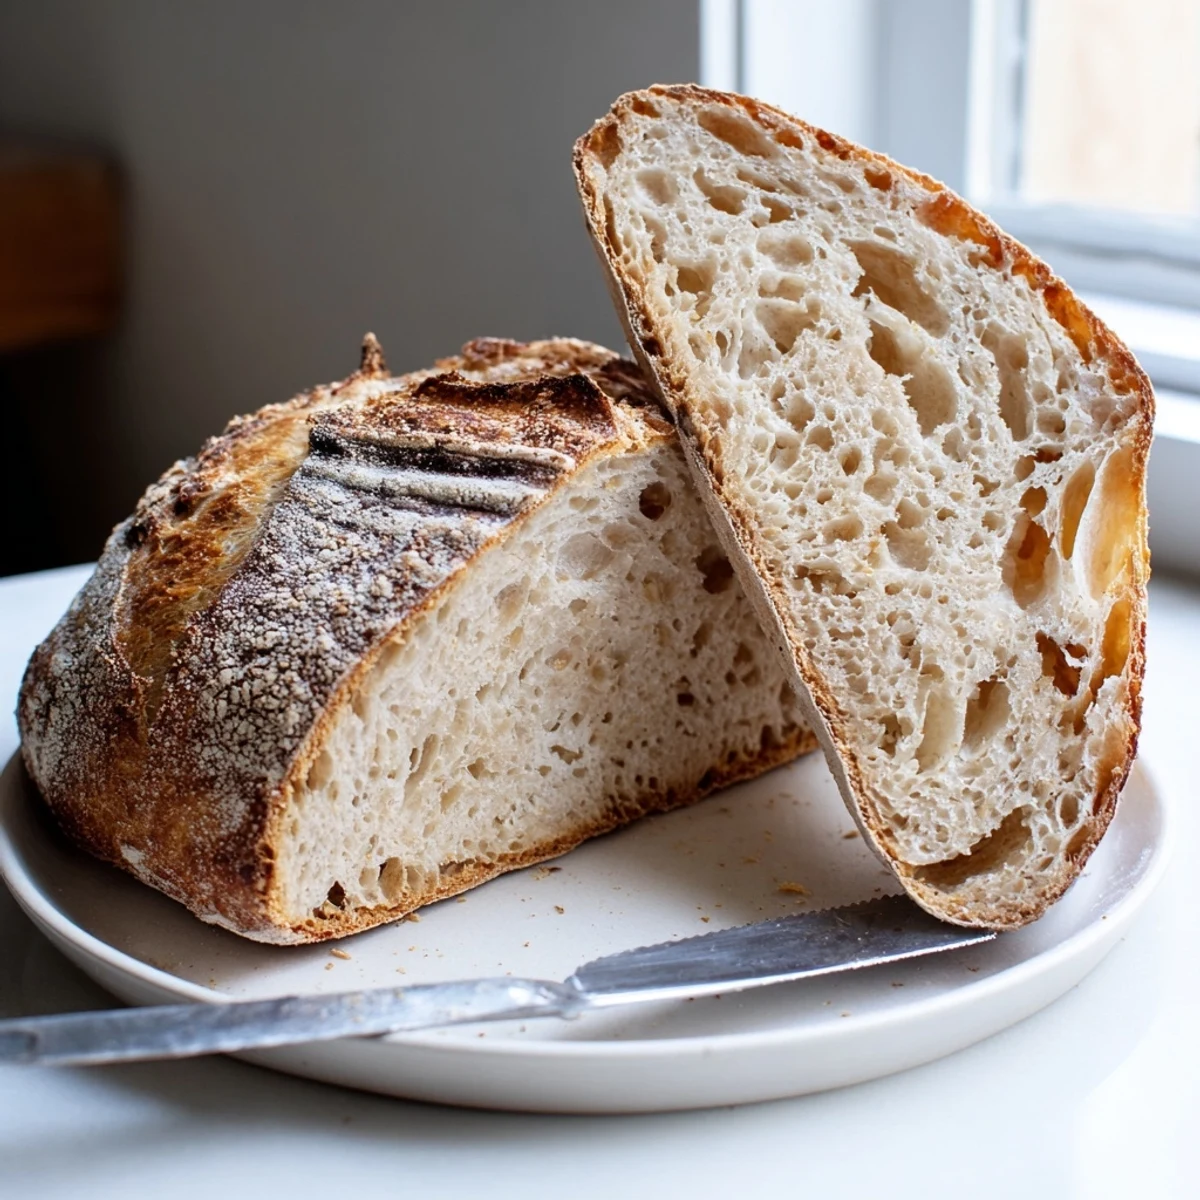
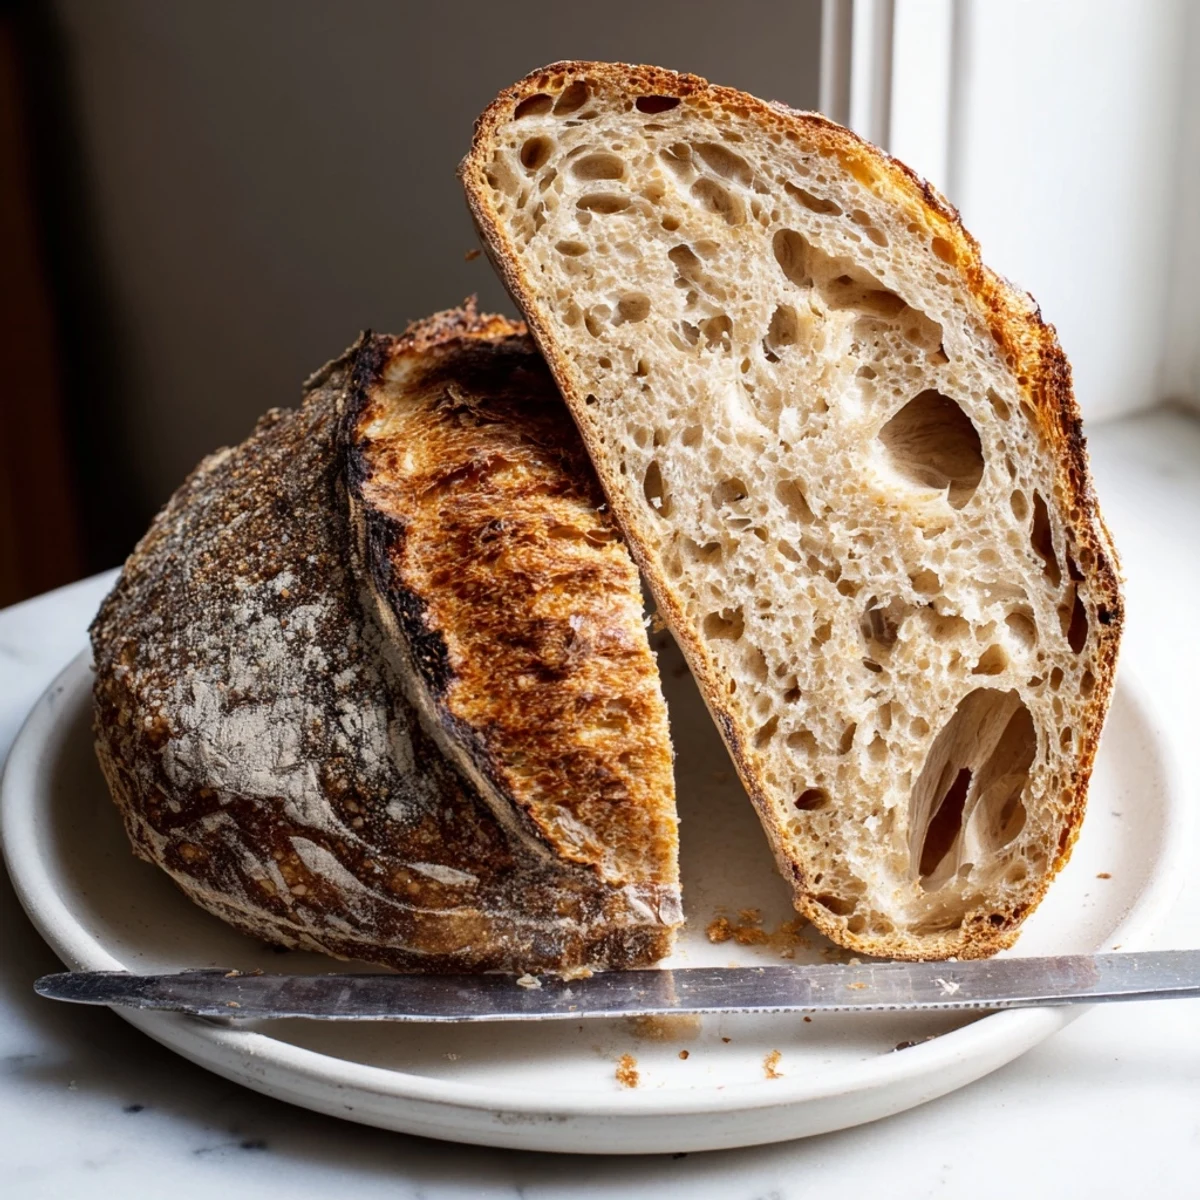
Save Craft an authentic sourdough loaf with wild yeast fermentation, developing a beautifully crackling crust and tender, tangy interior. The process involves creating and feeding an active starter, followed by careful hand-mixing and stretch-and-fold techniques during bulk fermentation. After shaping and proofing, bake in a preheated Dutch oven to create steam for exceptional oven spring. The result is a stunning loaf with deep golden color, satisfying crunch, and complex fermented flavor perfect for slicing and enjoying with cultured butter or building sandwiches.
The smell of sourdough baking has become my Sunday morning alarm clock. There is something almost meditative about working with live yeast, watching bubbles form, and feeling the dough transform under your hands. My first loaf was a dense brick that could have been used as a doorstop, but something about that first successful crackling crust kept me coming back.
Last winter, during a particularly heavy snowstorm, I made three loaves and gave two to neighbors. One texted me saying her family had finished the entire bread at dinner, fighting over the heel. That is when I knew this recipe was worth keeping.
Ingredients
- 100 g active sourdough starter: This is your living ingredient. Feed it 8-12 hours before baking for maximum activity and rise.
- 375 g bread flour: High protein content creates that signature chewy crumb structure.
- 25 g whole wheat flour: Adds subtle nuttiness and helps fermentation along.
- 275 g room temperature water: Warm water can kill your starter, room temp is safest.
- 10 g sea salt: Controls fermentation and strengthens gluten structure.
Instructions
- Mix and Rest:
- Combine bread flour, whole wheat flour, and water in a large bowl until just combined. Cover and let rest for 1 hour to hydrate the flour.
- Add Starter:
- Add the sourdough starter and salt to your dough. Mix by hand, squeezing the dough through your fingers until fully incorporated.
- Stretch and Fold:
- Cover and let ferment at room temperature for 4-5 hours. Every 30-45 minutes, grab one edge of the dough and fold it over the center. Repeat four times, rotating the bowl each time.
- Pre-Shape:
- Turn the dough onto a lightly floured surface. Gently shape it into a round, cover, and let rest for 20 minutes to relax the gluten.
- Final Shape:
- Shape the dough into a tight round loaf. Place it seam side up in a well-floured proofing basket or bowl lined with a floured towel.
- Proof:
- Cover and let rise at room temperature for 2-3 hours. The dough is ready when a gentle finger press springs back slowly.
- Preheat Your Oven:
- Place a Dutch oven or heavy pot with lid in the oven. Preheat to 250°C for at least 30 minutes to ensure thorough heat penetration.
- Score and Bake:
- Gently invert the dough onto parchment paper. Score the surface with a sharp blade. Transfer to the preheated pot, cover, and bake for 20 minutes.
- Finish Baking:
- Remove the lid, reduce temperature to 220°C, and bake another 25 minutes until deep golden brown and the bottom sounds hollow when tapped.
- Cool Completely:
- Remove bread from the pot. Cool on a wire rack for at least 2 hours before slicing to prevent gumminess.
 Save
Save This bread has become my go-to host gift. Something about handing someone a homemade loaf feels more personal than a bottle of wine.
Flour Substitutions
I have experimented with replacing the whole wheat portion with rye flour for deeper earthiness. The crumb becomes slightly denser, but the flavor complexity rewards the effort. Just keep the bread flour as your main base for structure.
Timing Your Bake
Sourdough operates on its own schedule depending on your kitchen temperature. In summer, fermentation might take 3 hours. In winter, it could stretch to 6. Watch the dough, not the clock.
Storage and Refreshing
Store your loaf in a paper bag to maintain crust texture. Plastic creates soft, sad crusts. On day two, revitalize stale slices by toasting or sprinkling with water and reheating at 180°C for 10 minutes.
- Freeze extra slices wrapped tightly in plastic and foil for up to 3 months
- Day-old sourdough makes exceptional grilled cheese or French toast
- The heel keeps indefinitely and is perfect for bread crumbs or croutons
 Save
Save Every loaf teaches you something new. Embrace the failures along with the perfect crusts. Happy baking.
Recipe FAQs
- → What makes sourdough different from regular bread?
-
Sourdough relies on wild yeast and beneficial bacteria naturally present in flour rather than commercial yeast. This slow fermentation develops complex tangy flavors, improves digestibility, and creates a characteristic chewy texture with superior keeping qualities.
- → How long does it take to make sourdough from scratch?
-
The entire process spans 14–20 hours, though active hands-on time is only about 25 minutes. Most time is devoted to fermentation and proofing, which develop flavor and structure. Cold proofing overnight extends this timeline but enhances sourness and texture.
- → Can I bake without a Dutch oven?
-
While a Dutch oven creates ideal steam for crust development, you can bake on a heavy baking stone or sheet pan. Create steam by placing a tray of ice cubes on the oven floor just before loading. Results may have slightly less oven spring but still produce delicious bread.
- → How do I know when my starter is active enough?
-
A fed starter should double in volume within 4–8 hours at room temperature, showing numerous bubbles throughout. It should smell pleasantly tangy and have a loose, fluffy texture. If it doesn't bubble or rise vigorously, feed it again before using.
- → Why is scoring necessary before baking?
-
Scoring creates controlled weak points in the dough surface, allowing expanding gases to escape during oven spring. Without scoring, bread may burst unpredictably or develop dense areas. The cuts also create beautiful patterns and help the loaf expand evenly for professional appearance.
- → Can I freeze sourdough bread?
-
Freeze whole cooled loaves wrapped tightly in plastic, then foil, for up to 3 months. Thaw unwrapped at room temperature, then refresh in a 350°F oven for 10–15 minutes to restore crispness. Avoid refrigerating, which accelerates staling.