 Save
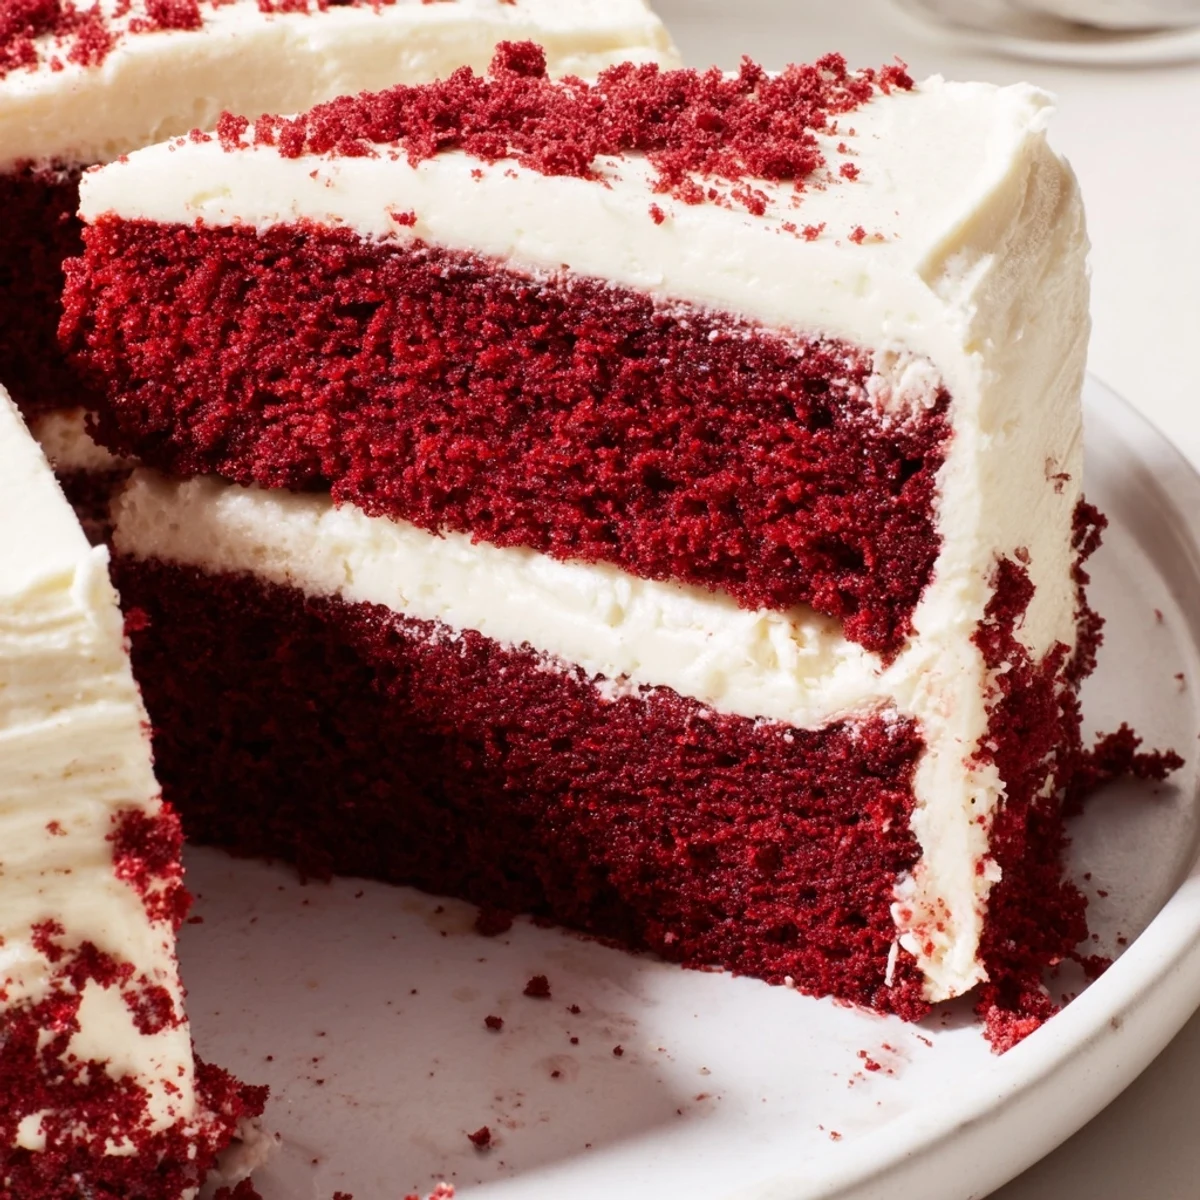
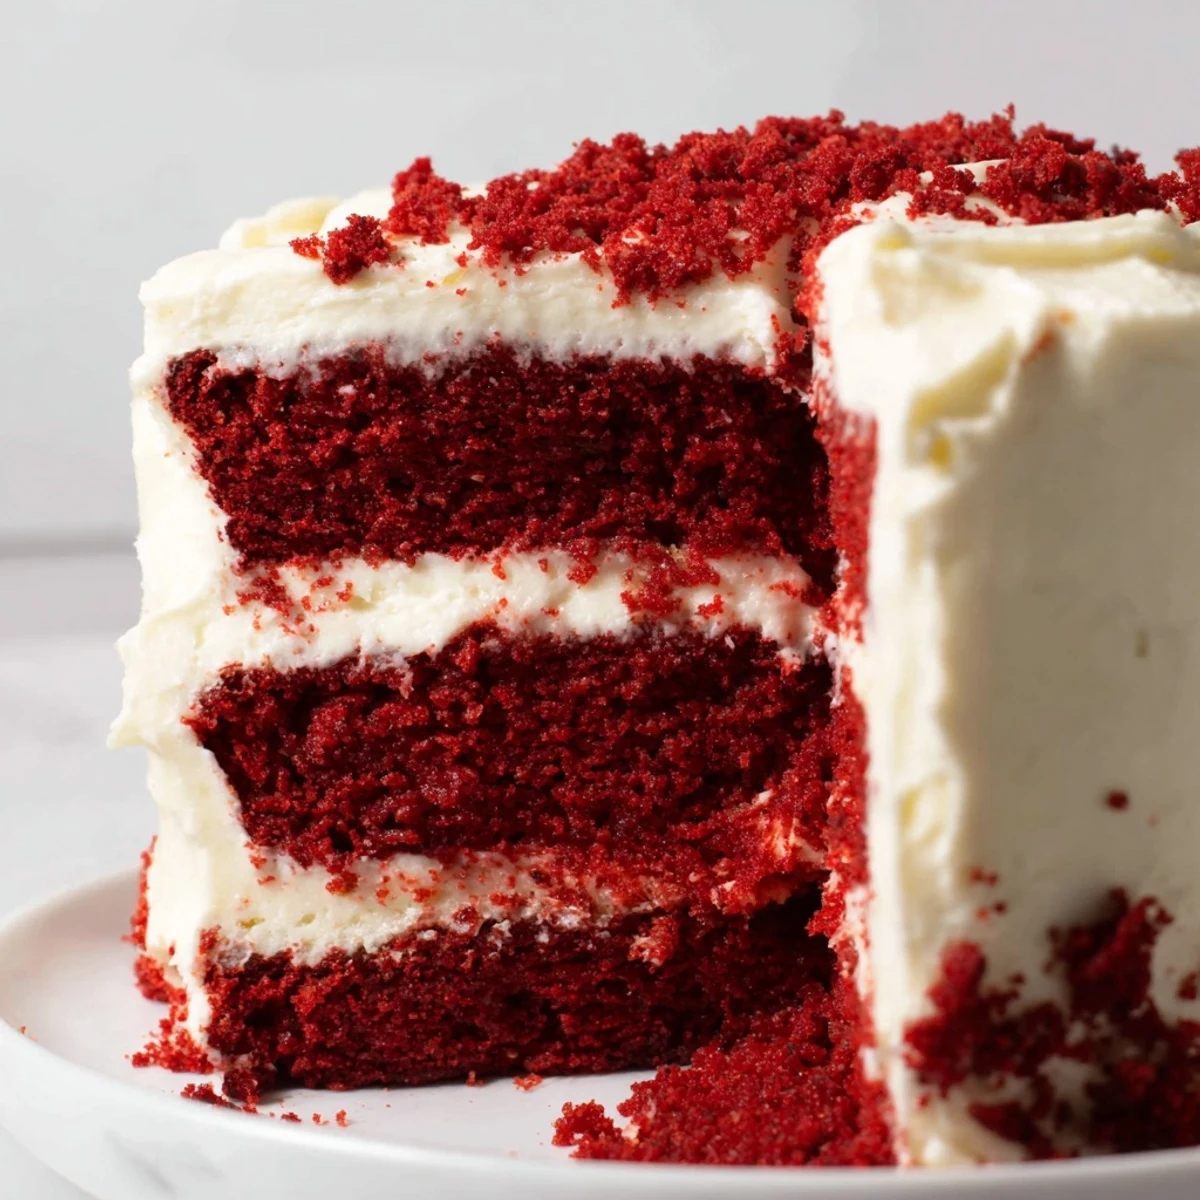
Save This moist red velvet cake features layers of vibrant red crumb with a balance of mild cocoa flavor. Rich cream cheese frosting adds a smooth, tangy sweetness, making it ideal for festive gatherings. Prepared with simple pantry ingredients and basic mixing techniques, this cake delivers soft texture and striking color. Cooling before frosting ensures clean layering and a professional finish. Garnish with crumbs or berries for added charm.
The first red velvet cake I ever made was for my sister's graduation, and I accidentally doubled the food coloring. The cake came out such an intense crimson that everyone kept asking if it was natural. That kitchen disaster taught me that sometimes the most memorable mistakes become the stories you tell for years.
Last winter, I made this cake for a dinner party during a snowstorm. Something about the vibrant red against all that white outside made it feel like the most beautiful dessert in the world. We ate it by candlelight when the power flickered out, and honestly, it tasted even better.
Ingredients
- All-purpose flour: The backbone of the cake structure, providing just enough protein to hold those delicate layers together without becoming tough
- Granulated sugar: Sweetens and tenderizes, creating that fine crumb texture that makes red velvet so distinctive
- Baking soda: Works with the vinegar to create lift, giving the cake its signature rise
- Fine salt: Essential for balancing sweetness and enhancing all the other flavors
- Cocoa powder: Just enough to give depth without overpowering the subtle chocolate notes
- Vegetable oil: Keeps the cake incredibly moist, unlike butter which can firm up at room temperature
- Buttermilk: Adds tang and tenderness while reacting with baking soda for extra lift
- Large eggs: Bind everything together and add structure, so bring them to room temperature first
- Red food coloring: Creates that iconic color, and gel coloring gives the most vibrant results
- Vanilla extract: Rounds out all the flavors and adds warmth
- White vinegar: Activates the baking soda and enhances the red color's reaction
- Cream cheese: The star of the frosting, so use full-fat for the best flavor and texture
- Unsalted butter: Adds richness and helps the frosting hold its shape
- Powdered sugar: Sweetens and thickens the frosting while making it perfectly smooth
Instructions
- Preheat and prep your pans:
- Set your oven to 350°F and grease two 9-inch round pans, lining the bottoms with parchment paper so nothing sticks later.
- Whisk the dry ingredients:
- In a large bowl, combine flour, sugar, baking soda, salt, and cocoa powder until everything is evenly distributed.
- Mix the wet ingredients:
- In a separate bowl, whisk together oil, buttermilk, eggs, food coloring, vanilla, and vinegar until completely smooth.
- Combine wet and dry:
- Gradually pour the wet mixture into the dry ingredients, folding gently until just combined. Overmixing will make the cake tough, so stop as soon as you see no dry flour.
- Divide and bake:
- Split the batter evenly between your prepared pans and bake for 28 to 32 minutes. The cake is done when a toothpick comes out clean.
- Cool completely:
- Let the cakes rest in their pans for 10 minutes, then turn them onto a wire rack. They must be completely cool before frosting or it will melt right off.
- Make the frosting:
- Beat softened cream cheese and butter until smooth, then gradually add powdered sugar, vanilla, and salt until fluffy and spreadable.
- Assemble the cake:
- Place one layer on your serving plate, frost the top, add the second layer, then cover the top and sides. Chill for 30 minutes before slicing for the cleanest cuts.
 Save
Save My grandmother once told me that red velvet cake was originally about modesty, using just enough cocoa to hint at chocolate without being extravagant. Now whenever I see those red layers against white frosting, I think about how recipes evolve from practicality into celebration.
Getting the Most Vibrant Color
Gel food coloring delivers the deepest red without adding extra liquid, which can throw off your cake's chemistry. Liquid coloring works too, but you might need to reduce another wet ingredient slightly to compensate.
Making It Ahead
The cake layers can be wrapped well and frozen for up to a month, then thawed overnight before frosting. Actually, red velvet often tastes better after a day in the refrigerator, giving the flavors time to meld and settle.
Troubleshooting Your Cake
If your cake domes in the oven, level it with a serrated knife while it's still warm for easier stacking. A slightly overbaked cake can often be salvaged with simple syrup brushed on the layers before frosting.
- Spray your measuring cup with oil before the buttermilk so it slides right out
- Bring your cream cheese to room temperature naturally, never in the microwave
- Chill the frosted cake for at least 30 minutes before slicing to get those clean, professional looking layers
 Save
Save Every time I cut into a red velvet cake, I am still delighted by that contrast between the ruby layers and creamy white frosting. Some desserts really do live up to the hype.
Recipe FAQs
- → What makes red velvet cake red?
-
Red food coloring combined with a touch of cocoa powder gives red velvet cake its distinctive color and subtle chocolate undertone.
- → How should I prepare the batter for best texture?
-
Mix wet and dry ingredients until just combined to avoid overmixing, which can lead to a dense crumb.
- → Why is buttermilk used in this cake?
-
Buttermilk adds acidity that reacts with baking soda, contributing to a tender crumb and slight tanginess.
- → How do I achieve smooth cream cheese frosting?
-
Beat softened cream cheese and butter until creamy before gradually adding powdered sugar and vanilla for a fluffy finish.
- → Can this cake be decorated ahead of time?
-
Yes, chilling the layered cake for at least 30 minutes helps the frosting set and makes slicing neater.
- → What are good beverage pairings for this cake?
-
Sweet sparkling wines or black coffee complement the cake’s rich and tangy flavors well.