 Save
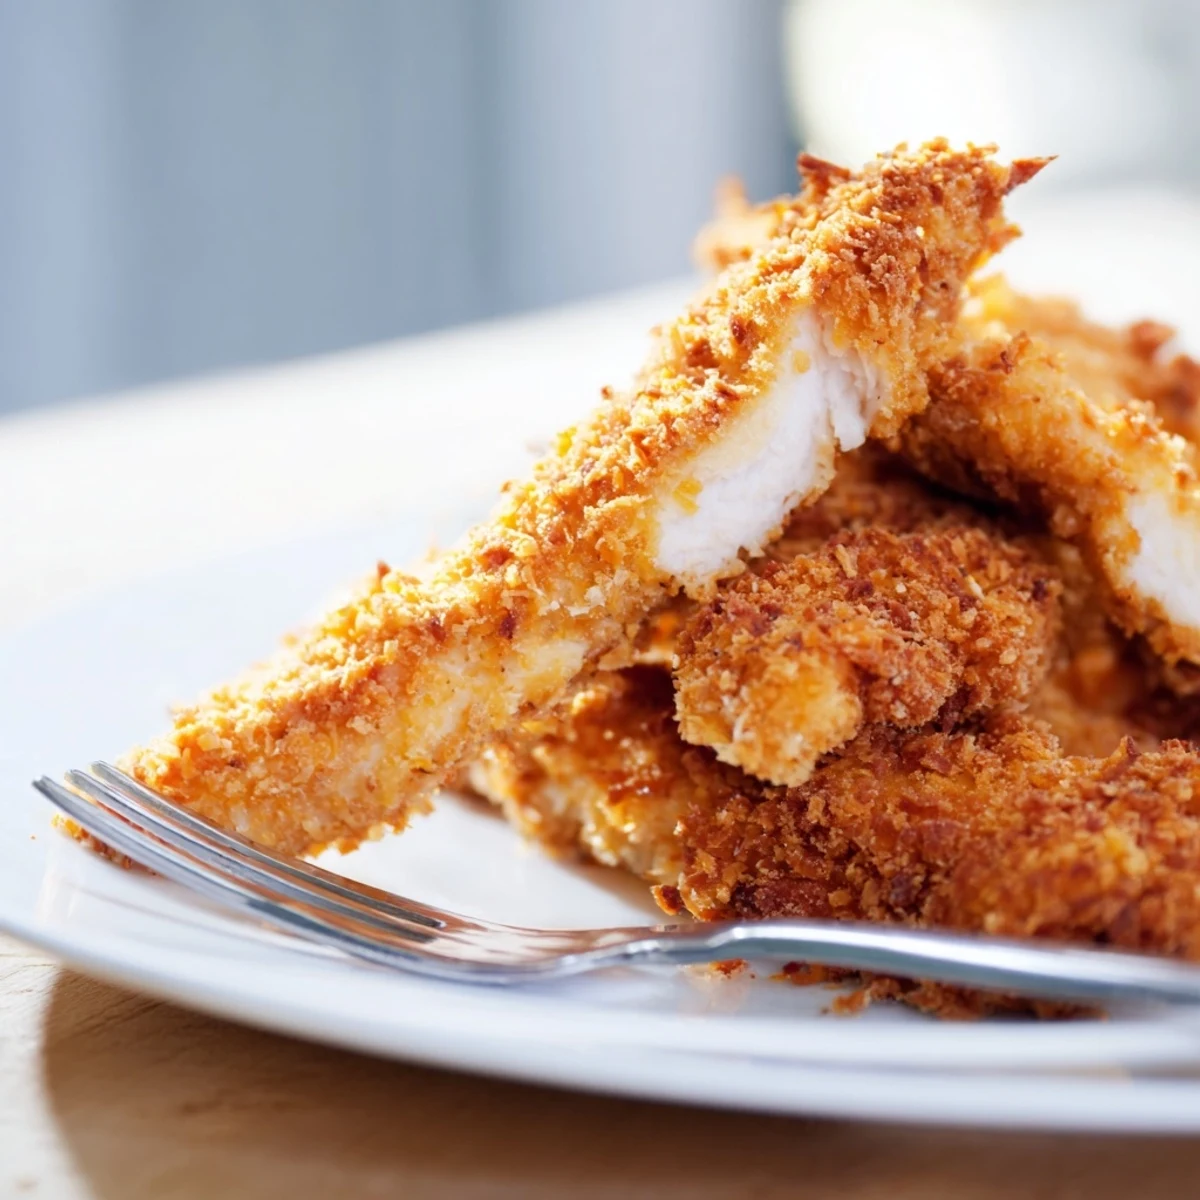
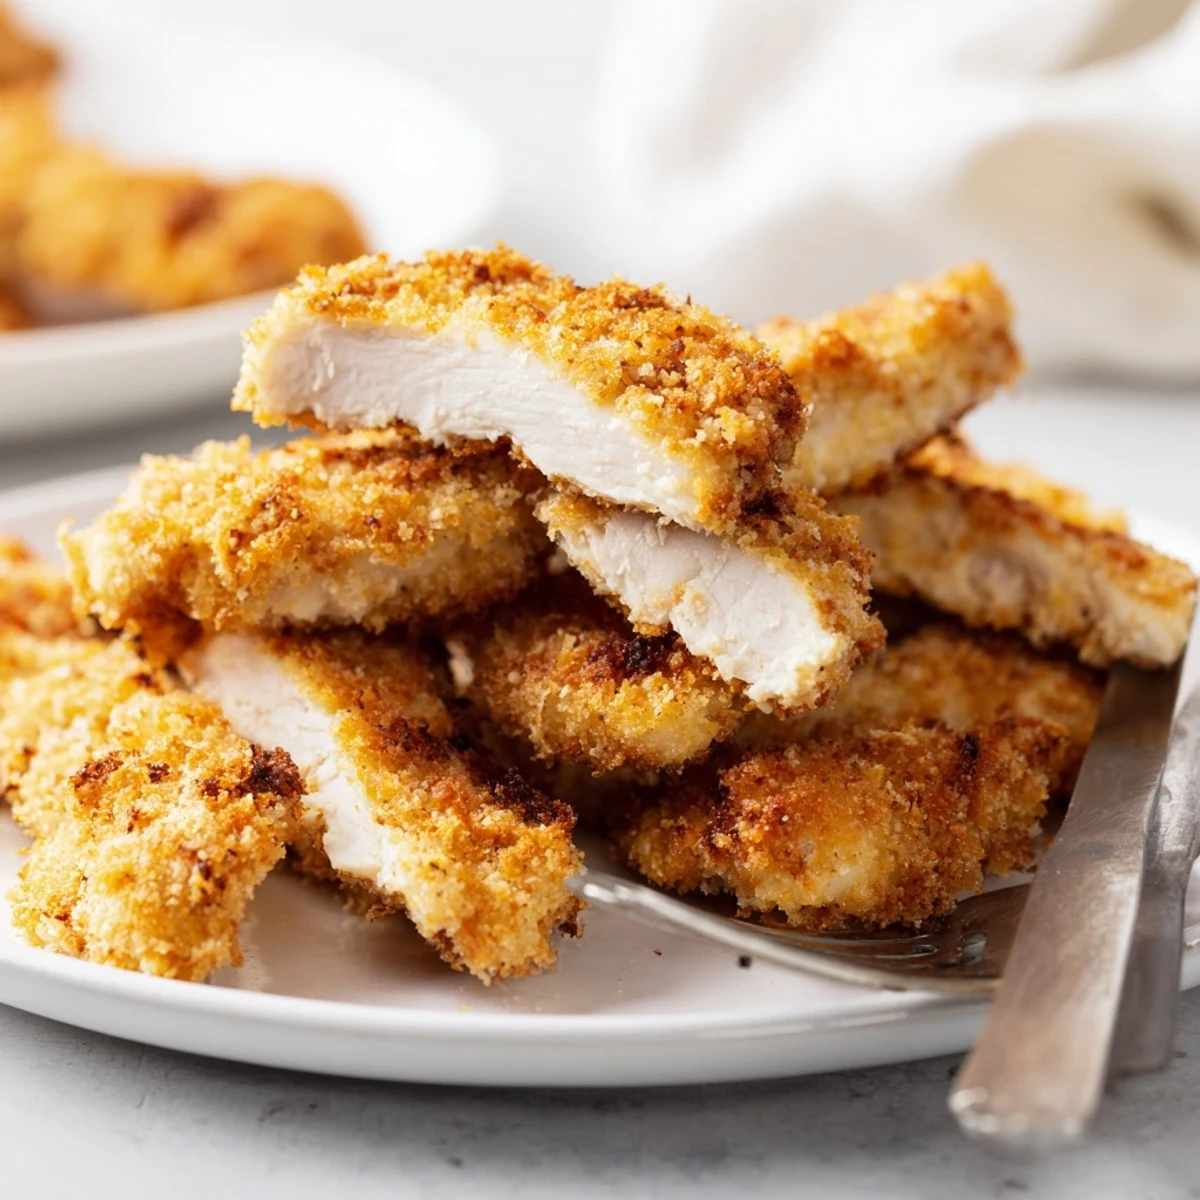
Save These chicken strips feature a triple-coating technique starting with seasoned flour, followed by an egg wash, then finished with garlic and paprika-spiced panko breadcrumbs. The Japanese-style breadcrumbs create an exceptionally light, airy crunch that's superior to traditional coatings. Fry at 180°C for 3-4 minutes per side until golden brown, or bake at 200°C for a lighter version. The result is tender, juicy chicken inside with a satisfyingly crispy exterior that's perfect for dipping or enjoying on their own.
The sound of panko hitting hot oil still takes me back to my first apartment kitchen, where I learned that the crunch matters more than almost anything else. I've made these strips for Super Bowl parties, sad Tuesday nights, and one memorable dinner where my roommate's skeptical cousin ate seven in a row without saying a word. The trick is getting that breading to cling like it means it.
Last winter my niece declared these better than the fast food version she'd been begging for, which felt like winning some kind of domestic gold medal. We stood at the stove together, dipping and dredging while she asked questions about why the flour needs salt and whether we could add cheese to everything.
Ingredients
- Boneless chicken breasts: Cutting them yourself gives you control over thickness, but tenderloins work beautifully if you find them on sale
- All-purpose flour: Creates the essential base layer that helps everything else stick—season it generously because under-seasoned flour is a tragic waste of potential
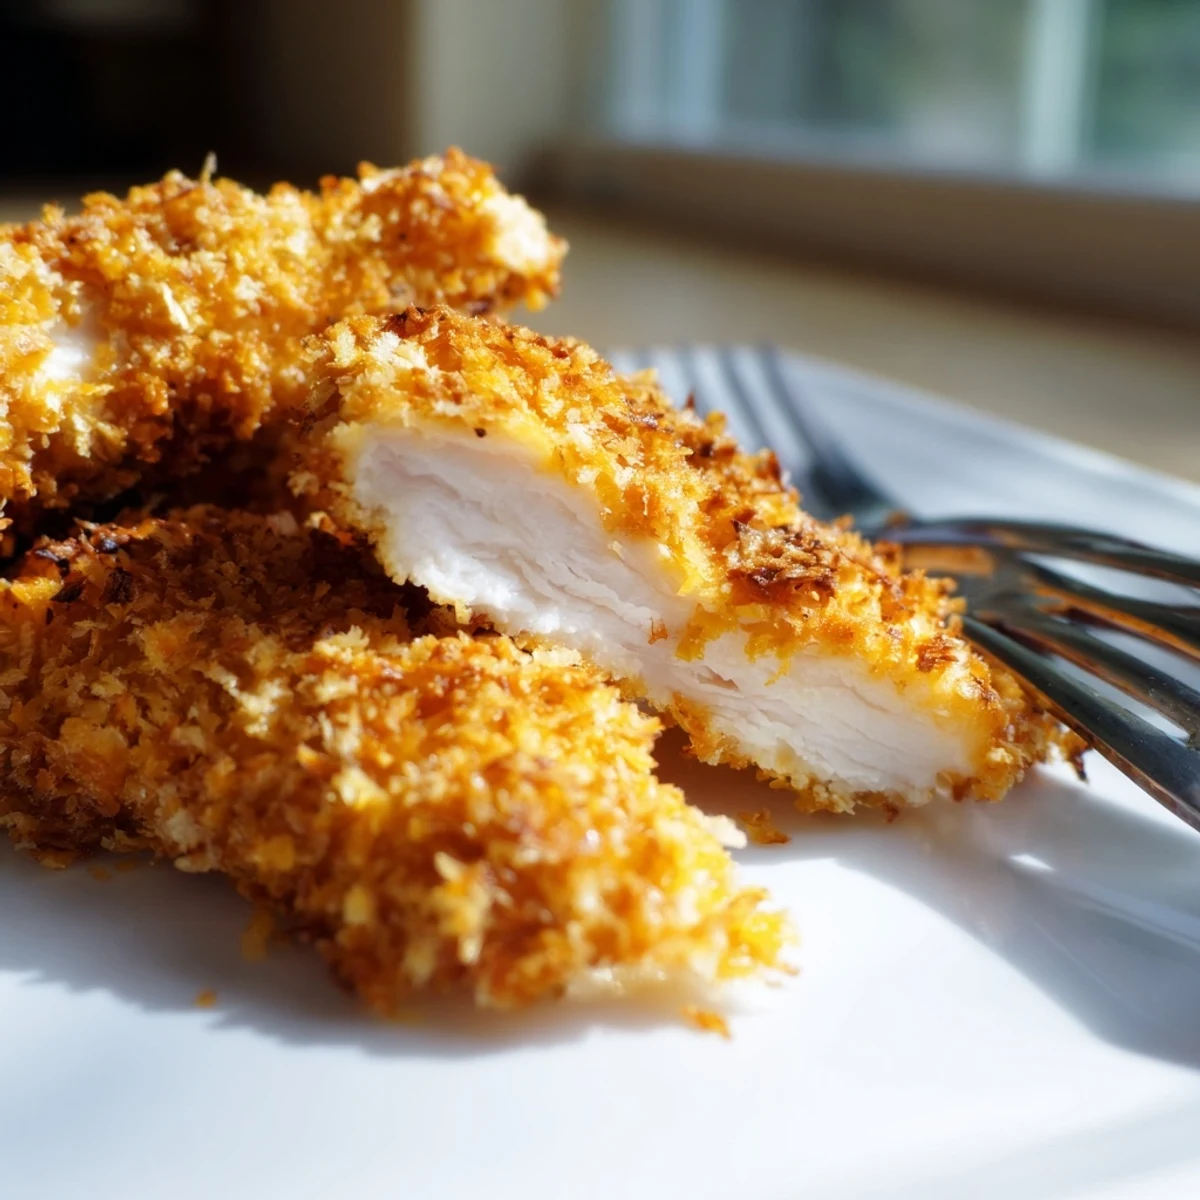
- Panko breadcrumbs: The Japanese style with larger flakes creates that signature airy crunch, worth seeking out over regular crumbs
- Garlic powder and paprika: This simple combo transforms the breading from plain to crave-worthy without competing with whatever dipping sauce you choose
- Vegetable oil: Needs to maintain 350°F without smoking, so canola or peanut oil work well too
Instructions
- Set up your station:
- Line up three shallow bowls—flour mixture first, then whisked eggs with milk, finally the seasoned panko. This assembly line approach keeps the process smooth and prevents cross-contamination between raw and cooked stations.
- Prep the chicken:
- Pat the strips thoroughly dry with paper towels because moisture is the enemy of crispy coatings. Cut against the grain into even pieces so they cook at the same rate.
- Coat with intention:
- Press each strip firmly into the panko after the egg wash, really getting those flakes to cling. Place them on a parchment-lined baking sheet while you heat the oil.
- Fry in batches:
- Work in small groups so the oil temperature doesn't drop. They need about 3-4 minutes per side until they hit that perfect golden color and sound right when you tap them with tongs.
 Save
Save These became my go-to for feeding hungry teenagers after my sister's divorce, when comfort food needed to feel special but not fussy. There is something deeply satisfying about watching people light up at the first crunch.
Baking Instead of Frying
When I am feeling particularly virtuous or just do not want to deal with hot oil, the oven version still delivers satisfying results. The texture shifts from shatter-crisp to more of a substantial crunch, like a really good chicken tender from a cafeteria that actually cares about food quality.
Dipping Sauce Philosophy
Honey mustard gets the most action in my house, followed closely by a spicy mayo situation I whip up with sriracha and lime. The beauty of a neutral, well-seasoned strip is that it becomes a vehicle for whatever flavor profile you are craving.
Make-Ahead Strategy
I often double the recipe and freeze half because having these in the freezer feels like having food money in the bank. They reheat beautifully at 400°F for about 10 minutes, coming back to life almost as well as fresh.
- Freeze them in a single layer first to prevent sticking together
- Reheat in the oven, never the microwave, unless you enjoy sadness
- Let them cool completely before freezing or ice crystals will ruin your crisp game
 Save
Save Serve these while they are still hot enough to burn your fingers just a little, because that is how the best food memories are made.
Recipe FAQs
- → What makes panko different from regular breadcrumbs?
-
Panko breadcrumbs are Japanese-style crumbs made from crustless white bread that's processed into large, airy flakes. They create a lighter, crispier coating that stays crunchy longer than traditional breadcrumbs, giving your chicken that restaurant-quality texture.
- → Can I bake these instead of frying?
-
Absolutely. Arrange the coated strips on a baking sheet and bake at 200°C (400°F) for 18-20 minutes, flipping halfway through. The coating will still get crispy, though with slightly less golden color than frying.
- → How do I know when the chicken is fully cooked?
-
The chicken strips should reach an internal temperature of 74°C (165°F). Visual cues include golden-brown coloring and no pink when you cut into the thickest piece. frying typically takes 3-4 minutes per side.
- → What dipping sauces work best?
-
Honey mustard offers a sweet-tangy contrast, while ranch provides cool creaminess. Spicy mayo or buffalo sauce add heat, and barbecue sauce brings smoky sweetness. Choose based on your flavor preference.
- → Can I prepare these in advance?
-
You can bread the strips up to 4 hours ahead and refrigerate on a parchment-lined baking sheet. Fry just before serving for the crispiest results. Leftovers can be reheated in a 180°C oven to restore crunch.
- → How can I add more flavor to the coating?
-
Mix in dried herbs like Italian seasoning or oregano, add grated Parmesan to the panko, or incorporate chili flakes for heat. A teaspoon of onion powder or smoked paprika also adds depth to the breading.