 Save
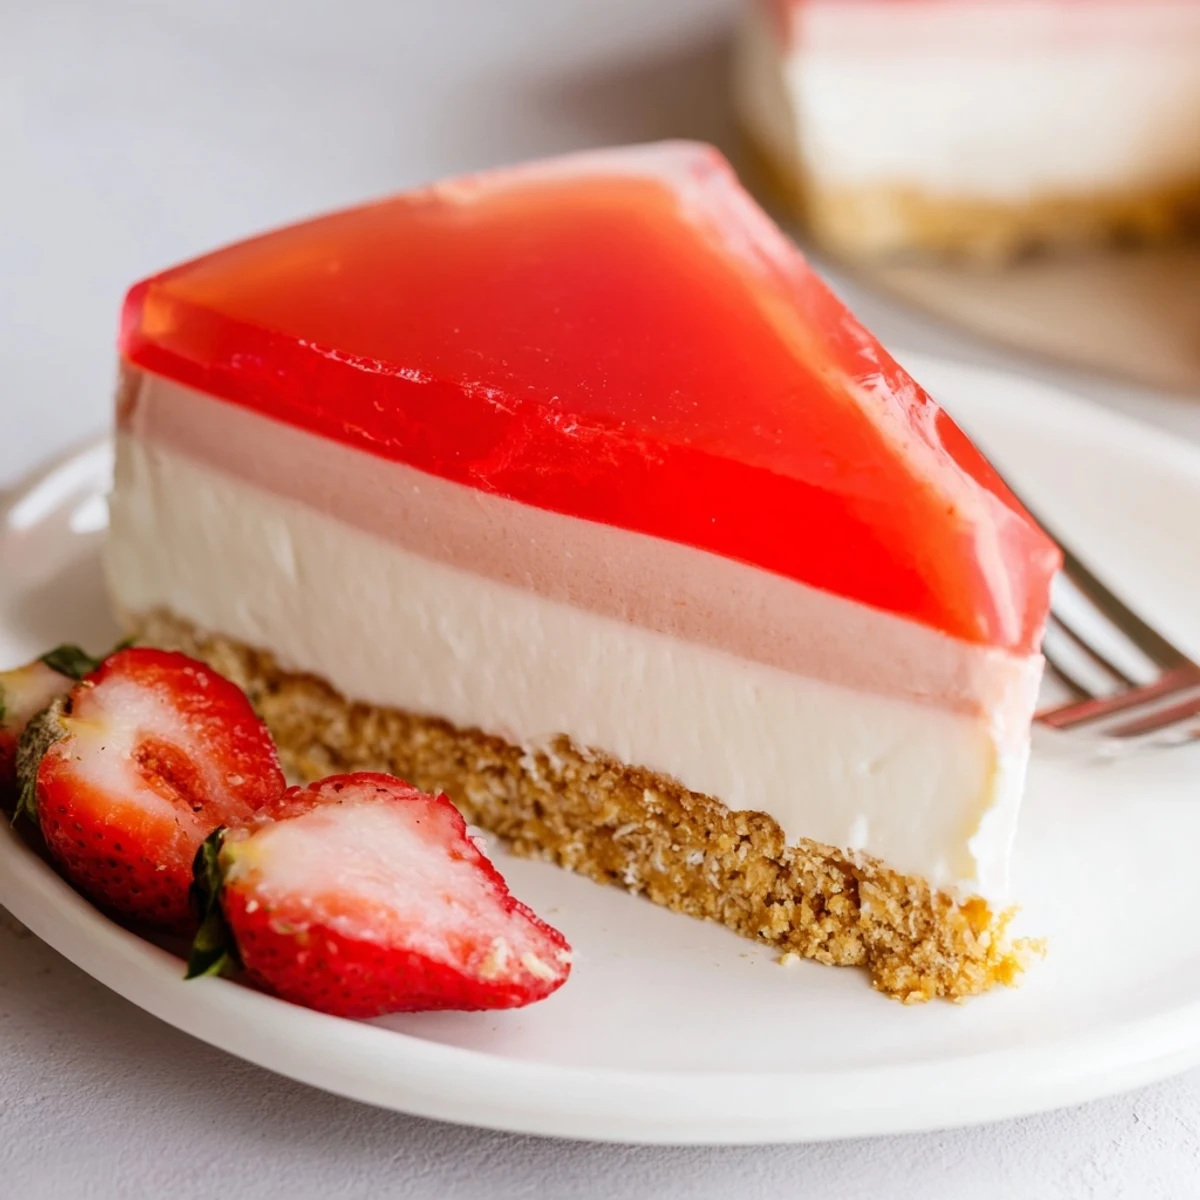
Save This no-bake dessert combines the rich creaminess of traditional cheesecake with the light tang of Greek yogurt, all resting on a buttery graham cracker crust. The crowning glory is a vibrant jello layer that adds both visual appeal and refreshing fruit flavor. Perfect for warm weather or whenever you want an impressive dessert without heating up the kitchen.
The entire assembly requires just 25 minutes of active preparation, followed by chilling time to set each layer. You can customize the jello flavor and fresh fruit garnishes to suit any occasion or season.
My apartment was sweltering that July, the AC had given up completely, and I was determined to make a birthday dessert for my roommate without turning on the oven. I'd seen something about yogurt cheesecakes in a magazine at the dentist's office weeks earlier and filed the idea away in the back of my mind. Standing in front of the open refrigerator, eating a spoonful of cold Greek yogurt straight from the container, it hit me—why not turn this cool tanginess into something celebratory?
The first time I made this for that birthday, we ended up eating it straight from the pan at midnight, standing around the counter with forks and laughter. My roommate's eyes went wide at the first bite, that perfect moment when the creamy filling meets the bright jello layer and everything makes sense. It became our go-to celebration dessert after that, appearing at dinner parties, bad days, and Tuesday nights that needed saving.
Ingredients
- Graham cracker crumbs: Use real graham crackers if you can find them, that honey-sweet flavor is the foundation that holds everything together
- Unsalted butter: Melt it completely so every crumb gets coated in buttery goodness, creating that perfect press-into-the-pan texture
- Cream cheese: Let it sit out for a full hour so it's genuinely soft to the touch, otherwise you'll end up with tiny lumps that no amount of mixing will fix
- Greek yogurt: Full fat or 2% both work beautifully, just avoid the super strained stuff or your filling might become too dense
- Powdered sugar: Sift it even if it looks clump-free, those hidden chunks create sweet spots that throw off the whole delicate balance
- Powdered gelatin: This is the secret to stability, don't be intimidated by it and definitely don't try substituting with sheets unless you know exactly what you're doing
- Boiling water: Use water that's actually reached a rolling boil, not just hot from the tap, or your jello layer might never set properly
Instructions
- Build your buttery foundation:
- Line a 9-inch springform pan with parchment paper, then mix graham cracker crumbs, melted butter, and sugar until every crumb is evenly coated. Press the mixture firmly into the bottom using the back of a spoon or your fingers, creating an even layer. Pop it in the refrigerator to chill while you work on the filling.
- Bloom your gelatin:
- Sprinkle the powdered gelatin over 3 tablespoons of cold water in a small bowl, giving it a gentle stir to make sure all the powder gets wet. Let it sit for exactly 5 minutes, absorbing the water and transforming into soft translucent sheets that look a bit like jellyfish.
- Whip up the creamy filling:
- Beat the softened cream cheese until it's completely smooth, scraping down the sides of the bowl to catch any stubborn pockets. Add the Greek yogurt, powdered sugar, vanilla extract, and lemon juice, then beat again until everything is completely combined and silky.
- Melt and incorporate the gelatin:
- Microwave the bloomed gelatin for 15 seconds, watching it dissolve completely into clear liquid. Let it cool for just a minute so it's not hot to the touch, then whisk it quickly into the cheesecake mixture.
- Set the first layer:
- Pour the filling onto your chilled crust, smoothing the top with a spatula until it's perfectly level. Refrigerate for 2 hours, checking after an hour to see if it's firm enough to hold the next layer without mixing.
- Prepare the jello topping:
- Dissolve the fruit-flavored gelatin in 1 cup of boiling water, stirring until absolutely no crystals remain. Add the 1/2 cup of cold water and let it cool to room temperature, which should take about 20 minutes.
- Add the jello layer:
- Gently pour the cooled jello over your set cheesecake layer, working slowly so it doesn't splash or break through the creamy surface. Refrigerate for at least 2 more hours, or until the jello is completely firm and wobbles slightly when you gently shake the pan.
- Release and serve:
- Run a thin knife around the edge of the pan to loosen any stuck spots, then carefully release the springform ring. Garnish with fresh berries or fruit slices if you're feeling fancy, or just slice and serve it exactly as is.
 Save
Save Last summer, I made this for a Fourth of July picnic and forgot to pack serving utensils. We ended up passing the whole pan around, everyone taking bites straight from it, laughing as jello got on our chins and fingers. That's when I realized sometimes the messiest moments with food become the memories that stick longest, the ones that actually matter.
Making It Your Own
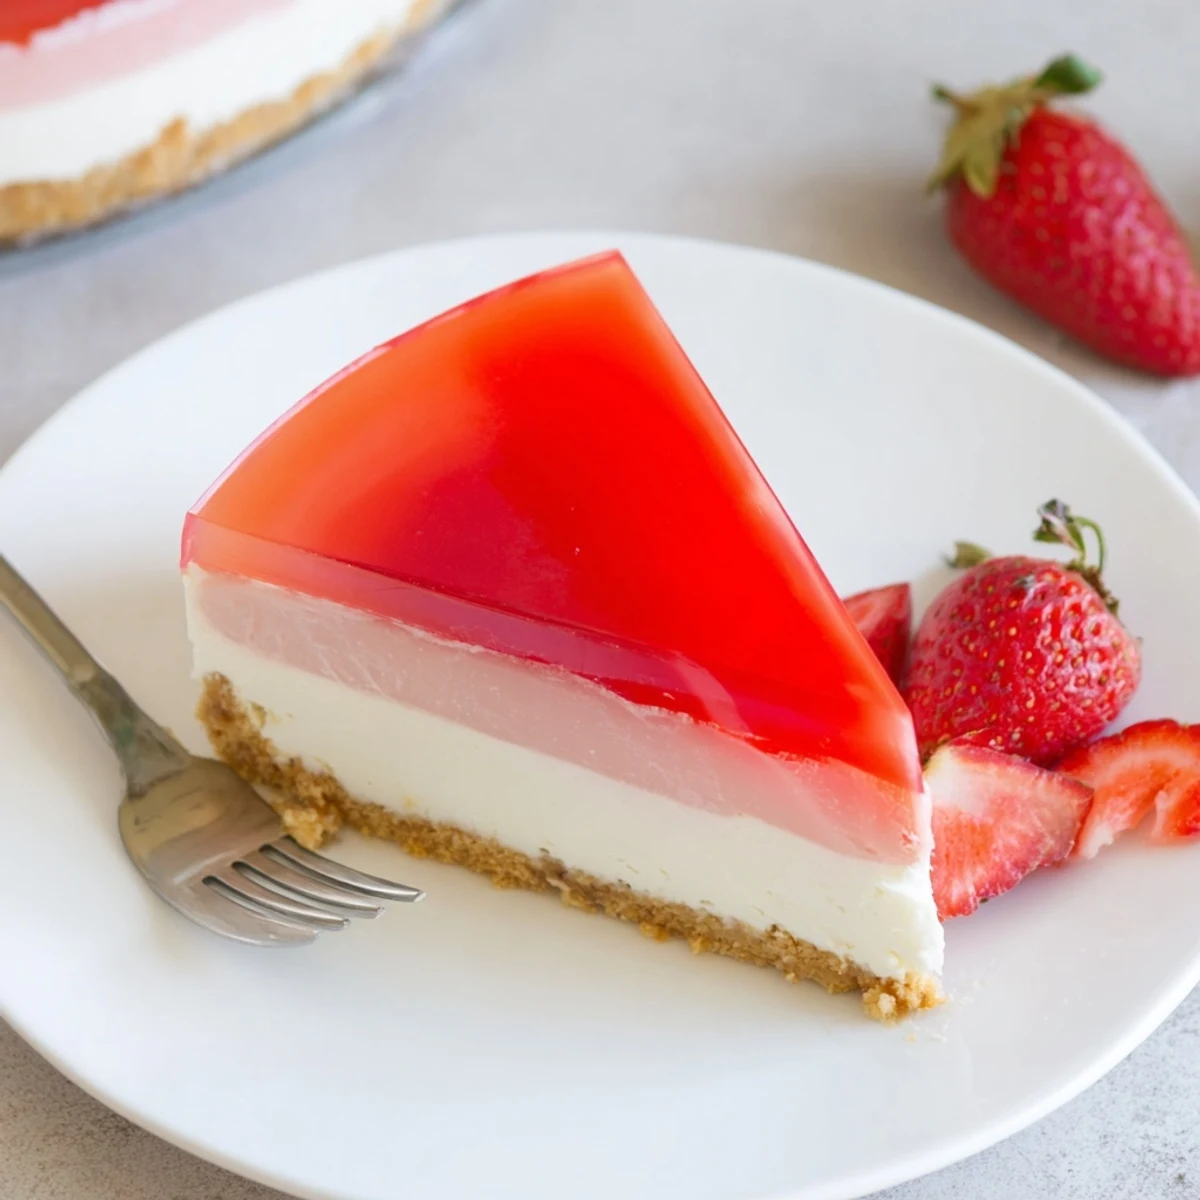
The beauty of this recipe is how easily it adapts to whatever you're craving or have on hand. I've made it with raspberry jello and fresh raspberries on top for a Valentine's dinner that felt impossibly romantic. Strawberry with sliced berries became the hit of my niece's birthday party, while lemon jello with a sprinkling of lemon zest saved my reputation when I forgot to buy dessert for book club. Each version feels like a completely different dessert while still being the same reliable base.
Texture Secrets
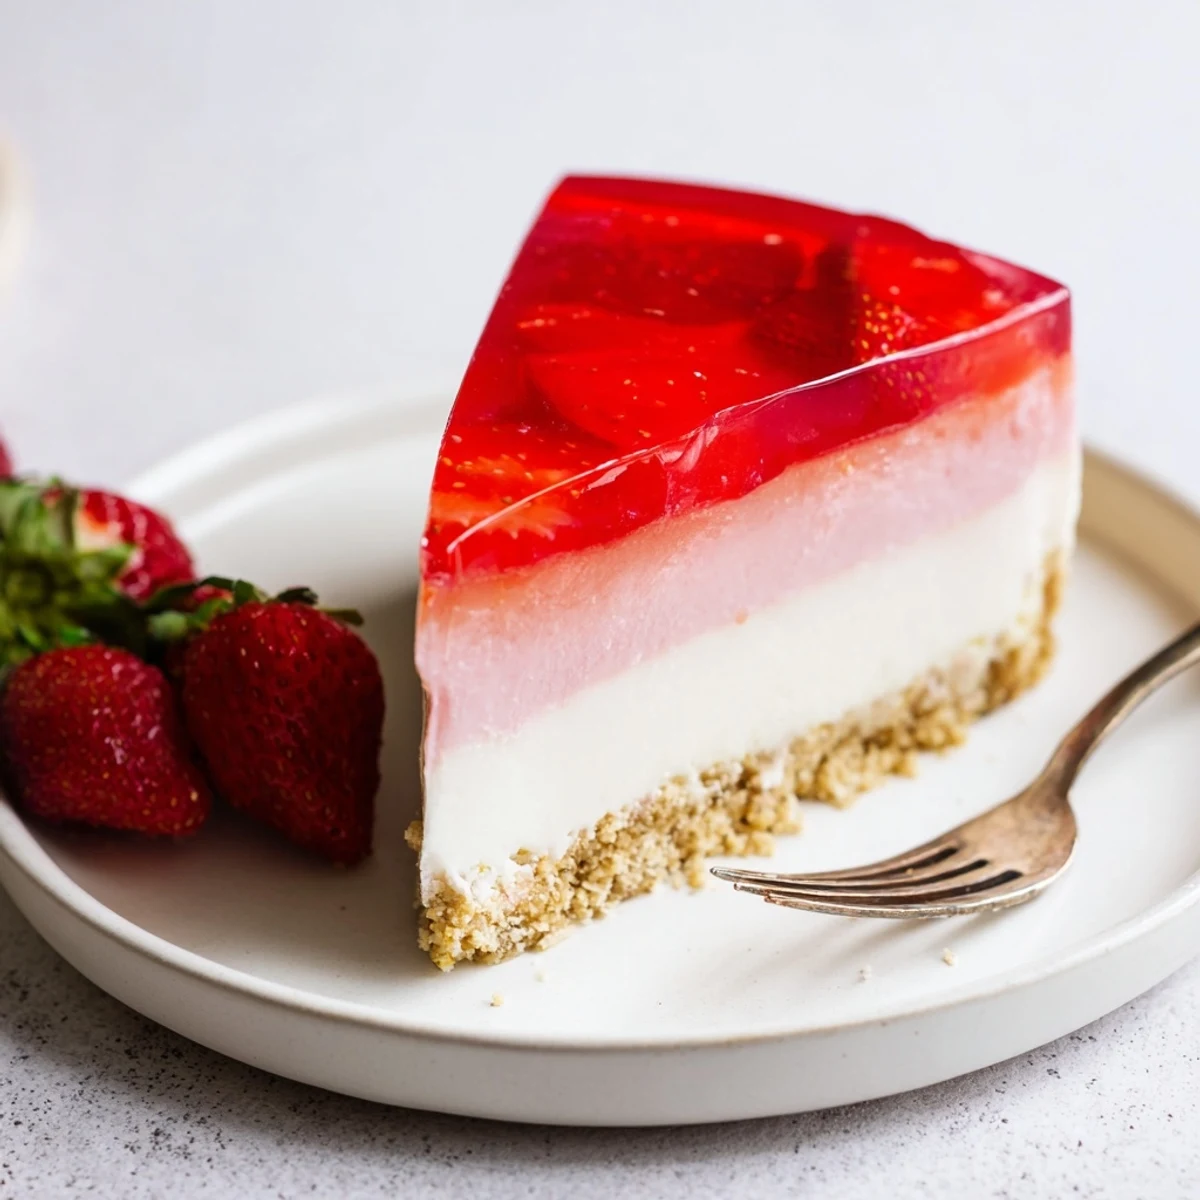
The contrast between the creamy cheesecake layer and the jiggly jello topping is what makes this dessert feel special and thoughtful. I learned through trial and error that overbeating the filling makes it almost too dense, losing that cloud-like quality that makes people's eyes light up. The gelatin needs to be fully dissolved but not overheated, finding that sweet spot where everything holds together beautifully while still melting away on your tongue. Getting that balance right took a few attempts, but now I can tell by looking at the mixture whether it's going to set up perfectly.
Timing Everything Right
This recipe teaches you patience in the most delicious way possible, with its built-in waiting periods that actually work in your favor. Start it in the morning after coffee, and by mid-afternoon you'll have a stunning dessert ready for dinner that evening. The timing naturally breaks up your day, giving you hours of freedom between steps while still feeling productive. Plus, all that chilling time means the flavors have a chance to meld together and develop into something even better than the sum of its parts.
- Make the crust the night before and keep it covered in the refrigerator for a head start
- Set alarms for your chilling times so you don't forget and accidentally let it go too long between layers
- This dessert actually improves overnight, so it's perfect for making the day before a party
 Save
Save There's something deeply satisfying about creating something this beautiful without ever turning on your oven, like you've discovered a clever kitchen hack that nobody else knows about. Every time I slide the springform ring away and see those perfect layers, I feel a little surge of pride, like I've pulled off a magic trick.
Recipe FAQs
- → Can I make this ahead of time?
-
Yes, this cheesecake actually improves with time. You can make it up to 2 days in advance, keeping it covered and refrigerated. The flavors meld together beautifully, and the texture remains perfectly creamy.
- → Can I use different flavors of gelatin?
-
Absolutely! Strawberry, raspberry, lemon, orange, or even peach gelatin all work wonderfully. Choose flavors that complement each other if you plan to serve multiple variations, or pick your favorite for a single stunning dessert.
- → Is there a vegetarian-friendly gelatin alternative?
-
You can substitute the powdered gelatin with agar-agar powder. Use about 1 teaspoon of agar-agar for every teaspoon of gelatin called for in the filling, and follow the same blooming technique with cold water before dissolving.
- → Why did my jello layer mix with the cheesecake filling?
-
This happens if the cheesecake filling isn't fully set before adding the jello, or if the jello is still too warm. Always ensure the cheesecake has chilled for at least 2 hours and the jello has cooled to room temperature but not begun to set.
- → Can I freeze this cheesecake?
-
Freezing isn't recommended because the jello layer becomes rubbery and loses its smooth texture when thawed. The cheesecake is best enjoyed fresh from the refrigerator within 3-4 days.
- → How do I get clean slices?
-
Dip your knife in hot water and wipe it clean between each slice. Run the knife around the edge of the pan first to release the sides, then slice with gentle downward pressure. For extra precision, chill the sliced pieces briefly before serving.