 Save
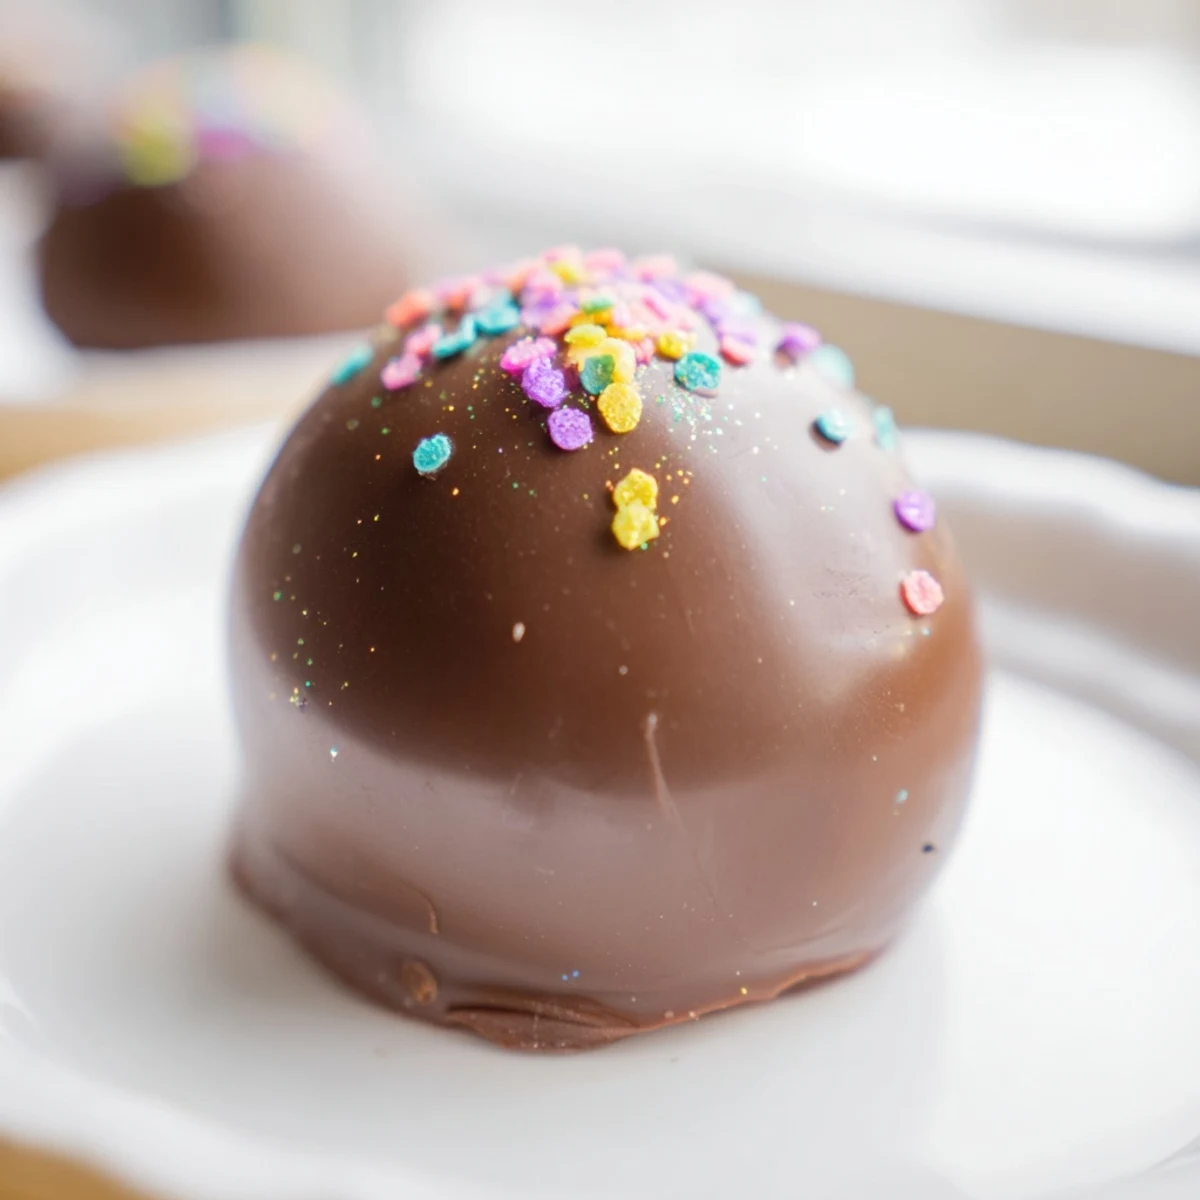
Save Create these adorable Easter egg-shaped treats by blending crushed Oreos with softened cream cheese until smooth. Shape the mixture into oval forms, chill until firm, then dip in melted semi-sweet or white chocolate. Decorate with colorful sprinkles, edible glitter, or drizzles of colored candy melts. These handheld sweets require no baking and come together in just 25 minutes of active prep time. Perfect for Easter baskets, spring parties, or as edible gifts, the combination of crunchy cookies, creamy filling, and chocolate coating offers an irresistible texture contrast.
My kitchen counter looked like a pastel explosion last April when I decided these needed to happen. My daughter kept stealing the Oreo crumbs while I was trying to shape them, and we ended up with a few lopsided eggs that somehow tasted better than the perfect ones.
Last year I made three batches for our neighborhood Easter gathering, and a friend who never eats dessert admitted she ate four. Something about that creamy filling inside crisp chocolate just works.
Ingredients
- 36 Oreo cookies: The filling is essential here, so do not separate it out. One standard package works perfectly, and I have found generic brands sometimes crumble too finely.
- 8 oz (225 g) cream cheese, softened: Room temperature is non-negotiable. Cold cream cheese leaves you with a crumbly mess that will not hold together.
- 12 oz (340 g) semi-sweet or white chocolate: Chopping bars melts more smoothly than chips, but either works. White chocolate gives them that classic Easter egg look.
- Assorted colored candy melts: These are optional but they make the eggs pop. A little drizzle goes a long way.
- Sprinkles or colored sugar: Add these immediately after dipping, before the chocolate sets. I learned this timing lesson the hard way.
Instructions
- Prepare your workspace:
- Line a baking sheet with parchment paper. Clear some space in your freezer now, because you will need it soon and scrambling for room with frozen peas is annoying.
- Crush the cookies:
- Pulse the entire Oreos, filling and all, in a food processor until you have fine crumbs. You want sand texture, not chunks.
- Make the dough:
- Add softened cream cheese and blend until completely combined. The mixture should hold together when squeezed.
- Shape the eggs:
- Scoop tablespoon portions and gently shape into oval eggs. Place on the prepared sheet. Do not obsess over perfection.
- Chill thoroughly:
- Freeze for 30 minutes until firm. Warm eggs will make your chocolate seize and turn grainy, and nobody wants that.
- Melt the chocolate:
- Microwave in 20 second intervals, stirring between each. Stop when mostly melted and stir to finish. Overheated chocolate is sad chocolate.
- Dip and decorate:
- Drop each egg into chocolate, lift with a fork, tap off excess, and return to the sheet. Add sprinkles now while wet. Chill 15 minutes to set.
 Save
Save My grandmother used to make something similar during the holidays, but she would never share her recipe. After years of guessing, I finally realized sometimes the simple version is the one worth making.
Getting That Egg Shape
The trick is working quickly with slightly warmed hands. Cold hands make the dough crack, but hands that are too warm melt it. I run my hands under warm water for a second, dry them, then shape.
Chocolate Coating Secrets
White chocolate can be temperamental and seize easily. If it looks grainy or separates, whisk in a teaspoon of vegetable oil and it usually comes back to life.
Storage and Timing
These actually improve after a day in the refrigerator. The flavors meld together and the texture becomes somehow creamier. Make them a day ahead if possible.
- Store in a single layer with wax paper between stacked layers
- They keep for a week but rarely last that long
- Bring to room temperature 15 minutes before serving
 Save
Save Whether you are making these for Easter or just because Tuesday needs more chocolate, they never fail to disappear.
Recipe FAQs
- → How long do Oreo balls need to chill?
-
Freeze the shaped egg forms for 30 minutes until firm before dipping. After coating, chill for at least 15 minutes to set the chocolate. This ensures the coating hardens properly and the filling holds its shape during handling.
- → Can I make these ahead of time?
-
Yes, these store beautifully in an airtight container in the refrigerator for up to one week. The flavors actually improve after a day or two as the cookie and cream cheese meld together. You can also freeze them undecorated for up to two months.
- → What's the best way to melt chocolate for coating?
-
Melt chocolate in a microwave-safe bowl using 20-second intervals, stirring thoroughly between each. This prevents burning and ensures smooth, even melting. Alternatively, use a double boiler on the stovetop for more controlled heating.
- → Can I use different cookie varieties?
-
Absolutely! Golden Oreos provide a vanilla twist, while flavored varieties like mint or peanut butter add unique taste dimensions. Just ensure the cookies are finely crushed for the best texture consistency with the cream cheese.
- → How do I prevent the coating from cracking?
-
Ensure the Oreo mixture is thoroughly chilled before dipping. Let excess chocolate drip off completely before placing on the parchment. Avoid rapid temperature changes by allowing coated pieces to set gradually at room temperature before final chilling.
- → What decorations work best for Easter?
-
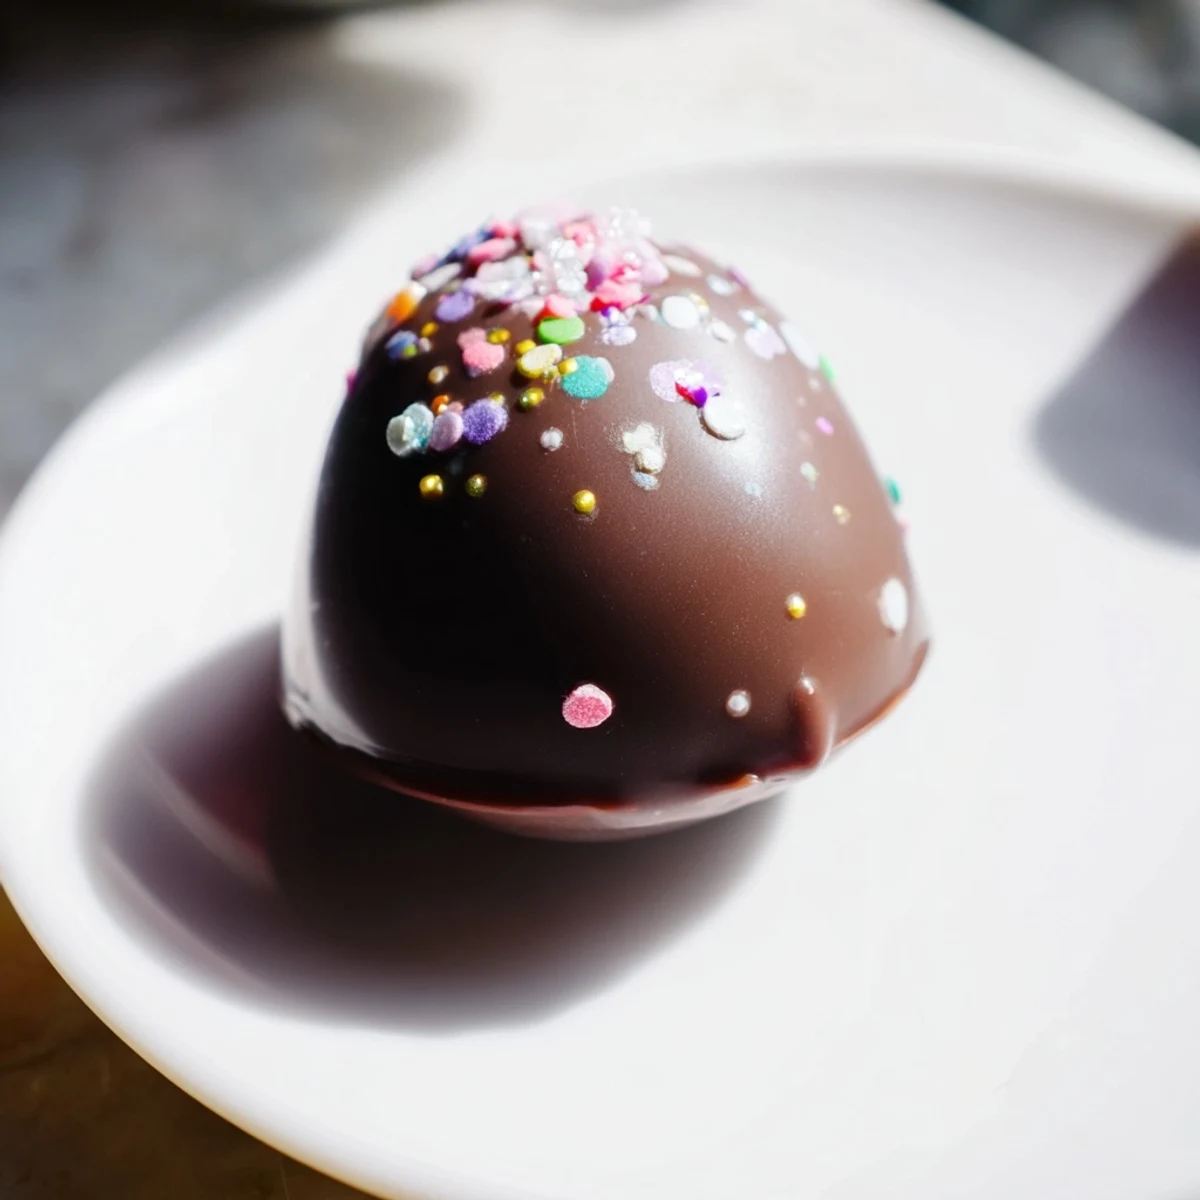
Pastel-colored sprinkles, edible glitter, and drizzles of white or pastel candy melts create festive Easter effects. Try using food coloring to tint white chocolate in soft spring shades like lavender, mint green, or pale yellow for an elegant finish.