 Save
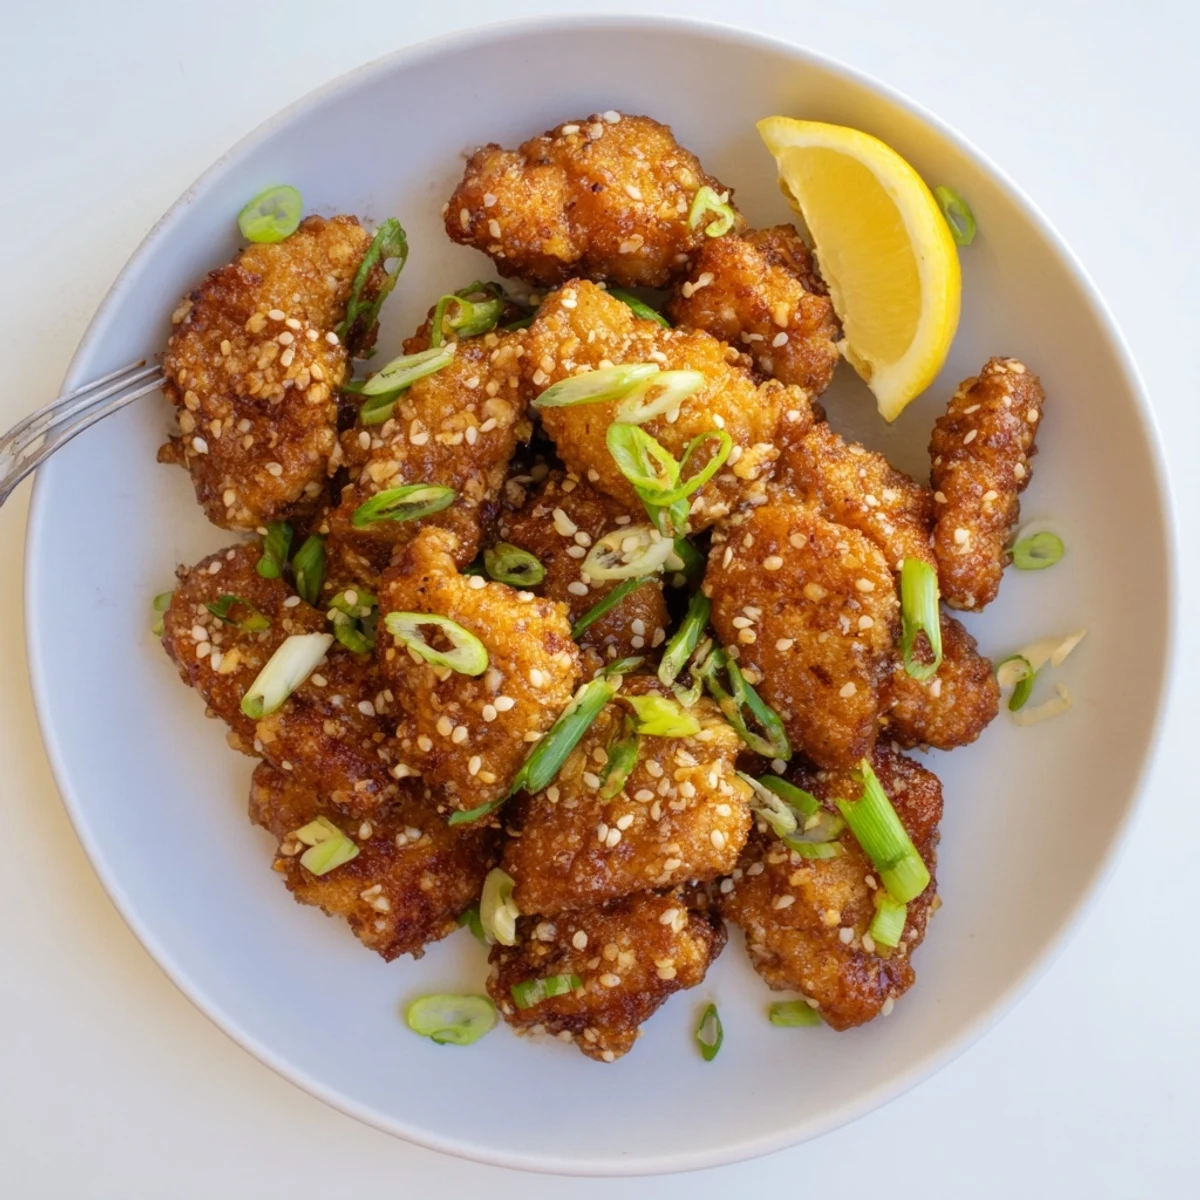
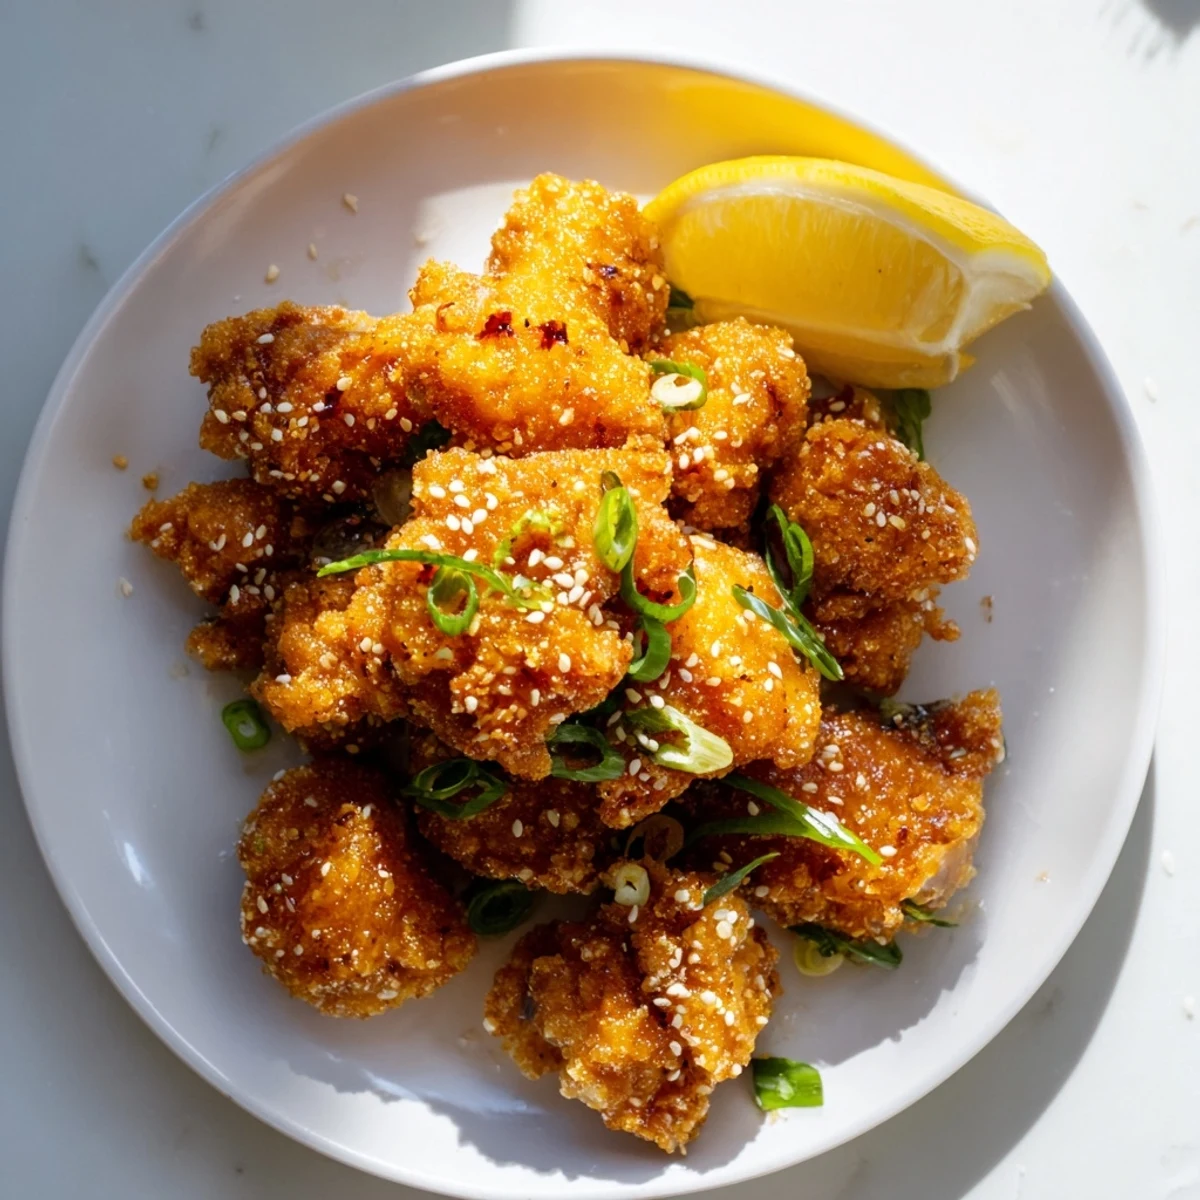
Save This Hawaiian classic features juicy chicken pieces marinated in a blend of sweet rice flour, soy sauce, ginger, and garlic. The mochiko coating creates an incredibly crispy exterior while keeping the meat tender and juicy inside. After marinating for at least four hours, the chicken is deep-fried until golden brown, resulting in a perfect crunch with every bite.
Preparation is straightforward - simply coat the chicken in the marinade and let the refrigerator do the work. The frying process takes just minutes per batch, yielding restaurant-quality results at home. Serve with steamed rice, macaroni salad, or pickled vegetables for an authentic island plate lunch experience.
Last summer, my friend from Oahu brought this dish to our 4th of July barbecue, and I haven't stopped thinking about it since. The way the sweet and savory coating gets incredibly crispy while keeping the chicken juicy inside feels like magic. Everyone gathered around the frying pan, snatching pieces as fast as they came out of the oil. Now it's the most requested thing at every gathering I host.
I made a huge batch for my sister's birthday party last month, serving them with little bowls of spicy mayo for dipping. Watching her kids' eyes light up at that first crunchy bite was the best part. Even my dad, who's usually skeptical about anything fried, went back for thirds.
Ingredients
- 2 lbs boneless skinless chicken thighs: Thighs stay so much juicier than breast meat, and cutting them into 2-inch pieces means more crispy coating ratio in every bite
- 1 cup mochiko (sweet rice flour): This is the secret weapon that creates that signature Hawaiian plate lunch crunch you can't get from regular flour
- 1/2 cup cornstarch: Adding cornstarch to the mochiko makes the coating extra light and delicate
- 1/2 cup soy sauce: Use a good quality soy sauce here because it's the main flavor backbone of the whole dish
- 1/4 cup granulated sugar: The sugar helps with caramelization and balances the salty soy sauce perfectly
- 2 large eggs: Eggs bind everything together and create a custardlike texture in the coating
- 4 cloves garlic, minced: Fresh garlic is nonnegotiable here, jarred garlic just doesn't have the same punch
- 1-inch piece fresh ginger, grated: I use a microplane to get a fine ginger paste that distributes evenly
- 2 tbsp green onions, finely sliced: These add a fresh pop of color and mild onion flavor throughout the coating
- 2 tbsp sesame oil: Toasted sesame oil adds that wonderful nutty aroma that makes your kitchen smell amazing
- 1 tsp kosher salt: The soy sauce provides saltiness, but this extra pinch helps the chicken flavor pop
- 1/2 tsp ground black pepper: Freshly cracked pepper adds a subtle warmth that rounds out the flavor
- Vegetable oil, for deep frying: Canola or vegetable oil works perfectly, something neutral that won't overpower the chicken
Instructions
- Make the coating batter:
- Whisk together the mochiko, cornstarch, soy sauce, sugar, eggs, garlic, ginger, green onions, sesame oil, salt, and pepper until completely smooth. The batter should be thick enough to coat a spoon.
- Coat the chicken:
- Add your chicken pieces to the bowl and toss everything together until each piece is thoroughly coated. Cover and let this hang out in the fridge for at least 4 hours, but overnight is even better.
- Heat your oil:
- Pour about 2 inches of vegetable oil into a deep pot or large skillet and bring it to 350°F. I use a clip on thermometer because getting the temperature right makes all the difference.
- Fry in batches:
- Lift chicken pieces from the batter, let the excess drip off, and carefully drop them into the hot oil. Fry for about 5 to 7 minutes per batch, turning occasionally, until deep golden brown and cooked through.
- Drain and serve:
- Transfer the chicken to a paper towel lined plate to drain any excess oil. Serve them hot while they're still ridiculously crispy, with whatever garnishes sound good to you.
 Save
Save This recipe became my go to comfort food during a particularly stressful month at work. Something about standing over the frying pan, smelling the ginger and garlic wafting up, was incredibly grounding. My roommate started coming home early on chicken nights, and we'd eat standing at the counter talking about our days.
The Double Fry Technique
I discovered the double fry method by accident when I had to take a phone call midway through frying. The chicken that sat for those 5 minutes then went back in for a quick second fry came out insanely crunchy with the most incredible texture. Now I always double fry if I have the time.
Make It Gluten Free
My best friend can't do gluten, so I started using tamari instead of soy sauce and making sure to buy certified gluten free cornstarch. She says this version tastes just as good as the original, which is honestly the highest compliment she could give.
Serving Suggestions
The classic plate lunch way is with two scoops of white rice and macaroni salad on the side. I also love serving these with pickled vegetables to cut through the richness. A simple squeeze of fresh lemon right before eating brightens everything up beautifully.
- Keep fried chicken on a wire rack instead of paper towels if you're making a big batch
- Set up a little topping bar with extra green onions, sesame seeds, and spicy mayo
- These freeze beautifully, just reheat in a 400°F oven for 10 minutes to restore the crunch
 Save
Save Hope this recipe finds its way into your regular rotation and brings as much joy to your table as it has to mine.
Recipe FAQs
- → What makes mochiko chicken different from regular fried chicken?
-
Mochiko chicken uses sweet rice flour in the marinade, which creates a distinctively light, crispy coating that's different from traditional breadcrumb or flour batters. The rice flour absorbs the flavorful marinade while forming a delicate, crackling crust that stays crunchy longer than standard coatings.
- → Can I reduce the marinating time?
-
While you can marinate for as little as 2 hours, the full 4-hour minimum allows the flavors to penetrate deeply into the chicken. Overnight marinating yields the best results, making this an excellent make-ahead dish for parties or weeknight dinners.
- → Is this dish gluten-free?
-
Traditional mochiko chicken contains soy sauce, which includes gluten. To make it gluten-free, substitute tamari for soy sauce and ensure all other ingredients, including your cornstarch and mochiko flour, are certified gluten-free. The mochiko flour itself is naturally gluten-free.
- → Why double-fry the chicken?
-
Double-frying creates an exceptionally crisp exterior. The first fry cooks the chicken through and sets the coating, while resting allows moisture to escape from the crust. The second fry at higher temperature rapidly crisps the exterior without overcooking the meat, resulting in maximum crunch.
- → What sides pair well with this dish?
-
Steamed white rice is the classic accompaniment, creating a complete Hawaiian plate lunch experience. Macaroni salad, pickled vegetables, or a fresh pineapple coleslaw complement the sweet and savory flavors. For lighter fare, serve with a simple green salad dressed with sesame vinaigrette.
- → Can I bake instead of fry?
-
Baking won't achieve the same crispy texture as deep-frying, but you can oven-bake at 425°F for 25-30 minutes, flipping halfway through. The coating will be less crunchy and more cake-like. For better results without deep-frying, use an air fryer at 375°F for 12-15 minutes, shaking halfway through cooking.